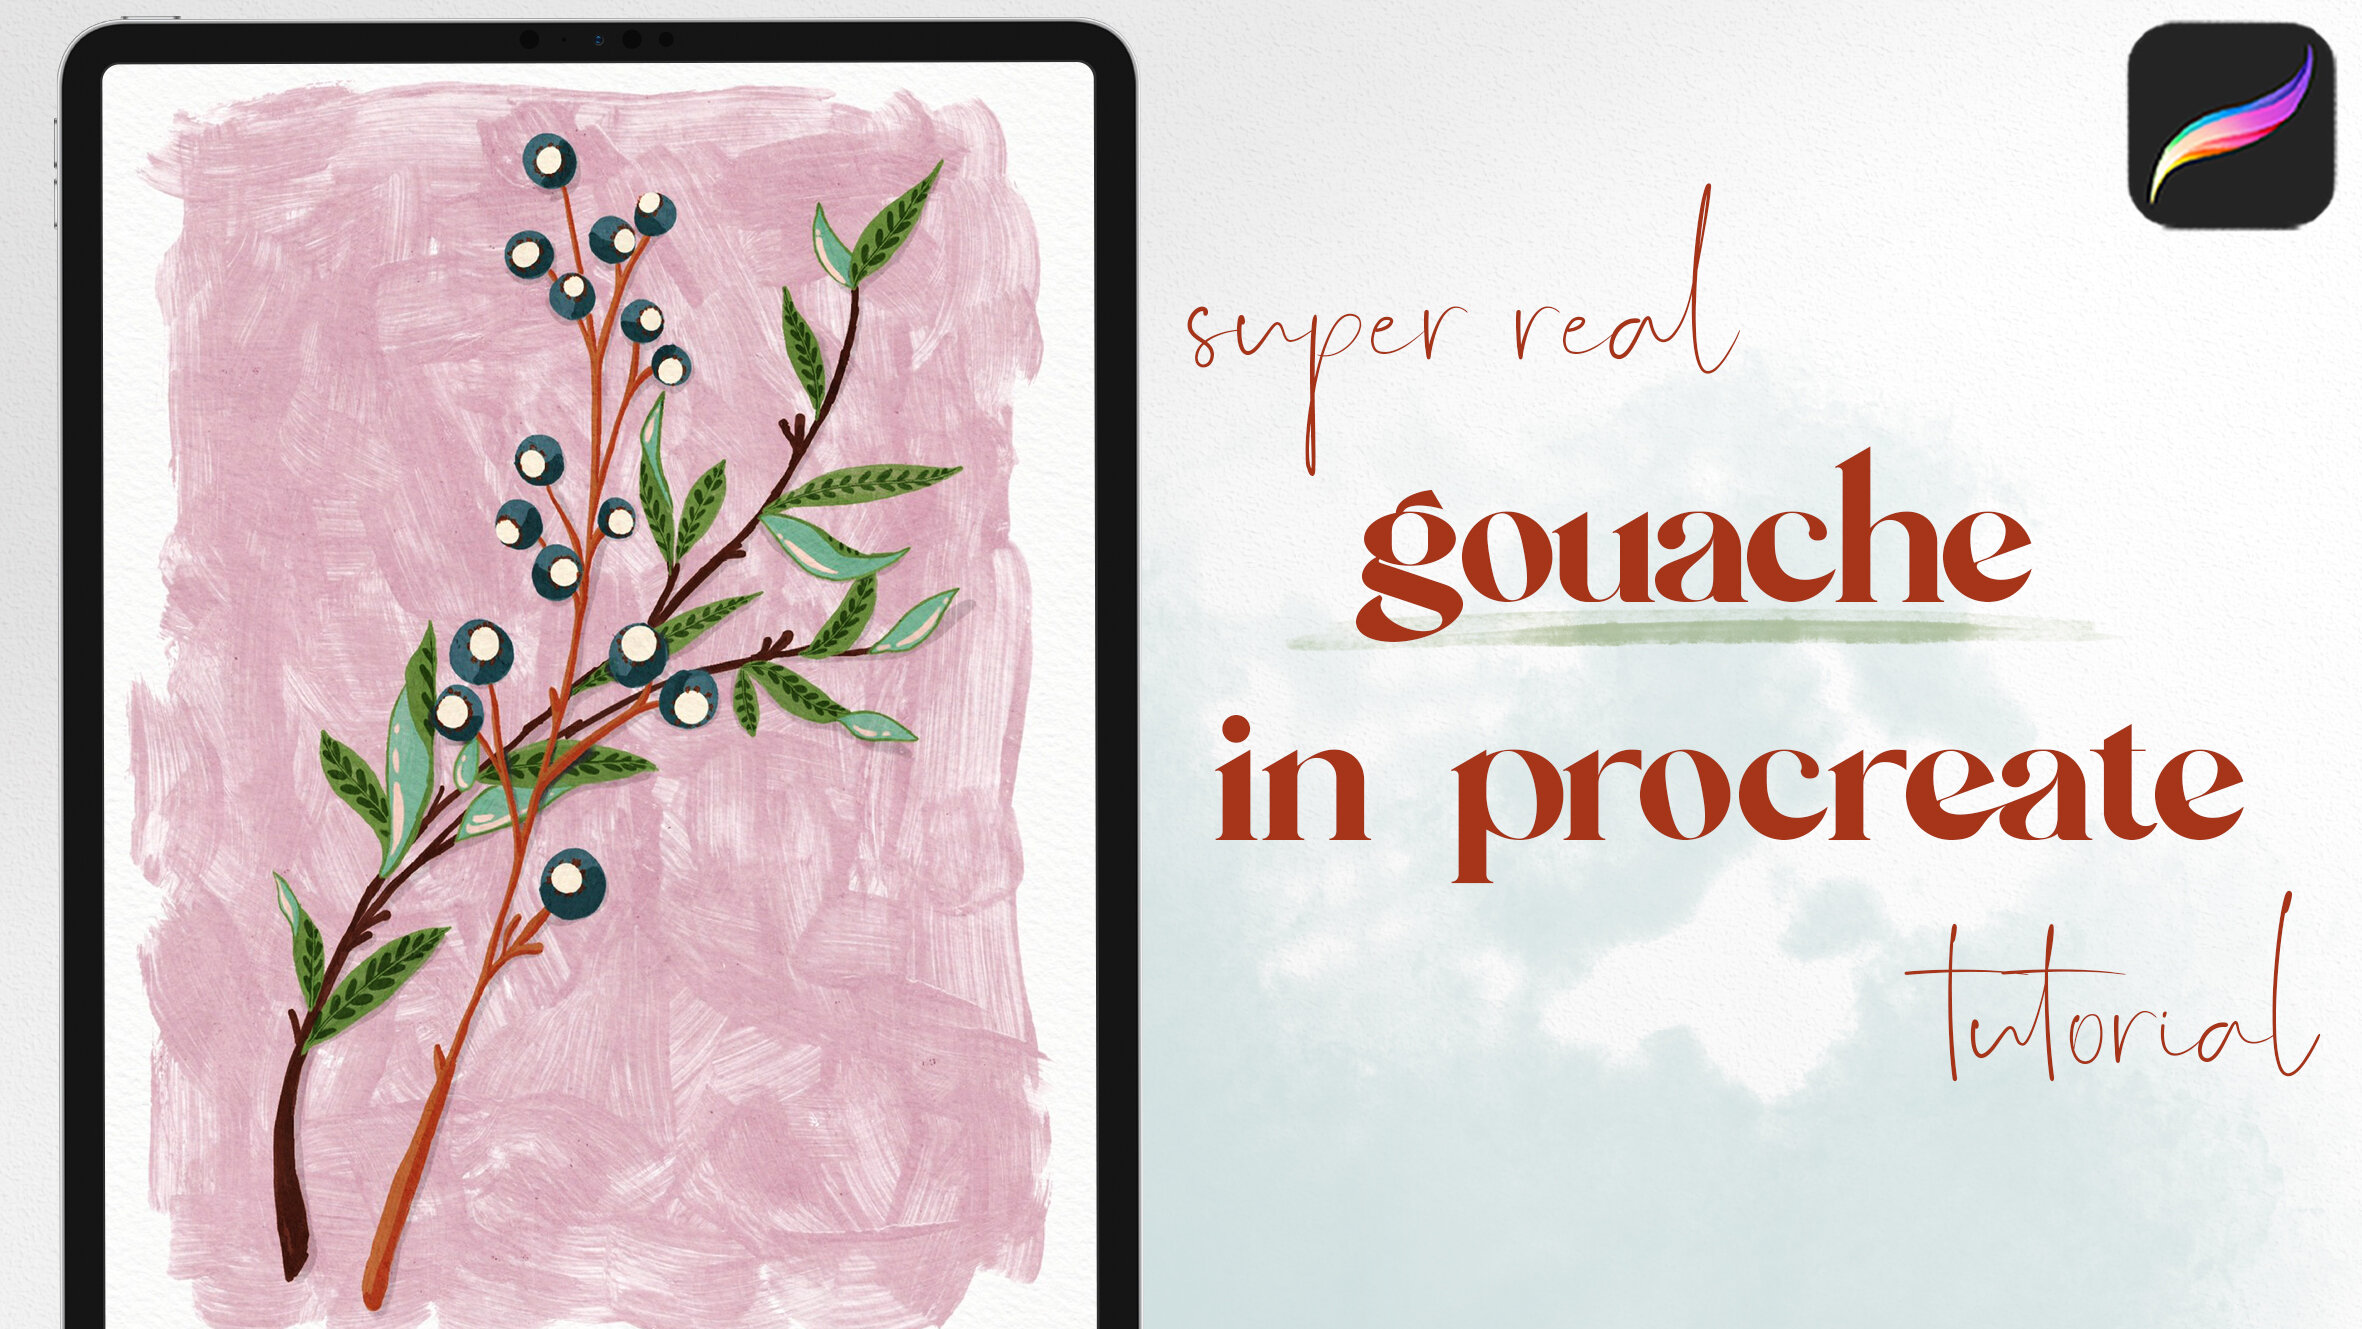
Procreate Watercolor Tutorial: Paint a Succulent
jumpstart your succulent art!
In this tutorial, we’re painting a watercolor succulent! To create the succulent sketch, I used the Succulent Builder Procreate Brush Kit. In addition to individual leaves, the set includes 24 different pre-built succulent plants that you can use as your jumping off point for this tutorial, just like a sketch. Check out all the details here:


BRUSHES USED:
Succulent Builder Kit (assorted brushes)
Soft Airbrush (for erasing) - under “Airbrushing” in brush panel
Half Minute Watercolor Brush
You can get the half minute brush for free by signing up for my newsletter:
This project also uses the Press Paper canvas, and the August color palette, which you can get after you sign up for the newsletter above. Now let’s jump into the tutorial!
Building the framework:
For this project, we’re using the oviferum leaves from the succulent builder kit. These are the rounded succulent leaves in the set. Start in a paper texture, adding in a few painting layers and then add one empty layer above to begin creating the framework.

Start with the smaller, rounded leaves because they’re a more foreshortened perspective - so they work well in the very center. Using the Leaf 28, I’m stamping this right in the middle of the canvas.
Then in the layers panel, add a new layer above this one.
On the new layer, add in a second leaf - I’m using Leaf 22. I’ve decided this is going to sit behind the first leaf, so further away from me.
Deciding which leaves are closer and further away is a key part of building the plant and selecting which leaves to use.
Now, still on the second leaf layer, erase the part of this leaf that would be hidden from view behind the first leaf, using the Soft Airbrush. You can also erase the triangle indicators from both layers.

Then, in the layers panel, pinch to merge these two layers together, and add in a new empty layer above the merged layer.

For the next leaf, I’m using Leaf 34. When building the center, “younger” part of the succulent, try to mainly to use the shorter, more tear-drop shaped leaves. On a real plant, the leaves grow continually out from the center, so these are always the shortest, chubbiest little leaves. Then as the leaves mature, they spread out, but stay connected to the plant stem - so they become longer, and often more curved. So there’s a mix of both kinds of leaves in the stamps.
Continue with the same steps: add a leaf on the new layer, erase the overlapping areas, merge, and adding a new layer.


Definitely don’t hesitate to use the transform tool to rotate, flip, or warp the leaves into what you want and need! The triangle indicator is there to point to the outside of the plant. As you go through this process of building, keep in mind that when layering leaves that are in a perspective closer to you, you’ll generally erase more of the overlap of the cluster - because the leaf you are adding is blocking the cluster from view. When layering leaves that are further away, you’ll primarily erase the overlap of the leaf you added, because the cluster is blocking the leaf from view.
WATERCOLOR: Initial fill
Once the plant is built (or sketched), lower the sketch layer opacity to about 40%.
Then grab a minty teal color and the Half Minute Watercolor brush (size set to 26%), and move down to a painting layer to begin the watercolor process!


Fill in each leaf individually, working your way around the plant. Add the most pigment on the lower, inner areas of the leaves, as these will have the most shadowed areas.
This brush is very watery, meaning that it behaves as a wet brush, allowing you to push the color around and blend within your brush strokes themselves. It’s updated for Procreate 5X, so you can get some super realistic watercolor effects with this.
With the first color painted, switch to the smudge tool, still set on the Half Minute Watercolor brush. Set the size here to 12%. Begin to smudge, moving the pigment around to smooth out any harsh overlaps of color.
If you need to you, can hide your succulent framework layer. It will look a little messy, but you’ll be able to see where to blend more easily.


Accent Color
Once it’s blended nicely, move to the layer directly above the painting layer. Choose a soft pink color, and set the brush size to 12%, and brush opacity to 55%.
Paint in the accent color along the tip of each leaf. Then, switch to the smudge tool to soften this color, blending at the transition to create a smooth gradient.
Shading
In the layers panel, merge the pink layer with the initial painting layer. Then move to a new layer above to add in shading. Select a darker version of the mint with the Half Minute Watercolor Brush. Turn the opacity down to about 55%, and size to about 8%.
Start to build up a little higher contrast. If you need to turn on your framework layer to see where to add shadows, you certainly can.
Add a little bit of darker color at the outside edges of the leaves, and then at any places where there might be a shadow cast from the other leaves in the plant. Also add some dimension at the inner curves of the leaves.


Back in the layers panel, tap to bring up the layer side menu, and then make it a clipping mask over the original painting layer. Then set the layer blend mode to Linear Burn.
Next, to smooth this out, tap the wand icon to open the adjustments menu, and select Gaussian Blur (Layer). Use your pencil to slide toward the right to increase the amount of blur to about 10%.
Highlight
On a new layer above the other painting layers, change the blend mode to Add, and turn this into a clipping mask as well. Then decrease the layer opacity down to about 30%.
Select the same pink that you used before, and still on the Half Minute Watercolor brush, decrease the brush opacity down to about 25%, and the size down to about 16%.


Use really light pressure to build up a tiny bit of highlight on the the leaves. This will help add the finishing touch of dimension.
Then, select Gaussian Blur (layer) under the Adjustments panel, and slide to adjust to about 10%.
Shadow below
Add one more new layer, this time moving it to beneath all the painting layers. With a mid grey color, paint in a shadow underneath the succulent.
You can choose to leave this as is, or apply a gaussian blur.


As a final step, in the layers panel, select the layer contents of the main succulent layer. Then, with the succulent selected, move back down to the shadow layer.
Use three fingers to “scrub” the screen to clear the selected contents from the shadow layer. This will remove the overlap of paint.
Start painting now, or pin this for later!

Get the FREE Half Minute Watercolor Brush:

JOIN THE PACK
When you join, you'll also gain access to dozens of Procreate freebies: brushes, paper textures, workbooks, and color palettes. I send out weekly updates with my best tips and tricks, and you'll be the first to hear when new freebies are released!