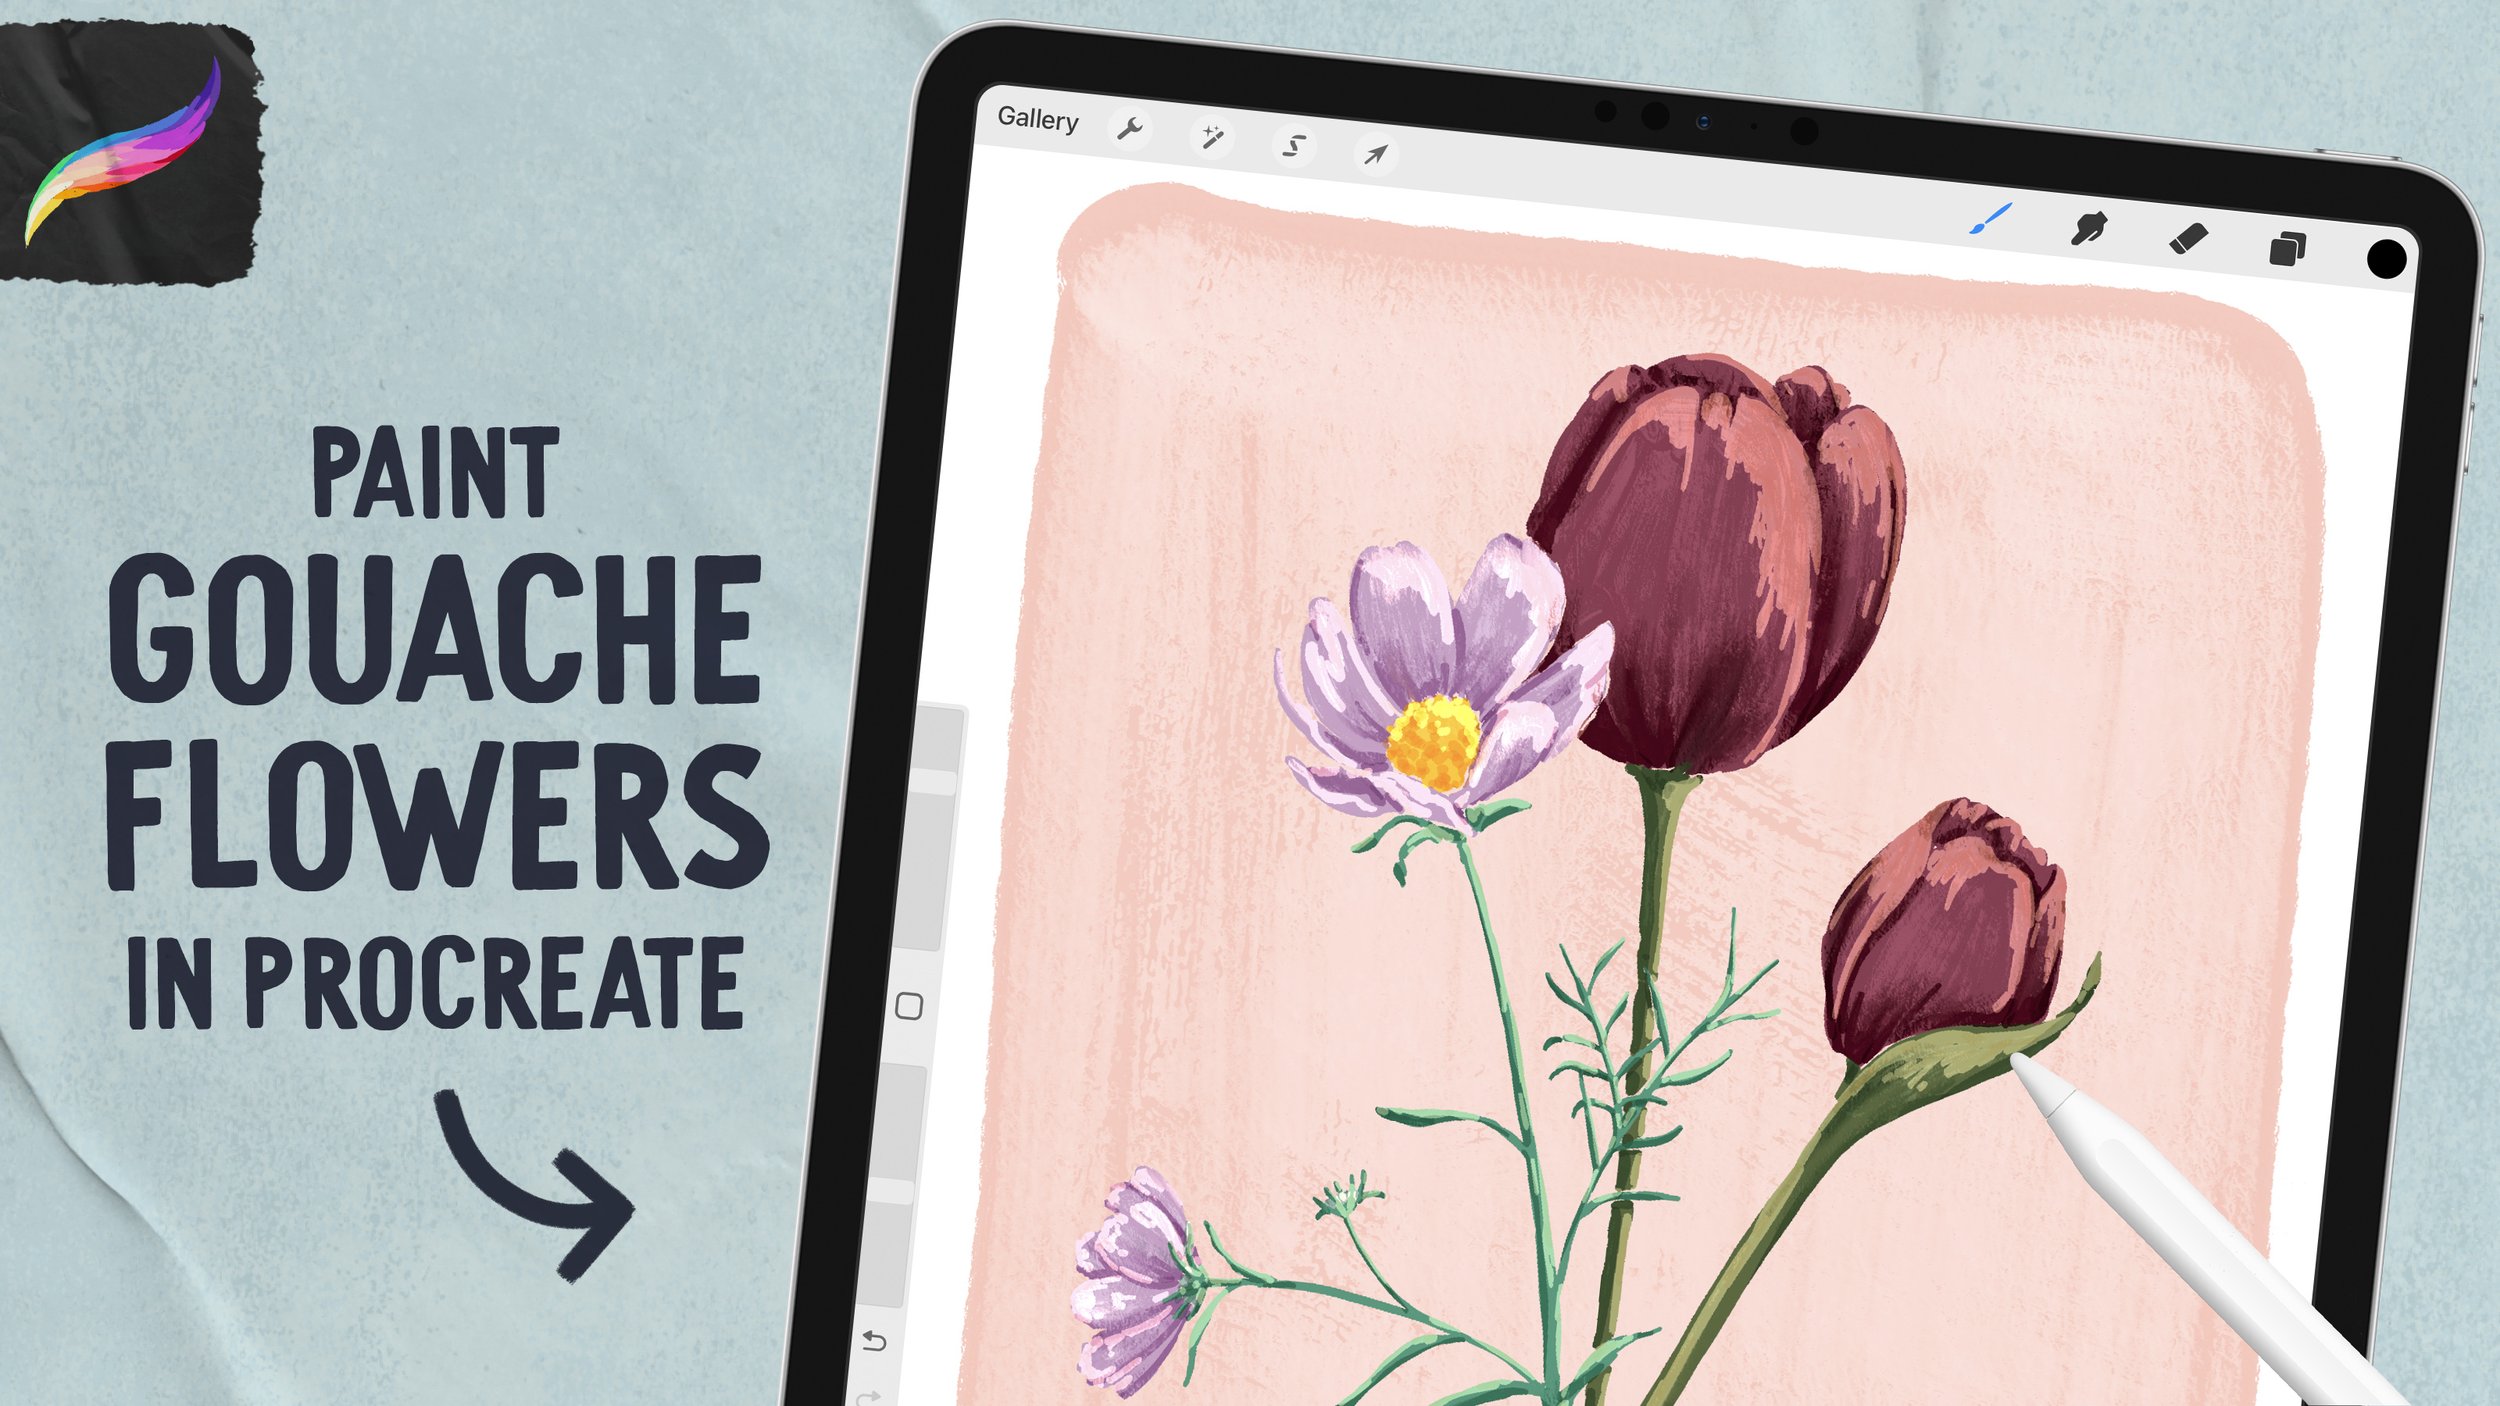
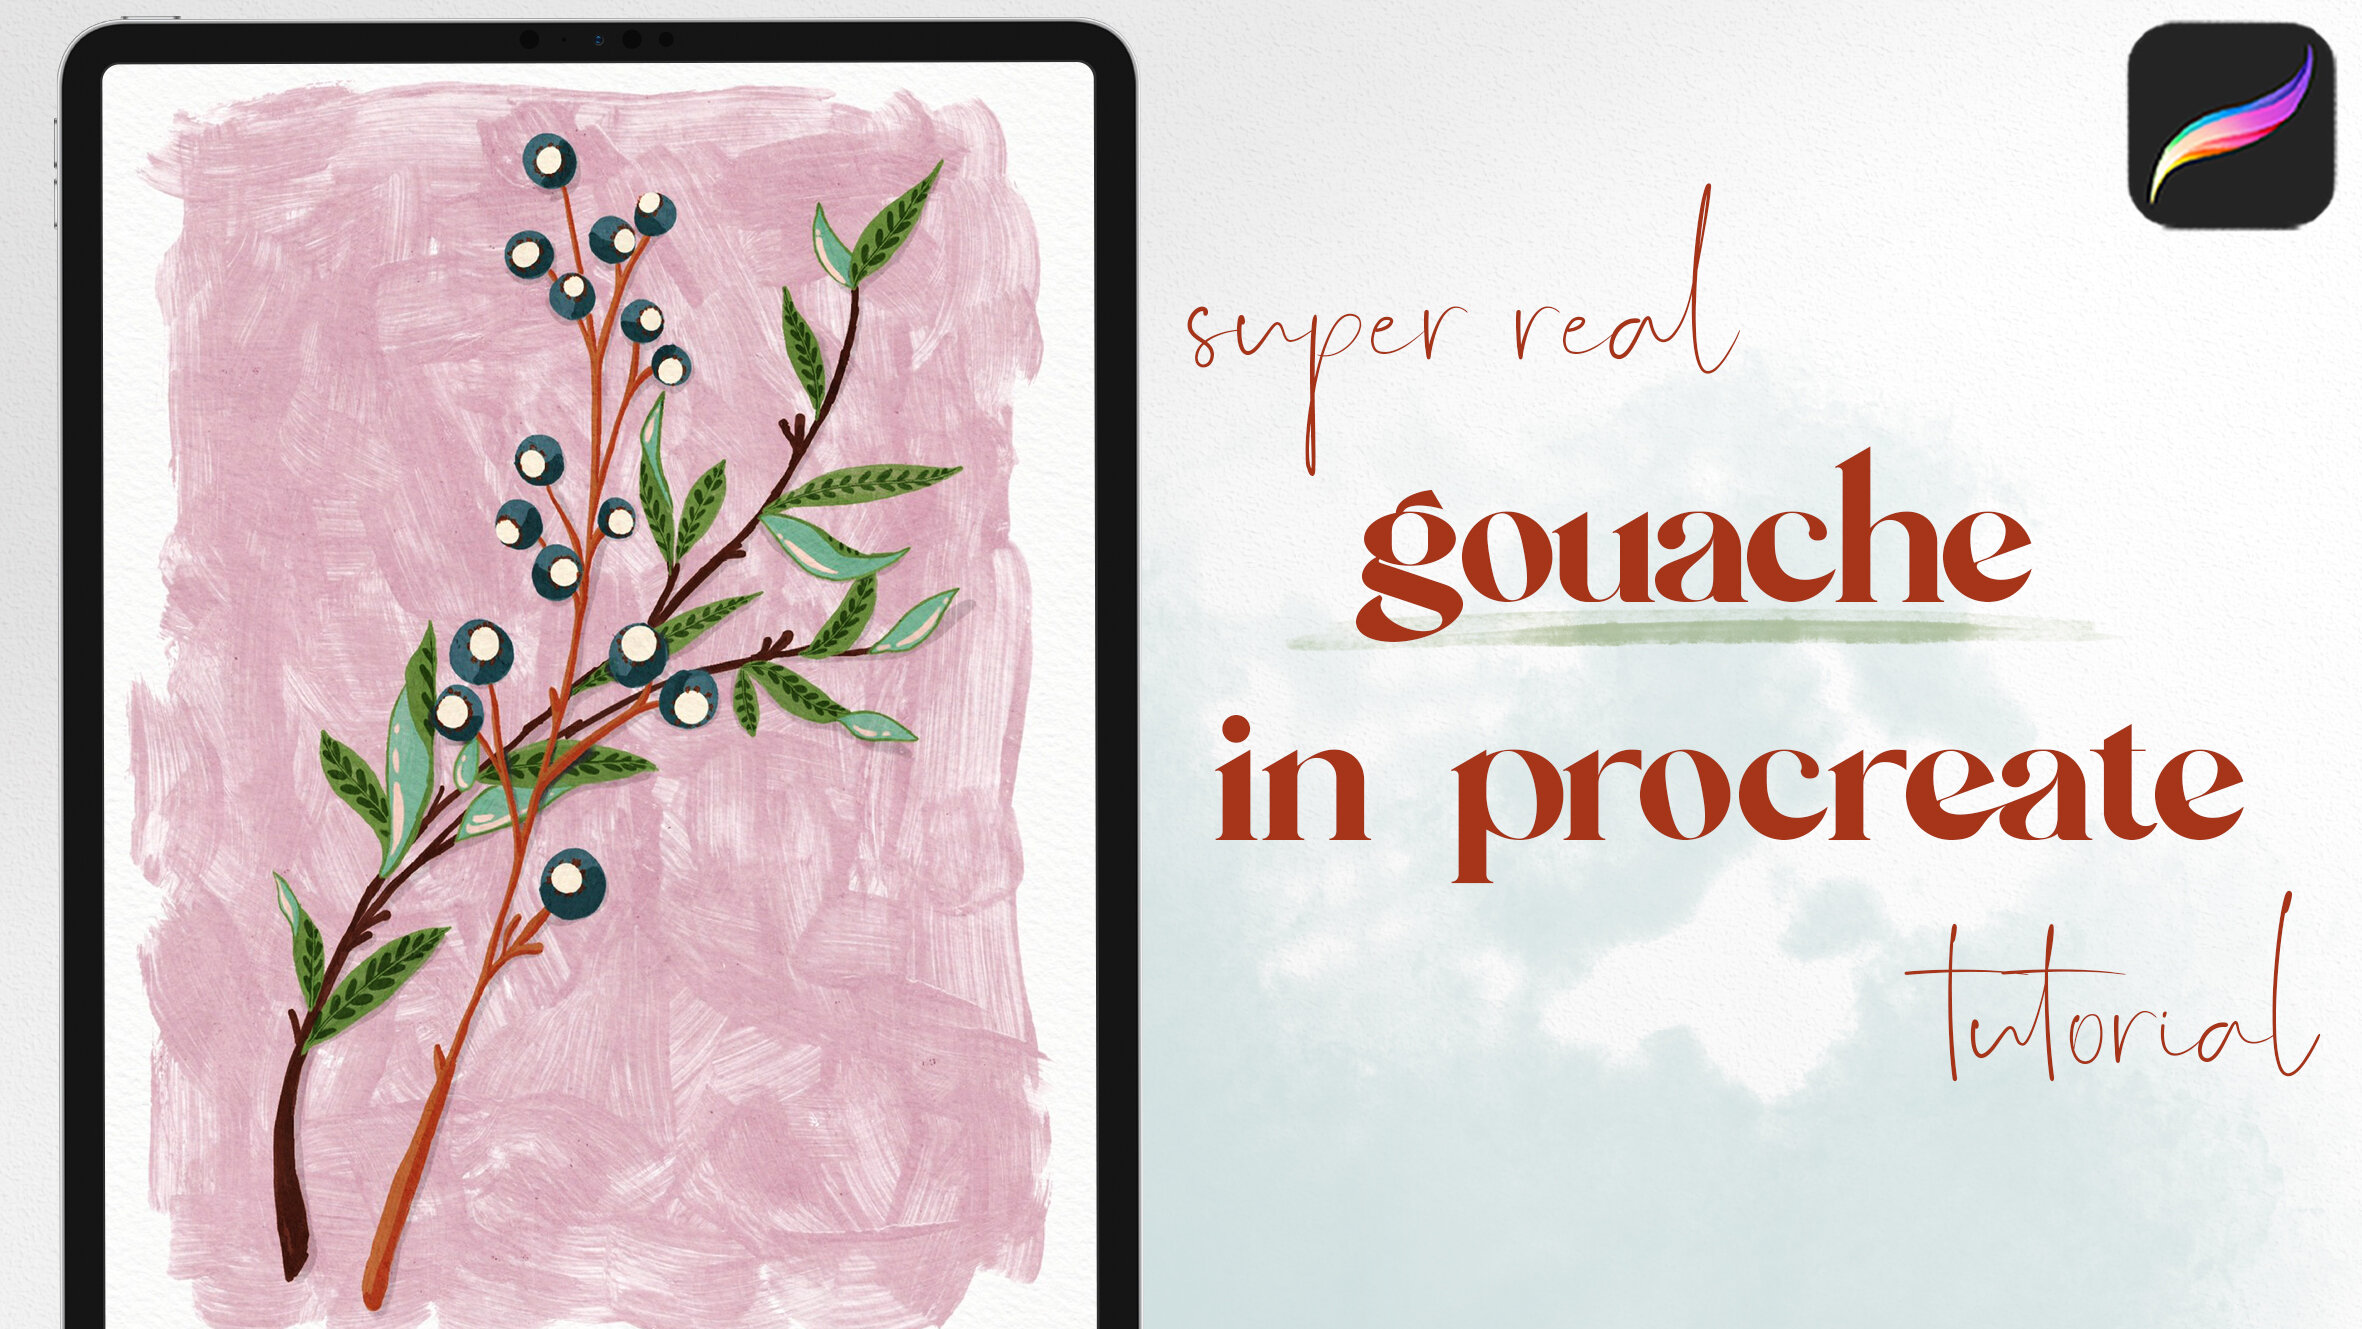
Paint Gouache Flowers in Procreate
In this tutorial (part 1 of a gouache flower painting series), we're painting some tulips and cosmos using the brushes from my Mess Makers set. I'll show you how these brushes work together to create goopy thick paint effects, and how you can achieve a gouache effect digitally in Procreate.
Brushes

For this project, I’m using the goopy paint brushes from my Mess Makers set. These are a trio of brushes that work together to help you achieve thick, textured, dynamic looking paint - perfect for emulating a gouache style in Procreate!
Canvas Set Up
First, you’ll want to set up a new canvas. I’ve used the “Screen Size” preset within Procreate to make it easy. Load the transparent sketch file in as the topmost layer, and then add four new layers below. We’re going to begin painting on the bottom layer.

Painting the Background Wash

Select a peachy pink color from the palette, and with the Smeary Goopy Paint brush set to 100%, use one continuous stroke to paint in a large rectangle behind the sketch.
This is meant to kind of frame the composition, so try to square off any rounded sides, and keep a margin on all sides of the canvas.
After painting my background wash, I wanted to tweak the proportions a tiny bit, so I tapped the transform tool, set it to freeform, and adjusted the width a bit. Feel free to use Distort or Warp to make yours just the right size!


Painting a Solid Fill
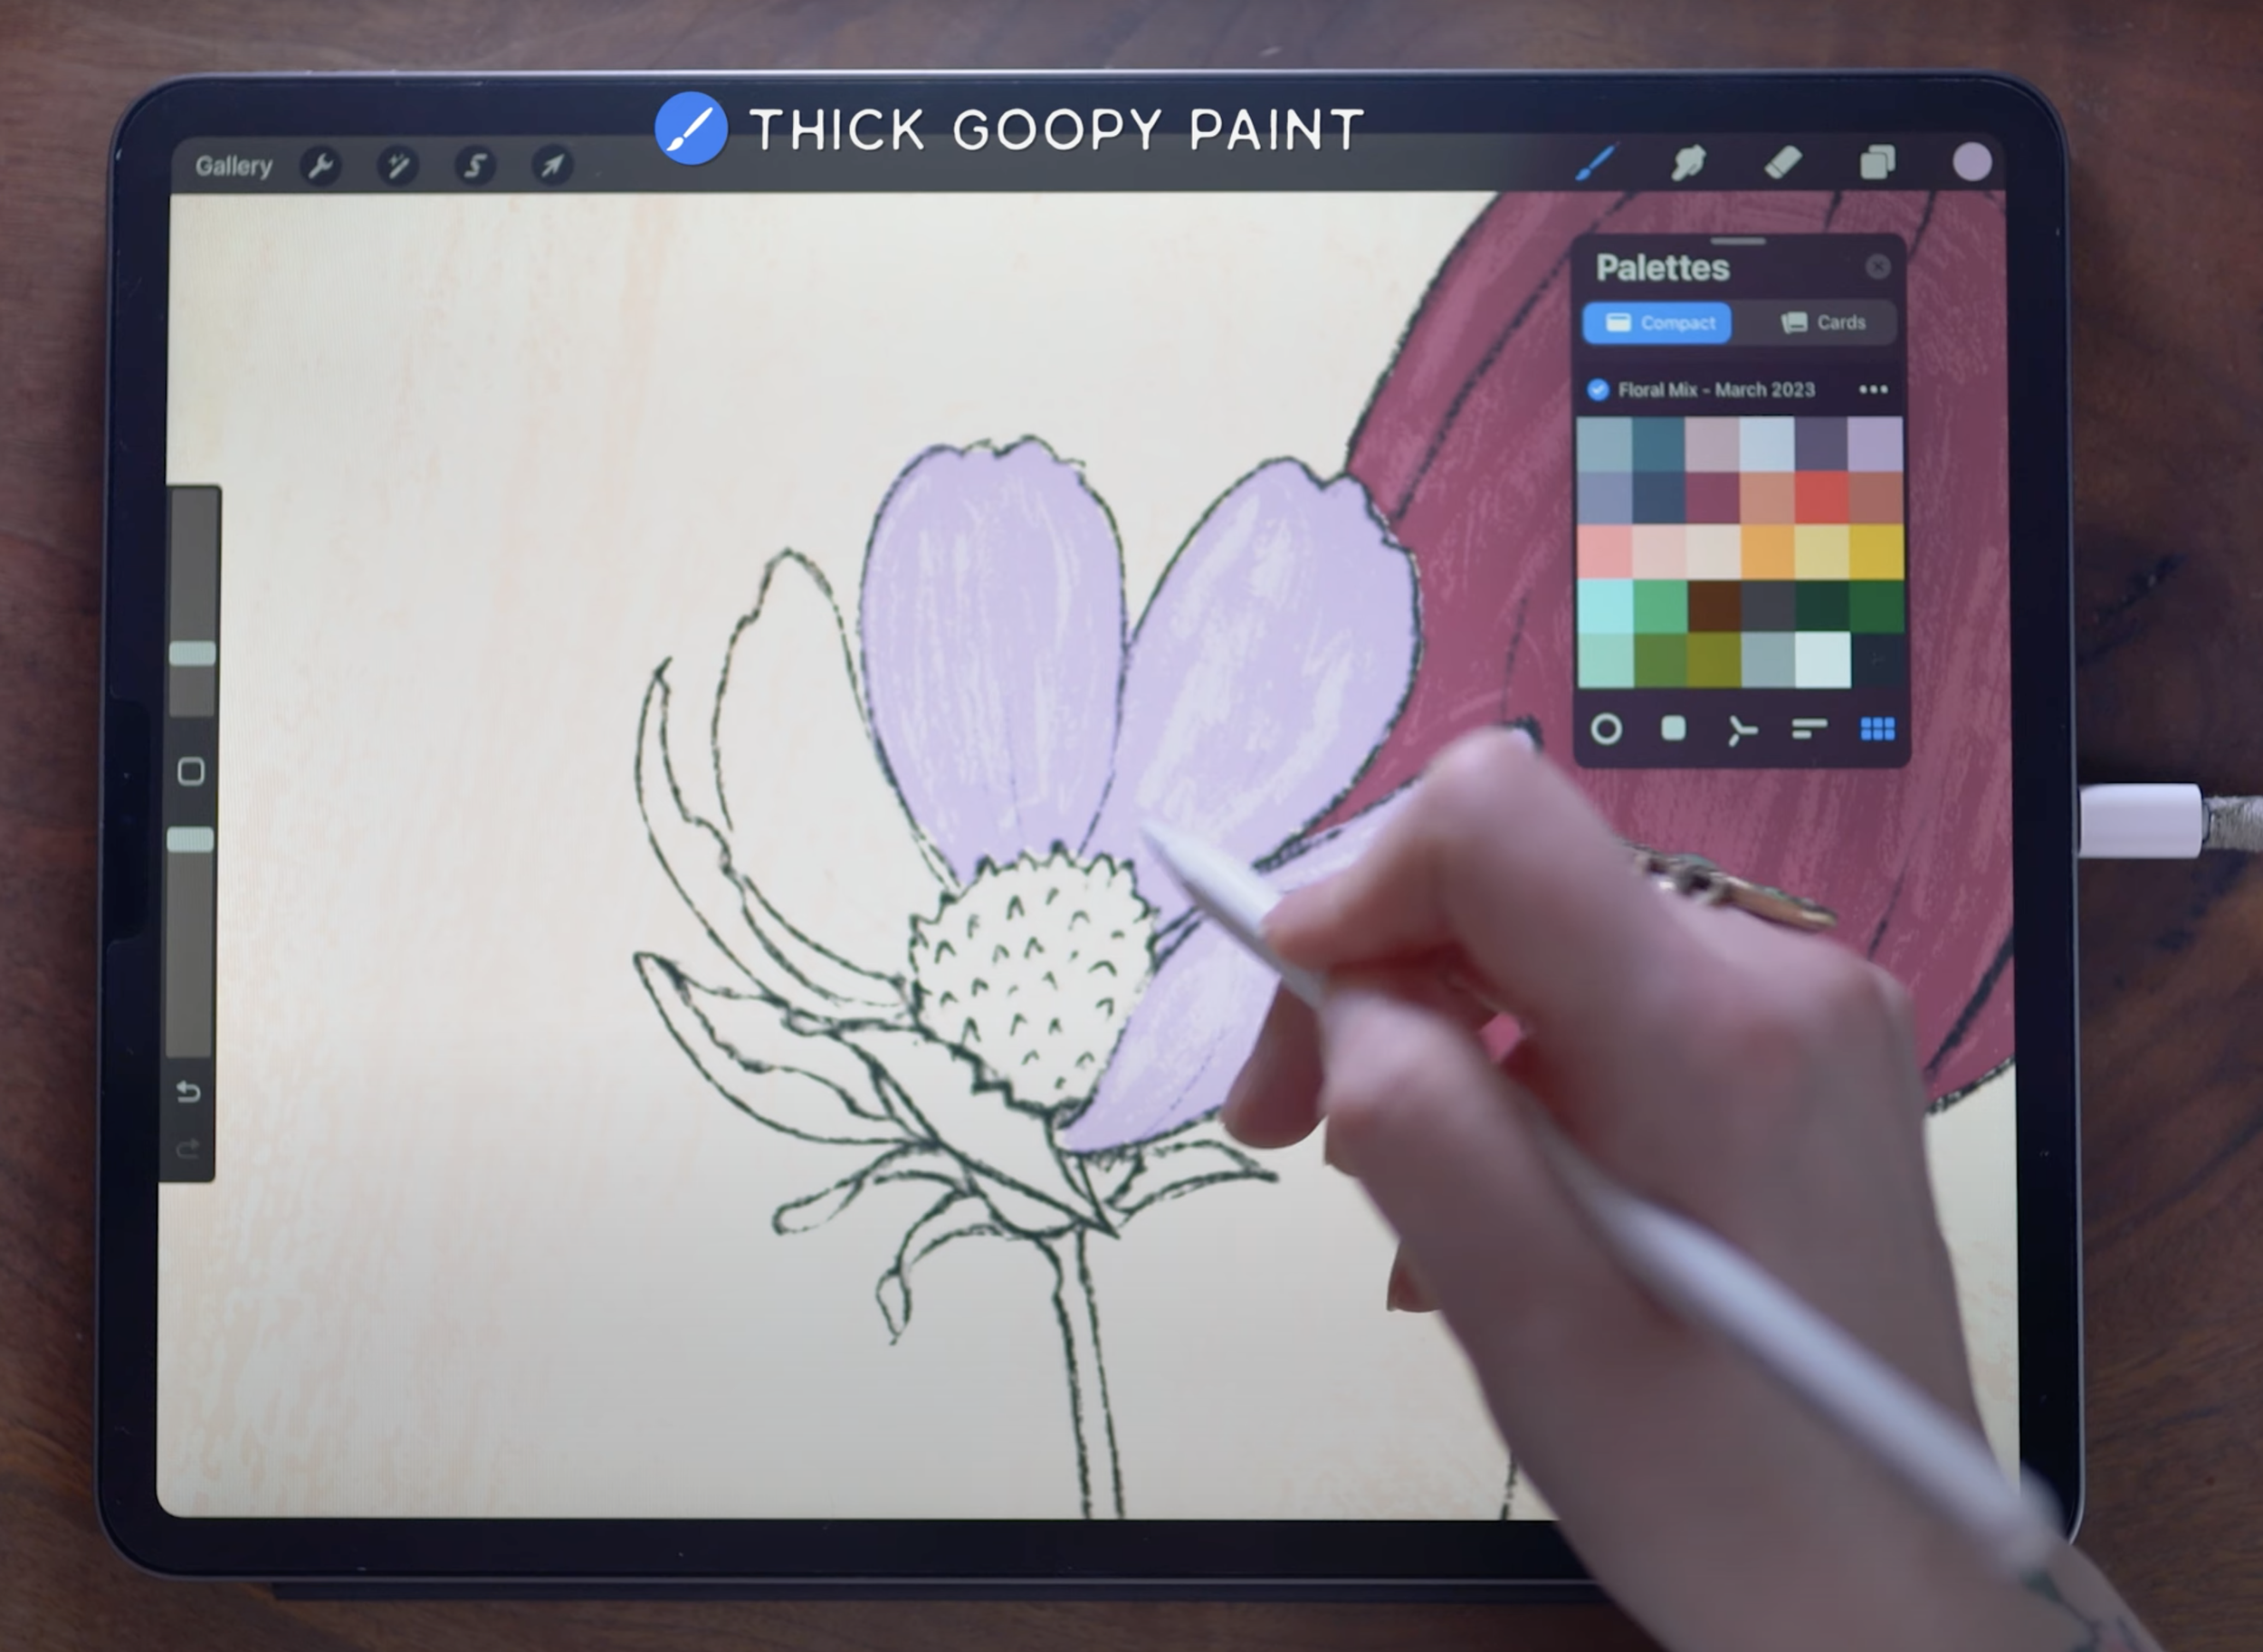
Next, let’s paint a solid fill color for all the flowers. We’re going to do this on a single layer, so move up to Layer 2. With a plum color and the Thick Goopy Paint brush, paint in the tulips.
This brush is pressure sensitive, and when you apply more pressure, you see more of the two-tone texture coming through.
Apply less pressure, and the darker color - more true to the color you’re using - will show. It’s also pressure sensitive for size, so when you’re painting the narrow, small areas and using lighter pressure, know that they’ll show less of the lighter tone.

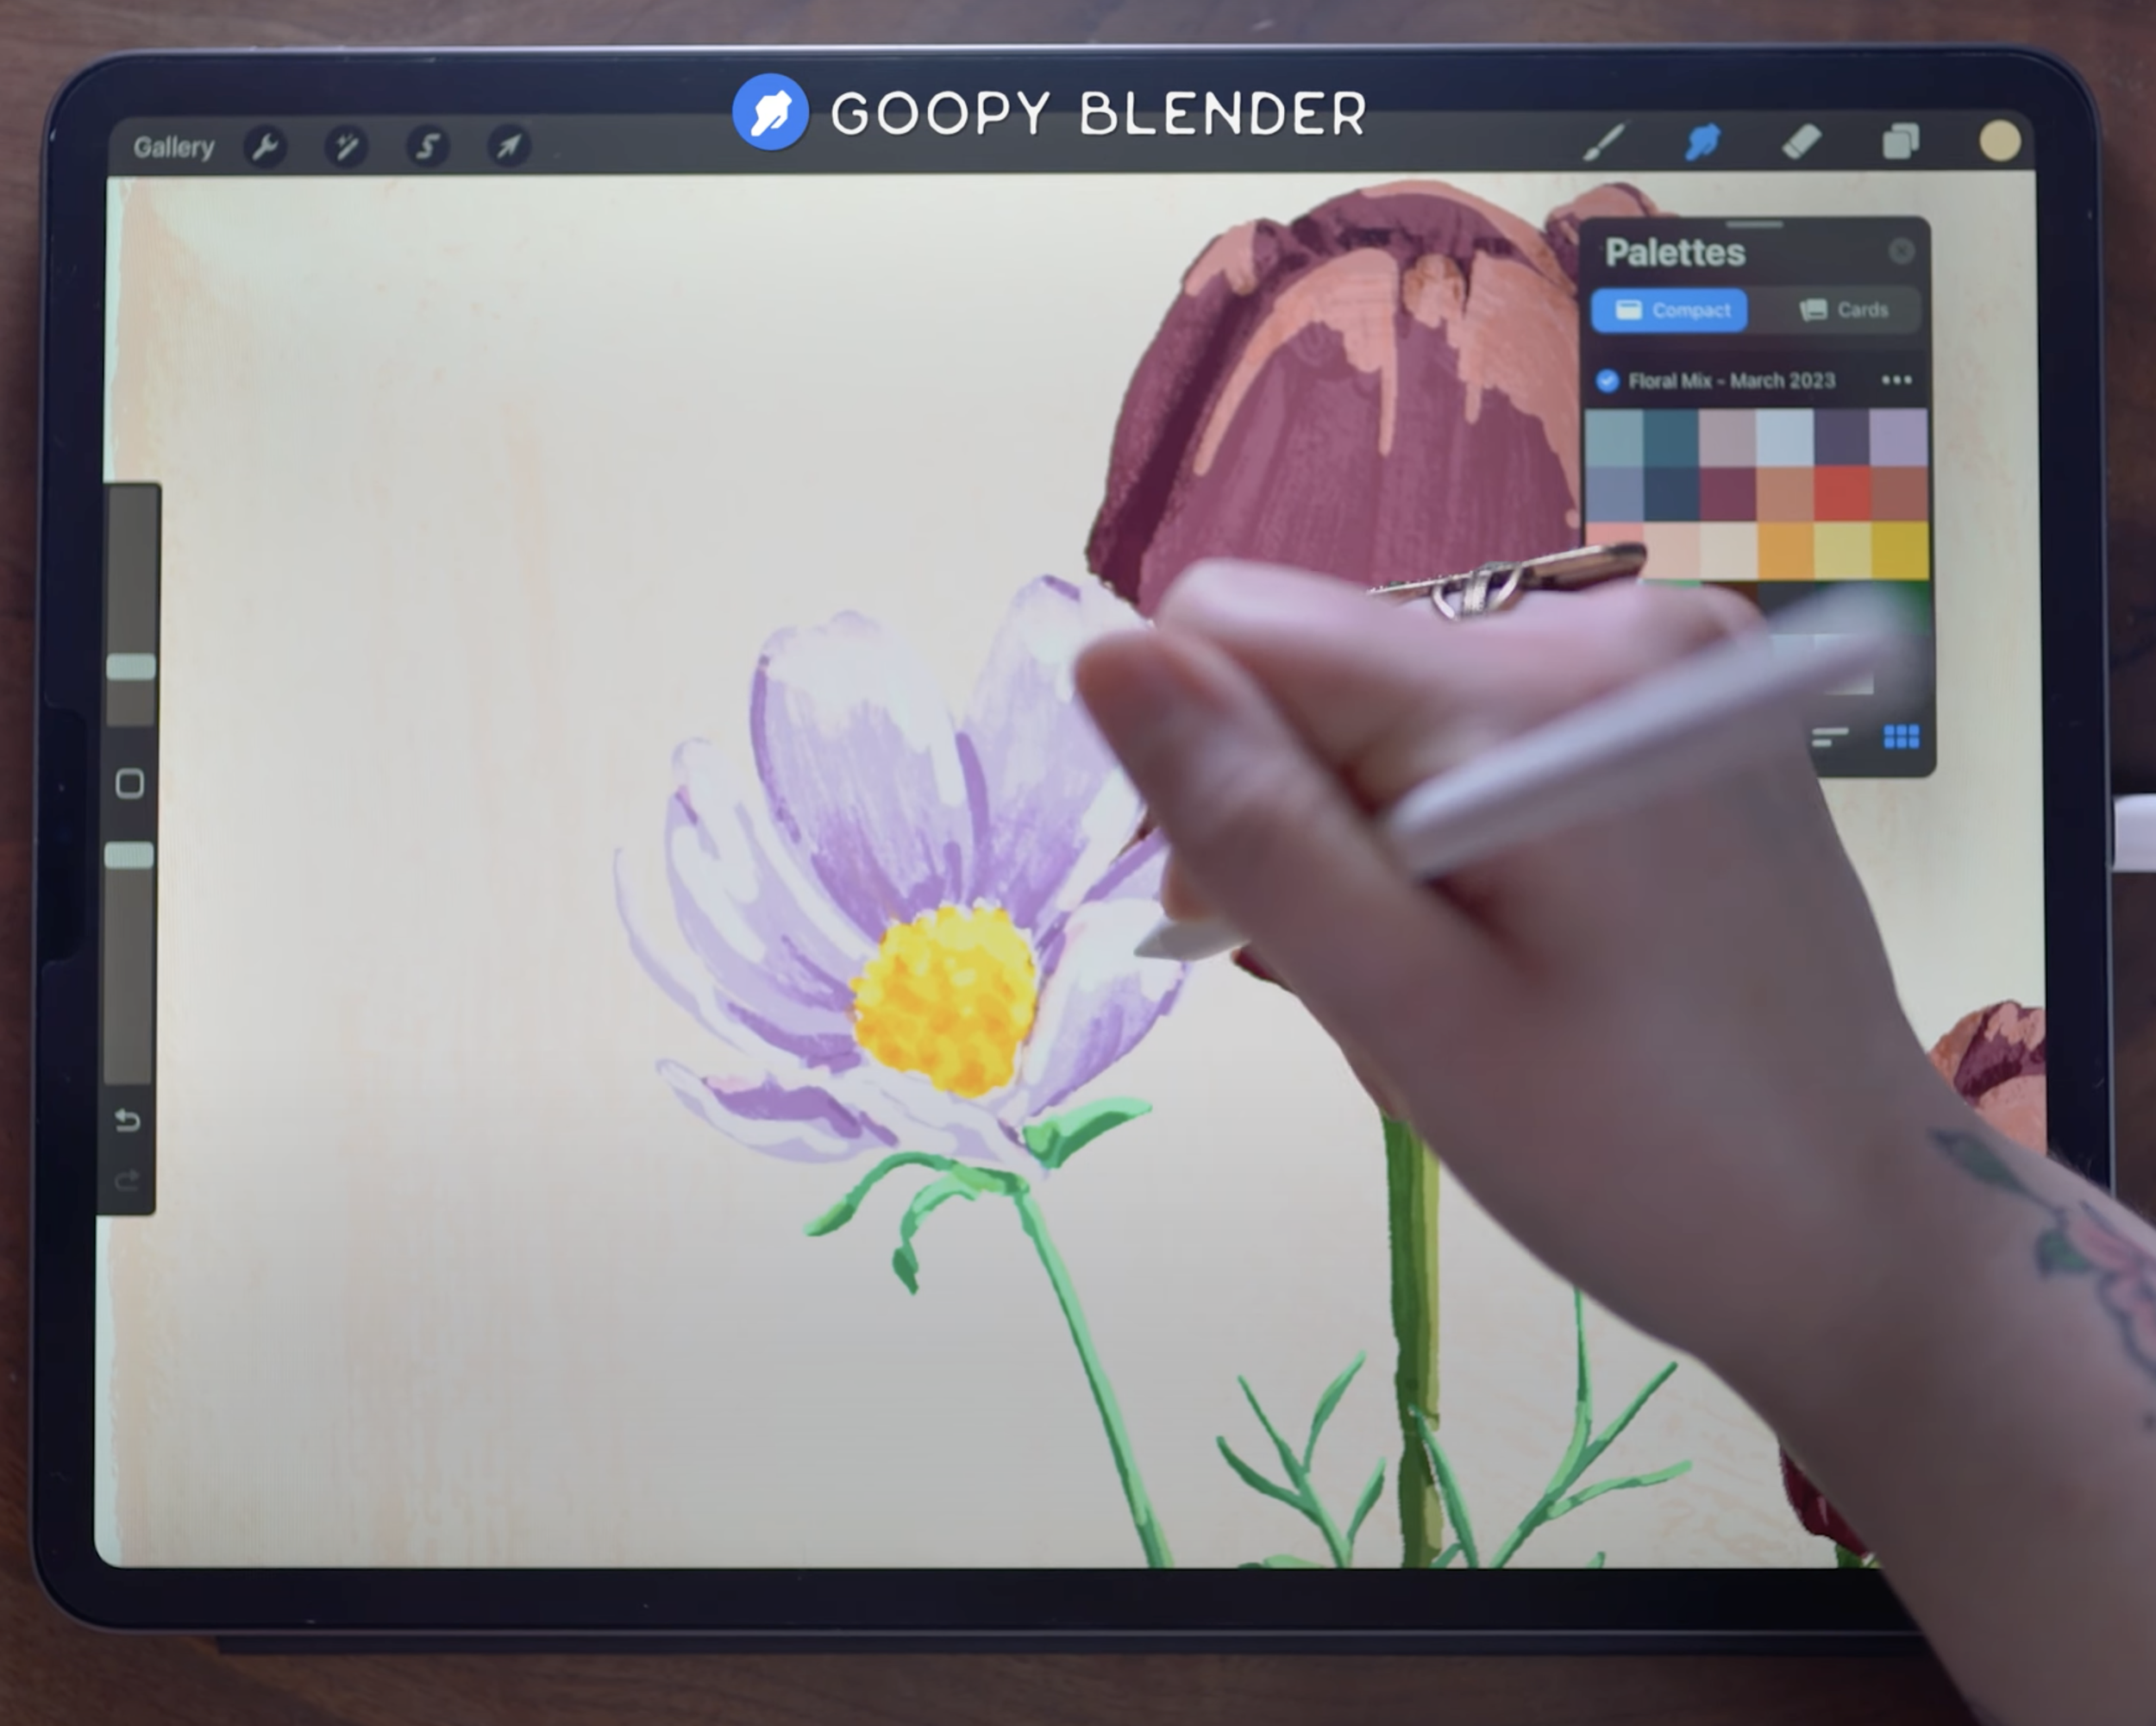
Continue painting the flowers, all on the same layer. Here, I used lavender for the cosmo flowers, and gold yellow for the center of the cosmo.


Next, I used this bright green for the cosmo stems and leaves, and then this brighter forest green for the tulip stem and leaves. Again, this was all done on the same layer as the flowers.
Adding Shadows

Next, move up to Layer 3. Tap the layer to bring up the side menu, and turn it into a clipping mask over the flower layer we just painted on. Then, tap the “N”, and set the blend mode to Multiply. This will become our shadow layer.
Now, using the Smeary Goopy Paint brush, select the same plum color we used for the tulips. Start to paint in shadows, focusing on the areas where the petals overlap, as well as the base of the petals and any creases. We’re not going to include the sketch in the final piece, so this is our chance to really add definition and clarify the shapes of the petals.


Next, using the same lavender that we used on the cosmos, start to add in shadows on these flowers as well.
We’re going to smudge these later, so don’t worry if it looks a little too bold right now!
This brush is a little transparent, so it behaves more like watered-down gouache than the previous brush.


For the stems, use the mint green for a softer shadow look on both.

Smudge the Shadows
Next, switch to the smudge tool, and select the Goopy Blender brush. With this, start to smudge out some of the shadows to soften them.
This brush allows you to maintain some of the same great paint texture of the brushes we painted with, without adding any more thick paint to the canvas.
Adding Highlights
Next, we’re going to move to our Layer 4. Set this layer up as a clipping mask as well, and then set the blend mode to Add. This time, decrease the opacity to about 30%, too.


Select a soft gold color to use for the highlights. Begin to paint these in, using the same gold color for the highlights everywhere.
Again, use this to help add definition and shape to the flowers. Don’t forget to add some highlights in the center of the cosmo flower, too!
Smudge the Highlights
Next, switch to the smudge tool, set to the Goopy Blender. You can also go ahead and hide the sketch layer at this time.
Now, rather than totally softening the highlights, I’m using the smudge tool to pull the highlights down from the edges of the cosmo, to help prevent the tops of the flowers from totally blending in with the background.
You can also smudge out the highlights to soften them. For the most part, I really liked the bold look, and kept it largely intact and un-smudged.
Adjusting the Background Color
Once I finished the highlights, I realized the background color clashed a bit. Ideally, I’d have these things figured out before making the tutorial - but hopefully showing you how to correct this after the fact will be more helpful to you!
Moving to the layer with the background, we’re going to create a color adjustment.


Tap the wand tool, and then tap Hue, Saturation, and Brightness.

On the bottom bar that pops up, you can now adjust the sliders to change the background color to what you prefer. I ended up changing my hue to 49% (a little more yellow), my saturation to 46% (a little less saturated), and brightness to 48% (a little darker).
All these changes helped the flowers stand out more against the background.
And that’s the finished piece!

Thanks for painting along with me! If you share your lovely work, be sure to tag me (@woolypronto) so I can see!
Start painting now, or pin this project for later!

Get FREE Procreate Palettes in Your Inbox:

JOIN THE newsletter fam:
When you join, you'll gain access to dozens of Procreate freebies: brushes, paper textures, workbooks, and my entire library of color palettes. I send out updates each week with my best tips and tricks, and you'll be the first to hear when new freebies are released!