How to Paint Cozy Sweater Knits in Procreate
In this tutorial, I'm showing you how to use the Sweater Knit for Procreate brushes to apply a sweater pattern to your watercolor illustrations. I'll walk through some tips for drawing super cozy sweaters, how to use the watercolor brushes in the set to create a watercolor base, and then I'll show you how to apply the sweater texture on a layer above the watercolor. We'll use the selection tool to easily clean everything up, and then Liquify to make the sweater more.. sweater-y. Lastly, I'll show you how to use a layer mask to enhance the soft watercolor look.
Brushes
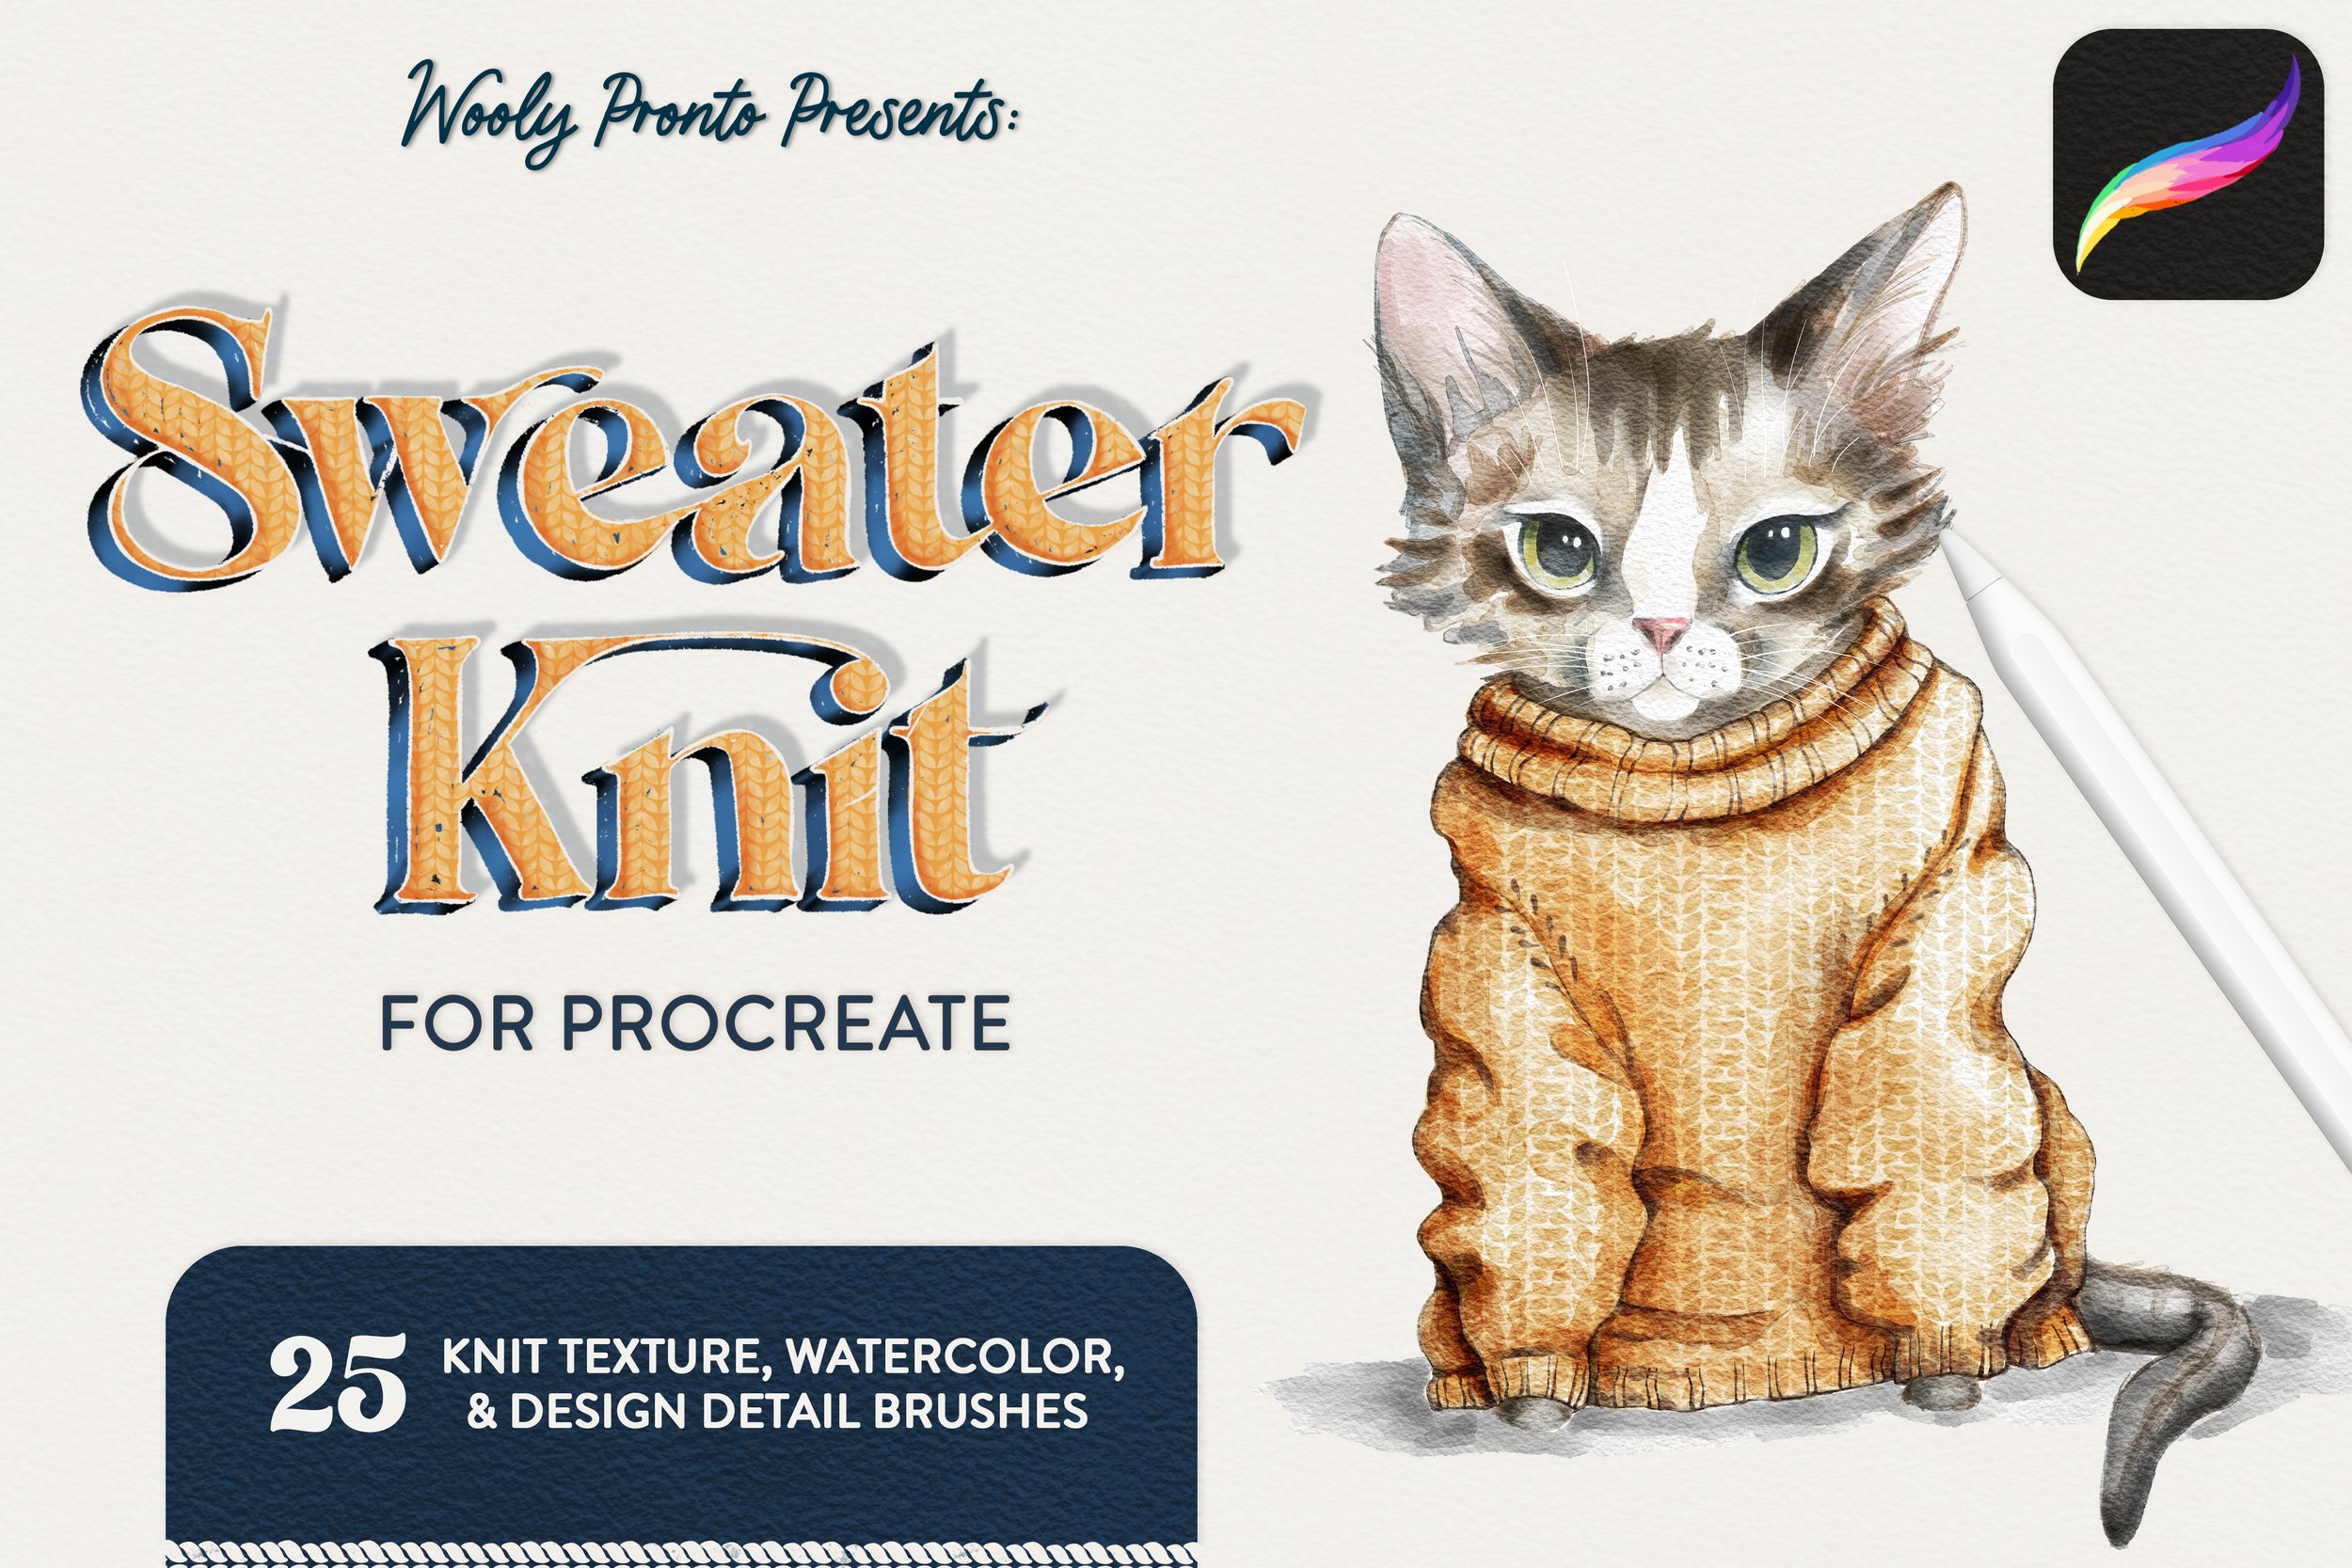
For this project, I’m using watercolor and pattern brushes from the Sweater Knit set. Layer knit texture over watercolor, add cables and colorful stitching details, and create beautiful hand drawn knitwear illustrations.
Free Sweater Knit Brush Sample
Sign up for my newsletter to get access to a free Sweater Knit brush sample from this pack, along with everything in the Resource Library - dozens of free brushes, canvases, and color palettes! Get all the goodies here:
Tips for Sweater Drawing
Before we get into painting, let’s go over some tips for drawing sweaters. I’ve sketched in roughly where the body of the cat would be in yellow. You can see that the sweater is drawn to be quite a bit bigger, with lots of ‘wearing ease’, so the sweater drapes and bunches and falls on the body.
I’ve drawn lots of wrinkles and folds too. The sweater has rib trim at the neck, sleeves, and bottom, and at the sleeves, the rib draws in toward the body to be quite fitted. The sweater also has visible stitch decreases along the armholes - this is quite typical in sweaters from the way the knit panels are shaped. Incorporating these details helps communicate that it’s a knitted garment, and shows the bulky softness of the sweater.
Canvas Set Up
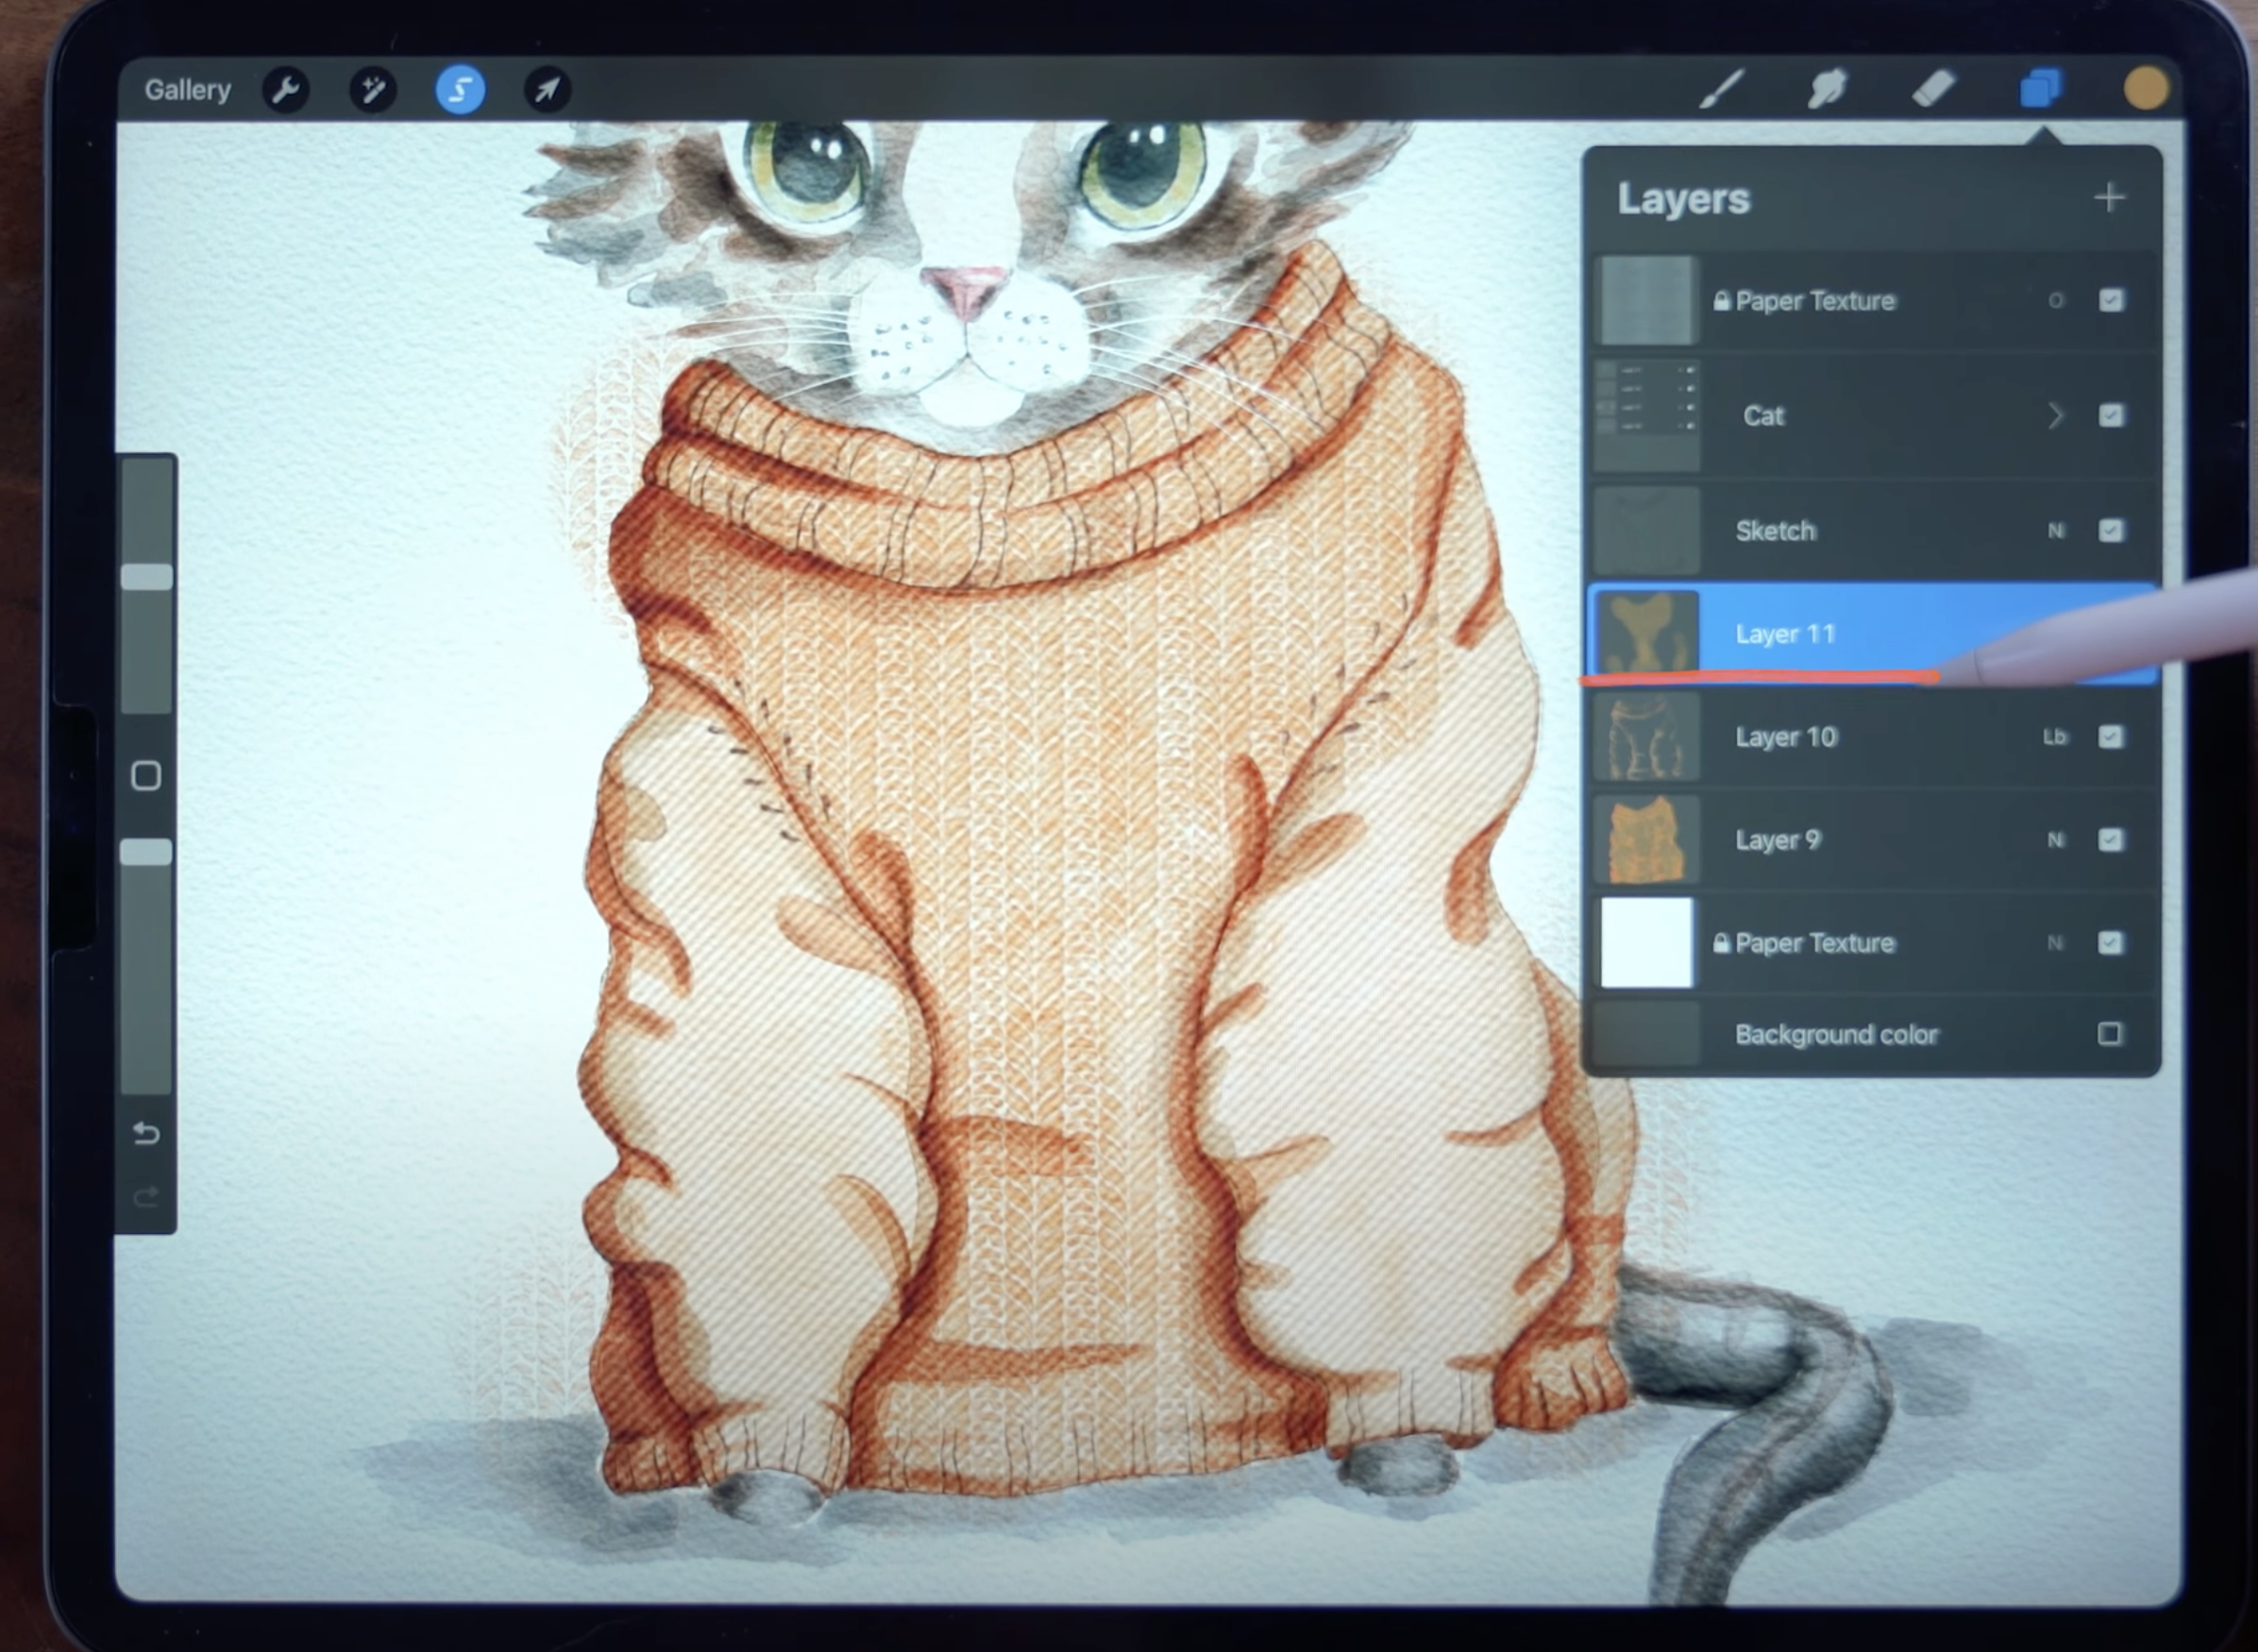
This tutorial is going to cover the watercolor and sweater texture portions of the painting, so I’ve already grouped my watercolor cat layers above the sweater sketch. I also have a paper texture layer at the top and bottom, which enhances the watercolor look.
Painting a Watercolor Base
With the Intense Build Watercolor brush, on the bottommost layer, paint in a solid watercolor fill. This is going to function as the base, and we’ll layer shadows and the knit texture above this.
This brush is a ‘buildable’ type brush, meaning that the more brush strokes you layer, the darker the color will become. For the base layer, focus on creating one layer of color with hard outer edges - we’ll need to use this with Automatic Selection later, so it’s helpful to have those hard, dark edges.
Now, staying on the same layer, paint in some initial shadows. Here you can see the effect of the buildable color.
Focus primarily on shadows cast from the wrinkles, and defining the seams of the sweater.
Shadow and Detail Layer
Next, move up to a new empty layer above the watercolor. Set the blend mode to Linear Burn. Using the Intense Build Watercolor brush, build up the shadows, this time making them as dark as you’d like them to be in the finished piece. It helps to use a darker color than the original, in addition to the blend mode and buildable brush.
Then, switch to the Big Soft Watercolor - Blend & Paint brush. Adjust the color to be even darker. Use this brush to start to blend out the layered, dark shadows. This brush acts like a paintbrush with a lot of water, so you can use it to soften harsh edges and blend while adding a little more pigment.
Decrease the brush size to add in fine details, like the rib trim, the seams, and the stitch decreases. Use this brush to create “water bleed” areas, where the pigment splotches and bleeds out like real watercolor.
Applying the Sweater Pattern
Move up to an empty layer above both watercolor layers. Set the blend mode to Linear Burn. Select a knit pattern brush. Make sure the canvas direction is aligned with the grain of the body of the sweater: these brushes work so that the pattern is aligned with the ipad screen direction, so when you rotate or tilt your canvas, the pattern will always be oriented to the screen, not the canvas. In this case, the grain of the sweater body is straight up and down, so centering my canvas aligns the grain and the canvas direction.
Now, with the same color as you painted the watercolor base, paint in the sweater texture over the body. It’s okay to go outside the lines - we’ll clean that up next!
Once the body of the sweater is filled with the pattern, open the layers panel, and go to the base watercolor layer.
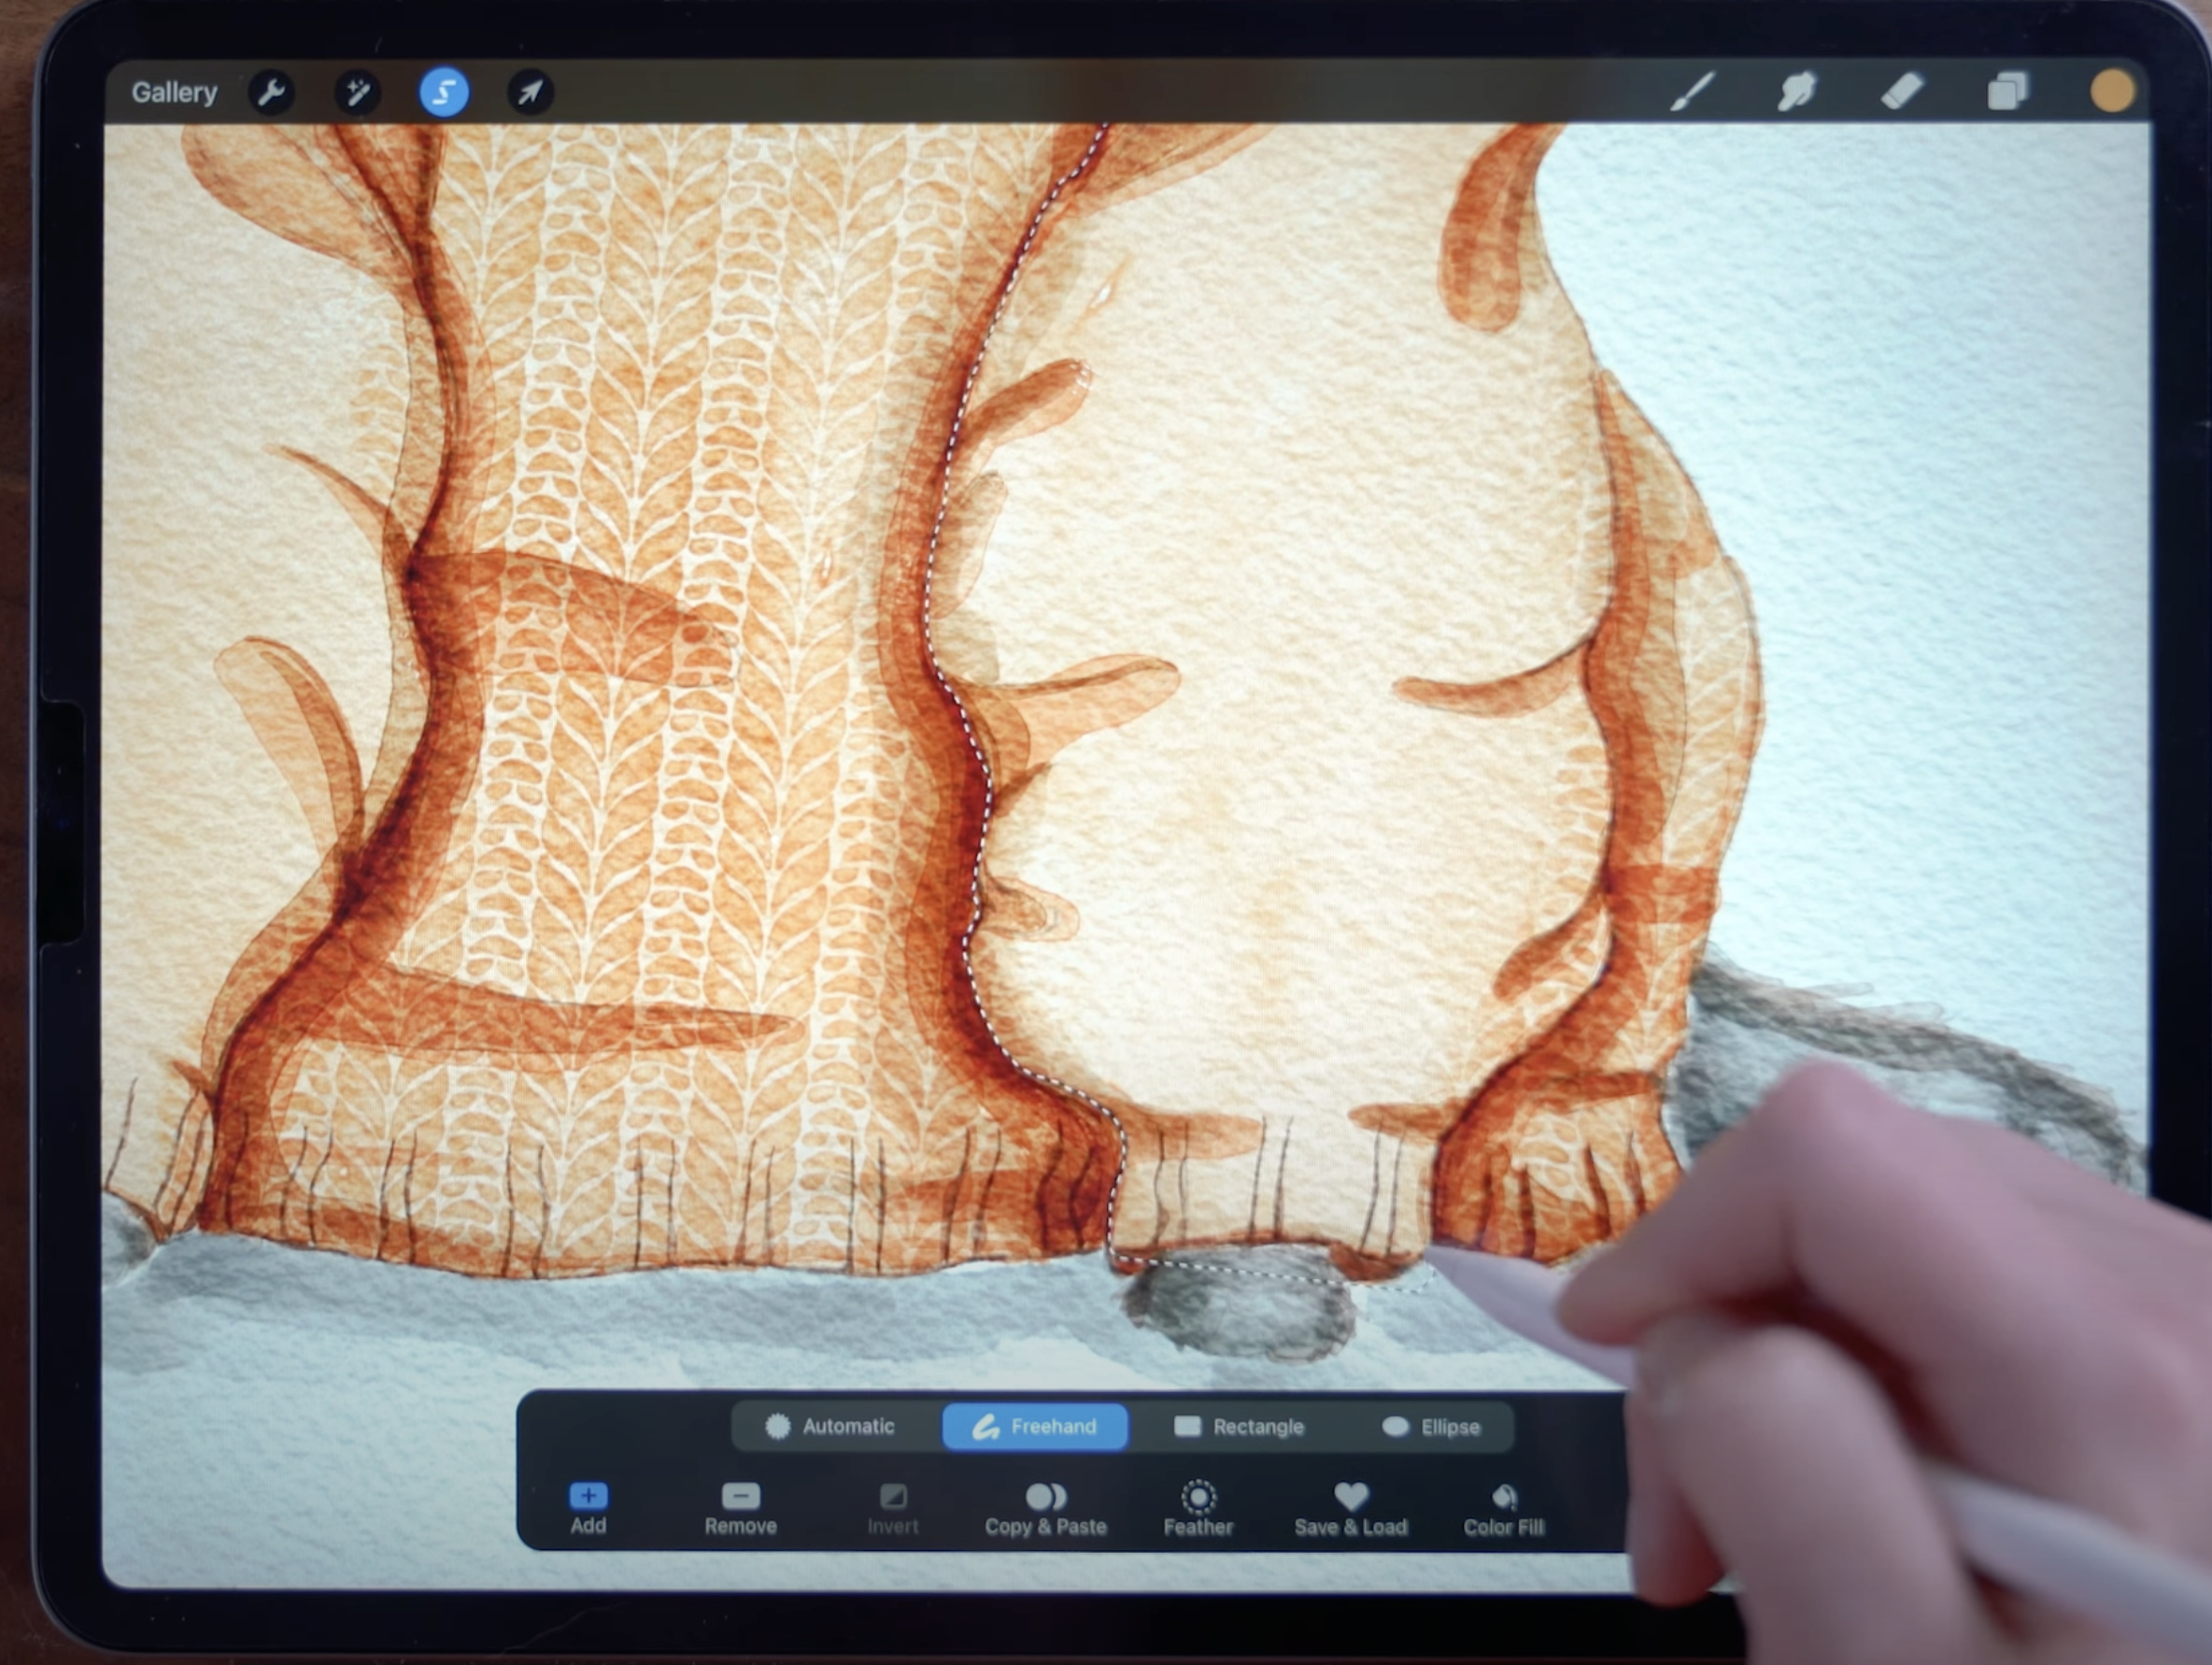
Tap the Selection tool, and then set it to Automatic, and make sure that Color Fill is turned off. Then touch the pencil to the screen in the area outside of the sweater, to select the negative space. Slide the pencil to the left or right to adjust the selection threshold.
With this selection still live, move to the layer with the sweater pattern. Now, use three fingers to scrub back and forth to clear the selection. Alternatively, you can swipe three fingers down to bring up the cut/copy/paste menu, and tap cut.
Because this only cleaned up outside of the sweater body, we still need to clean up the sleeves. You can do this with the eraser tool, or you can use Freehand Select to draw a selection around the sleeves to remove the pattern from them.
On a new layer, set to Linear Burn, paint the sweater texture on the sleeves. You can see here I have tilted my canvas, so the grain follows the direction of the sleeves.
This time, intentionally paint outside the lines to give yourself a wide margin on either side of the sleeve edges.
Manipulating the Pattern with Liquify
Once the sleeves are filled, go the Adjustments menu (the wand) and select Liquify. On the bottom bar, select Push. Use this tool to bend and warp the sweater pattern to follow the wrinkles and curves of the sleeves, pushing and pulling the pattern to manipulate it.
Next, go back down to the base watercolor layer, and use Automatic Select to select outside of the body of the sweater. Go back up to the sleeve pattern layer, and use three fingers to scrub the screen and clear the selected contents.
And once again, we’ve only cleaned up the outside portions, so we’ll need to also remove the pattern overlap from the body of the sweater. Use Freehand Select to draw a selection around the body of the sweater this time, and then clear the selected contents to remove them.
Now, in the layers panel, merge the two sweater pattern layers together. Tap the layer to bring up the side menu, and then tap Mask to create a layer mask.
We’re going to use this to create soft highlights on the sweater pattern layer.
With the eraser tool, erase areas on the sweater that would be brightest or hit by light: above folds, on the edge of the sleeve, etc. In this image, it looks like I’m removing a LOT of the sweater pattern - but don’t worry, we’ll be putting some of it back with the next step.
Now, still working on the layer mask, switch to the Smudge tool, set to the Smudgy Water brush. Use this to soften all the areas you erased. You’ll see the sweater texture begin to reappear as you smudge.
And that’s the finished piece!
Thanks for painting along with me! If you share your lovely work, be sure to tag me (@woolypronto) so I can see!
Start painting now, or pin this project for later!
Get FREE Procreate Palettes in Your Inbox:
JOIN THE newsletter fam:
When you join, you'll gain access to dozens of Procreate freebies: brushes, paper textures, workbooks, and my entire library of color palettes. I send out updates each week with my best tips and tricks, and you'll be the first to hear when new freebies are released!
