Watercolor in Procreate - Herbs Series: Cilantro
Watercolor Cilantro
This project builds on what we learned in the Watercolor Sage tutorial, but also kicks it up a few notches. We’ll be adding more watery effects, and using some layer mask and duplication techniques in the workflow.
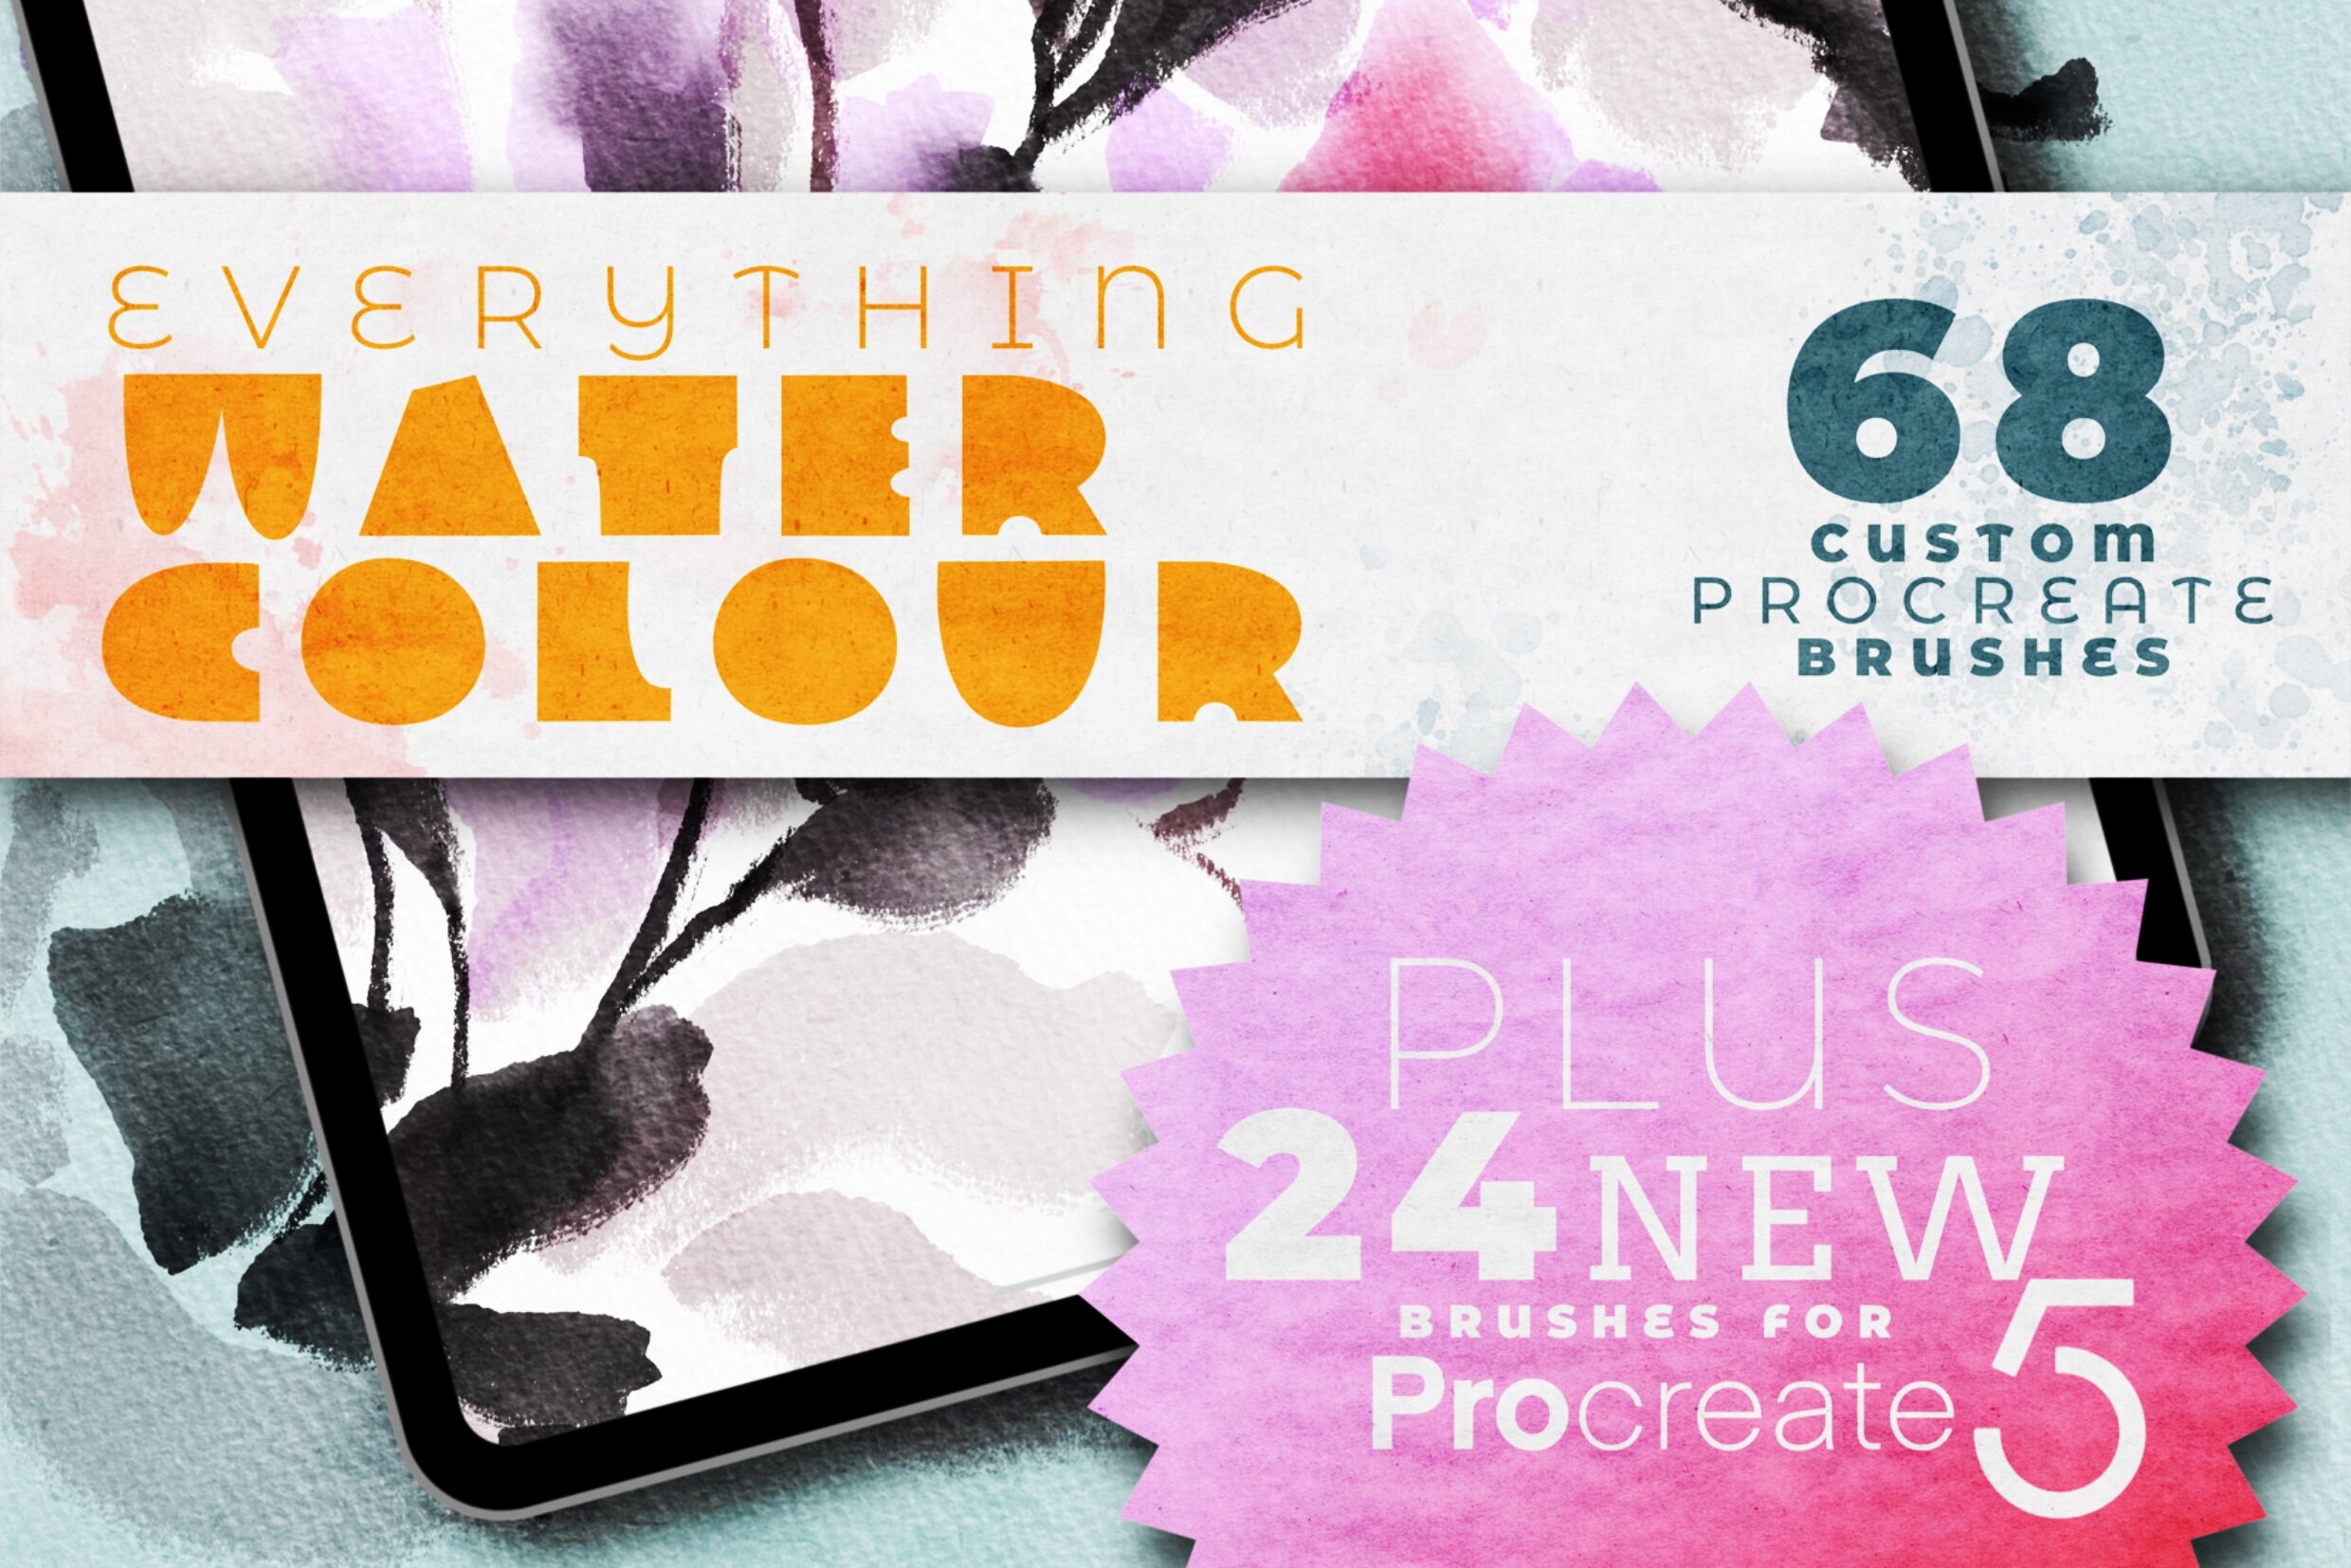
For this project, I used the Everything Watercolor for Procreate brush pack from Uproot Brushes, but you can definitely use any watercolor brushes you have for a similar look! You'll just need a good painting brush (ideally with some natural dark edges), a smudger, and a couple brushes for adding splatters and watery effects. If you want these exact brushes, you can check them out here (and use my affiliate link to take 10% off with code WOOLY10 at checkout!):
BRUSHES USED:
AN Glazy Daisy
AN Saturated Water Smudger
AN Salt Smudge Tool
AN Blooming Cloud
AN Wet Bleed Edge
AN Sprinkle Drops
Color palette:
I used colors from my August color palette, which I send out to my newsletter subscribers. You can get access to it (and other great freebies!) by signing up here:
Canvas texture & Set up:
Begin in a square canvas. I’m working in the canvas that comes with the brush pack, using the Hand Pressed Paper. You can use any paper texture you like, but I do recommend using a texture as a key element of recreating the watercolor look.
Stems
Using the Glazy Daisy brush set to about 5%, draw several main stems, intersecting them towards the base. Draw them using smooth strokes, making them thicker at the bottom and tapered at the top.
Then draw in additional “branches” extending and overlapping from the main stems.

Go into the Layers panel, and use two fingers to press and hold on the Stems layer to select the layer contents. Then Use the smudge tool, set to the Saturated Water Smudger, to blend out the starker overlaps of the stems.

Go into the Layers panel, and use two fingers to press and hold on the Stems layer to select the layer contents. Then Use the smudge tool, set to the Saturated Water Smudger, to blend out the starker overlaps of the stems.
Painting the Leaves
With the Glazy Daisy brush set to 3%, move onto a new layer to draw your leaves. Cilantro leaves have quite a bit of edge texture, so keep this in mind as you paint them - but don’t worry about making them perfect! There are a lot of these leaves to draw, so definitely don’t sweat the details on these.


Keep drawing until you have a fair amount of leaves covering all the stems. It doesn’t need to be super full, because our next steps are going to increase the amount of leaves in a moment.
Before we do that, switch to the smudge tool (I’m using the Saturated Water Smudger), set to 2%, and blend any leaves that overlap so. You can hide the Stem layer if that makes this easier.
Now, in the layers panel, duplicate the leaves layer, and rename this layer to “Leaves 2”. Then tap the Transform arrow to rotate this duplicate layer. Immediately, you’ve doubled the amount of leaves!
Finalize the placement, and then use the eraser to remove any floating leaves that aren’t connected to branches, and any leaves - like those in the center - that are stacked right on top of each other. Really, we just want to have these leaves to fill up any negative space in the bunch.


Erasing the Overlaps
In the Layers panel, use two fingers to press and hold to select the contents of the Leaves 1 layer - or tap the layer once to bring up the side menu, and then tap “select”. Then, with this selection live, move onto the Leaves 2 layer.
Use three fingers to “scrub” the screen, clearing the selection. This will further help clean up the stacked leaves.
Now we’re going to make the Leaves 2 layer look a little different than the Leaves 1 layer. Duplicate the Leaves 2 layer, and then reduce the opacity of just one of the layers to about 50%. This will make it stand out a bit, adding some definition without looking too intense.
Next we’ll add some definition to the Leaves 1 layer.

Leaves Layer Mask
In the layers panel, duplicate the Leaves layer. If you’re working with a texture that uses different blend modes, change the duplicate layer blend mode to Normal.

Use two fingers to swipe right on this layer to turn Alpha Lock on.
Then select a solid white, and tap to bring up the layer menu and select “Fill Layer”. Duplicate the layer once more, and then merge these two white-filled layers together.
Finally, tap on this layer to bring up the side menu, and then tap “Select” to select the layer contents (or use two fingers to press and hold).
Adding Watercolor Effects
Make sure to move back onto the Leaves painting layer for this next step, with the mask contents still selected. Switch to the smudge tool to pull the color around, creating more variation in the pigment.
Then select an edger brush - in the example, I used the Wet Bleed Edger and the Blooming Cloud brush set to 15%. Using the same green from before, add darker pigment to some of the edges of the selection to create that hard outer edge look.

Salt Smudge Details
Move onto an empty layer above the leaves. Change the layer blend mode to Add, and stay on the same green color. Use a brush that will give some texture effects - in the example, I’m using the Salt Smudge tool to get these little speckles.

With the brush set to 5%, sprinkle in this effect. Then, switch to a white color for some variation, and add a few more speckles.
Once you’re happy with the amount of speckles and salt bits, reduce the layer opacity to about 50% so it is more subtle and natural looking.
Erasing the stem overlaps
Merge all the leaves layers, including the mask, and the details layers together. Then, select the contents of this layer.
Moving down to the Stem layer, use three fingers to “scrub” the screen to clear the selection.
Now select the layer contents of the Stem layer, and use the Blooming Cloud brush on green to add some darker areas to this layer, just like we did with the leaves layer.
In the layers panel, pinch to merge the leaves layer with the stem layer, leaving just a single empty background layer below, and the texture layers above.

Watery Water Effects
On the layer with the cilantro, grab the smudge tool. Set the size to around 4% or 5%.

Using small, short brush strokes, smudge to create a flooded, watery effect. Use this effect sparingly - you don’t want to totally loose the integrity of your brush strokes - but this really helps to enhance the watercolor look.
Switch to the paintbrush with the Blooming Cloud brush. Set the size to 8%. With the same green from before, use this to add color bloom to the places you smudged. With this brush, use really light pressure at the beginning of the brush stroke, and then increase the pressure in the middle, and decrease the pressure at the end. This gives a thin-to-thick look and helps it blend in naturally with the rest of the painting.
You can also play around with different brush opacity settings for different areas of this, to add more variation.

Thread wrap
Select the eraser, set to 2%. Erase several small, thin lines at the spot where the stems all overlap. This is going to be where you paint the thread wrapping.

Choose a color for the thread, and select the paintbrush. Set it to 2%.
Paint the threads, using lots of layers little lines, and curving them inward at both sides - like long, extended C’s.
Background Wash
Move down to work on the Background layer. Select a purple color, and the Glazy Daisy brush. With the size set to 75%, paint in a wash background behind the cilantro. (Side note - you can see that I painted this pretty large, and then a couple steps later, ended up reducing the size. You can paint yours any size you like, just know that it’s always better to scale down than to scale up when working in a raster-based program like Procreate - the quality will be better.)


Switch to the Blooming Cloud brush, with the size set to 30%.
Use this to add more pigment along the edges, tracing the edge of the shape in a few places to darken some areas. Add this bloom effect in a couple places within the shape as well.
Switch to the Sprinkle Drops brush, with the size set to 35%. With both the purple and the green, splash in some messy droplets on this background layer.

Now we’ll use the same techniques as before to remove the overlapping background color from behind the plant. In the layers panel, tap the cilantro layer to bring up the side menu, and then choose “select” to select the entire layer contents. Then, move down to the background layer, and use three fingers to “scrub the screen”, which will remove the overlapping color.
This doesn’t completely remove it, though, because the these watercolor layers have some degree of transparency. So to remove more, repeat the process, this time pressing and holding on the selection tool to bring up the most recent selection. You may need to repeat a 3rd time as well.
You can also decrease the layer opacity of the background layer to make it softer.

Label
Now it’s time to add the herb label. You can hand letter this if you like, or add it as text. To add a text layer, tap the wrench, and then select “add text” and type the label. You can change the font by tapping “Edit Style”. Position it by tapping the Transform arrow.
And that’s it!
be sure to snag these watercolor brushes:

Start painting now, or pin this for later!

Get the color palette for this tutorial!

JOIN THE PACK
When you join, you'll gain access to dozens of Procreate freebies: brushes, paper textures, workbooks, and color palettes. I send out weekly updates with my best tips and tricks, and you'll be the first to hear when new freebies are released!