How to Draw Smoke Effects
In this tutorial, we're painting this smokey herb bundle, using a cool print-style technique for shading. We'll also get into some useful Automatic Selection tricks, and then I’ll show you how to achieve smoke and spark effects.
brushes used:

If you want to follow along with the exact brushes used in the tutorial, you can get them following these affiliate links above. But you can also use any brushes you already have - essentially, you’ll just need something with Streamline turned up (which is a setting you can adjust) - this will be used to draw the outline of the plants; you’ll need a texture brush for adding some nice noise and shade; and then you’ll need some flame and lighting effect brushes.
Color palette and Canvas:
I'm working in 3000x3000 pixel 300dpi canvas with six layers. If you want to jump start this project, you can get a starter canvas with all of the layers set up and the color palette in it, which is available to download for my newsletter subscribers - you can become one by signing up here:
Background
First, change the background color to this darker grey. Then on the bottom most layer (which is where we’re going to be drawing the sage), use a grayish green to color drop and fill the screen.

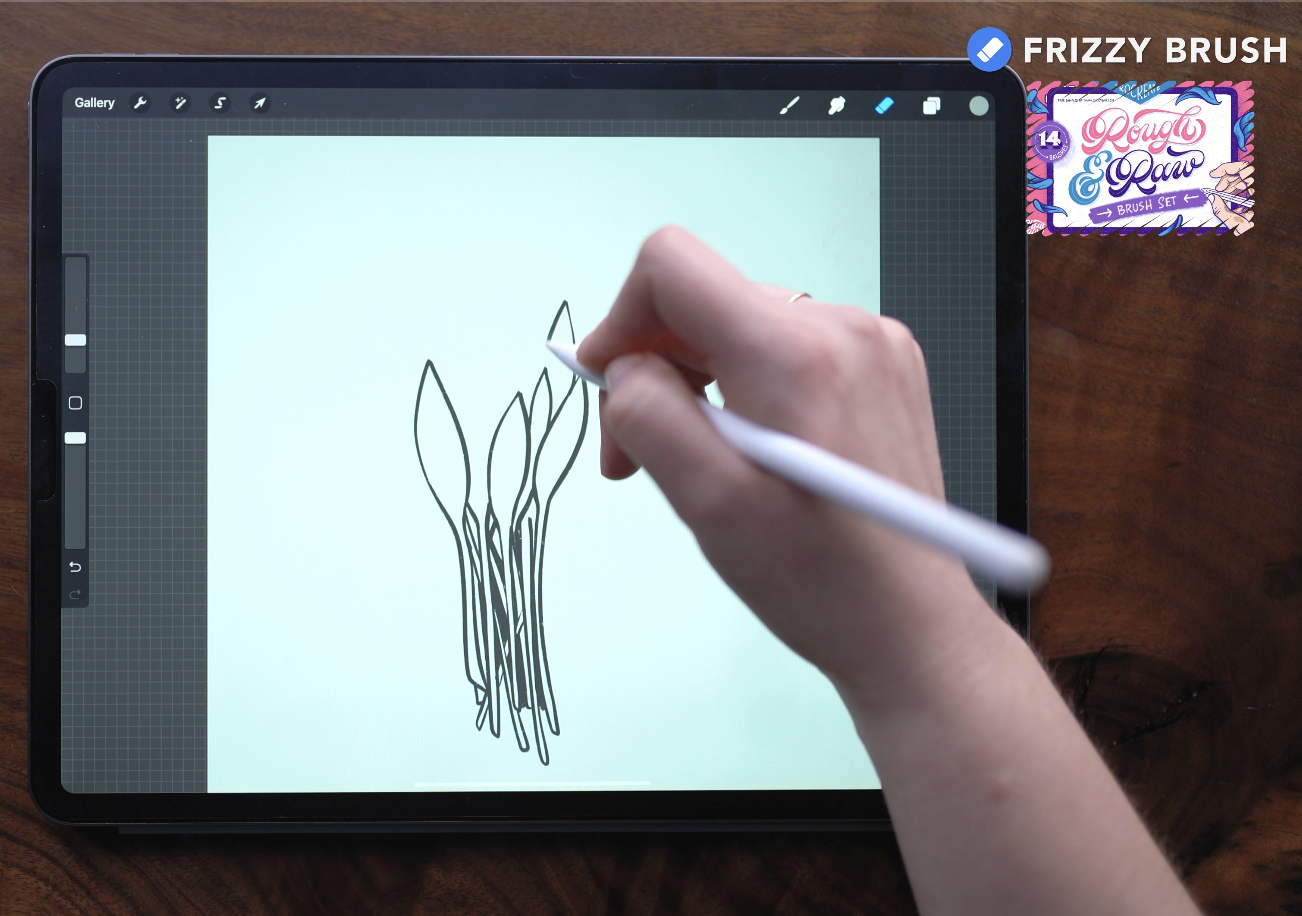
draw the leaves (with the eraser!)
Select the eraser tool, and the Frizzy brush from the Rough and Raw set. Set the brush size to 6%.
Start by drawing in a few leaves, fully connected to stems. We’re going to draw in leaves and stems layered behind, so it helps to have a few full ones drawn up front as a starting point.
It’s important to remember, as you’re layering in the stems and leaves, that what we’re doing here is removing the excess color - the lines we’re erasing won’t be part of the design, but only the green that remains. In a way, it’s like carving out a rubber stamp, if that makes sense.
Keep layering in leaves until you have a full bundle.
Automatic Selection to Remove the background
Once you’ve got a full bundle drawn, we’re going to remove the extra green from this layer.
Going into the selection tool on the upper left, set the tool to “Automatic” and then tap once anywhere outside of the bundle. This will automatically select the color we want to remove.
Then tap the arrow in the upper left, and use three fingers to scrub the screen, which will clear the selection.
You’ll see that there’s still a small remainder of color on the border of bundle, so using the eraser tool, manually remove that.

Adding Texture: blend mode and selection
Go into the Layers panel, and duplicate the layer that has the sage on it. Then set the layer blend mode to multiply (make sure this is layer is on top).

To help give some definition to each individual leaf, we are going to be working on each one separately. The easiest way to do this is to grab the Selection tool, and, keeping it set to “automatic”, and then tap to select a single leaf. To make the process go a little faster, you can also select a few other leaves that don’t directly touch each other. We’ll repeat this step a few times later on.
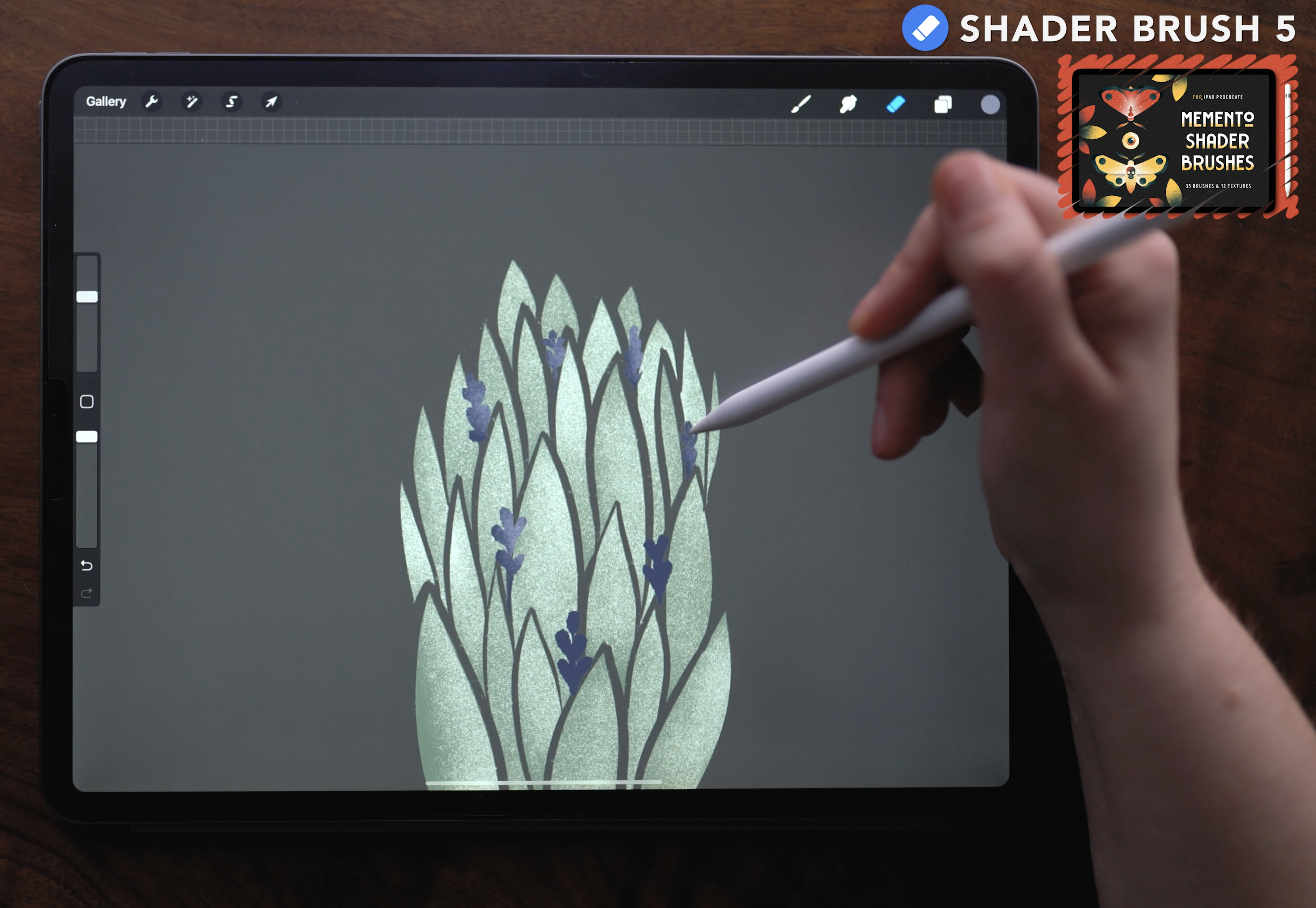
Adding Texture - erasing
Next, in the eraser tool, grab a texture brush. In the example, I’m using the Shader Brush 5 from the Memento Shaders pack. Set the brush size here to about 80%. Use really light pressure to brush in the texture, which is going to lift up some of the color from each of the areas that are selected.
Once the first set of leaves has texture, tap the selection tool to deselect. Then tap the selection tool once more, and repeat the steps to select a handful of leaves, making sure to choose ones that don’t directly touch. Repeat as many times as you need until all the leaves and stems are textured.

Drawing the lavender

Lavender layer. Select a softer purple color. In the example, I’m using the Ripplizer brush from the Rough and Raw pack. Set the size to about 8%.
Now draw these little lavender bits by combining several teardrop shapes, clustered together, and tuck them in amongst the leaves.
Lavender Texture Layer
Once you’ve drawn a half dozen or so pieces of lavender, go back into the Layers panel, and duplicate the layer, just like we did with the sage. Set the blend mode of the upper layer to Multiply.
Because these lavender pieces are spaced out, we can add texture to them without worrying about selecting each piece individually. So switching to the eraser tool, still set on the Shader brush, set the size here to about 40%. Now erase to create a bit of texture on this multiply layer.
Creating a margin around the lavender
To create a gap between the lavender and the sage leaves, we’re going to remove any green from the sage layers that is directly underneath the lavender.
First, in the layers panel, tap the lower lavender layer, and then press and hold two fingers on the layer to select the layer contents. You’ll see the bottom selection tool bar appear when it is selected.
With this selected, tap back into the layers panel, and move down to the bottom sage layers. Tap both of these layers so they are selected, and then you can either use three fingers to scrub the screen, or tap this arrow to drag the selection off the canvas.

Now that we’ve removed the direct overlap of the lavender, we still need to carve out a small border. In the layers panel, move to work on the bottom sage layer. Tap the eraser tool, and set it to the Ripplizer brush. Set the eraser size to about 2%.
Now erase around the perimeter of each piece of lavender to create a margin.
In the Layers panel, use two fingers to press and hold on this bottom Sage layer to select the layer contents. When the layer is selected and the bottom selection tools pop up, tap “Invert” to invert the selection. With this selected, go back into the layers panel, and move to the multiply sage layer. Use three fingers to scrub the screen, which will clear the selection, removing everything we erased from the lower layer from this layer as well.

Drawing the String
In the layers panel, move up to the String Outline layer. Select a darker, contrasting color. For the example, I’m using the Frizzy brush from the Rough and Raw pack, and setting the size to about 2%.

Starting at the base of the bundle, draw in some curved lines, criss-crossing some of them, to represent the string wrapping. Drawing these small curves here helps indicate that the thread is actually wrapping around a 3D object.
Now go into the Layers panel, and duplicate this string layer. Tap the arrow on the upper left to move the duplicate layer, shifting it up, so it is offset slightly. You can turn Magnetics on the help with this.


Now merge the layers by pinching them together. Using the Eraser tool with the Frizzy brush, erase these areas where the lines cross over, so that this begins to look like overlapping string. I’m also adding in a margin anyplace that the string is overlapped.
String Fill Color
Move onto the String Fill layer. Selecting this lighter pink color, use the Frizzy brush with the size set to about 4%. Now draw to fill in the outlines of the string. It’s okay if some of these are slightly outside the lines - it has a cool look that fits with this aesthetic.

In the layers panel, merge the string outline and string fill layers together by pinching, or tapping to bring up the side menu. Then, duplicate the one string layer, and change the blend mode of the upper layer to Multiply.
Moving layers off register
Now we’re going to shift all of our Multiply layers to be slightly off register.

Starting on the Sage multiply layer, tap the arrow in the upper left to grab the entire layer, and then move the entire layer contents over and down, just a small shift.
Then repeat this on the Lavender multiply layer, and then the String multiply layer, moving them all in the same direction.
Adding the magic effects
Now back in the layers panel, move onto the Sparkle layer. For this, choose a light pink or white color.
In the Lights brush set, there are these sparkly, dust brushes that we’re going to use. Selecting the Nebula brush, set the size to 20% and the opacity down to around 85%.
Painting directly on above the sage, softly brush this effect in.

Adding Smoke Effects
Next, move on to the Smoke layer. In the Lights brush set, select the Flame 8 brush. These flame brushes all look super realistic when used with orange or red, but I’ve found that when you paint on low opacity with white, they also replicate smoke.

With the size set to 100%, and the opacity set to about 10%, use this to paint some smoke encircling the sage.
You can also adjust the layer opacity if you want to make this more transparent - I reduced my layer opacity to 50%.
Adding Spark effects
Back down on the Sparkle layer, choose a light pink color or a white. In the Lights brushes, choose the Luminous Bristles brush. Set the size to 2%, and draw in a few of these little sparkles around and on top of the sage as an added spark/fire effect.


Now you can add in lettering or text. I used the Neon Tube brush from the Lights brushset to create this lettering.
Start painting now, or pin this for later!

Get the project canvas for this tutorial!

JOIN THE PACK
When you join, you'll gain access to dozens of Procreate freebies: brushes, paper textures, workbooks, and color palettes. I send out weekly updates with my best tips and tricks, and you'll be the first to hear when new freebies are released!