How to use Texture Brushes in Procreate

In this tutorial, we're covering how to use texture stamp brushes in Procreate to subtly enhance simple drawings - like these pretty little oranges!
Throughout the project, we’ll go through creating Quickshapes, using multiple layers with different blend modes, and then how to build up layered texture to bring flat objects to life :)
I'm using brushes from the Delicious Texture pack for this drawing tutorial, but you can use any texture brushes to follow along! If you want these exact brushes (it's a great pack!) you can get them here (affiliate link):

BRUSHES USED:
Monoline (Under “Calligraphy”)
Soft Airbrush (Under “Airbrushing”)
Seared (Delicious Texture stamp brush)
Poached (Delicious Texture stamp brush)
Fried (Delicious Texture stamp brush)
Boiled (Delicious Texture stamp brush)
Color palette:
I used colors from my palette “Late Summer Hues”. You can get access to it (and other great freebies!) by signing up here:
Canvas Set up:
To start off, I'm working in 3000x3000 pixel 300dpi canvas. I’ve set up my main layers in advance, in the following order, top to bottom:
Orange layer
Orange layer
Leaves layer
Leaves layer
Background layer
Background

Drawing the oranges
Select the first Orange layer. Use the monoline brush to draw a circle. Create a Quickshape by keeping your pencil touching the screen until what you’ve drawn “snaps” into place, and then touch one finger to the screen to create a perfect circle.
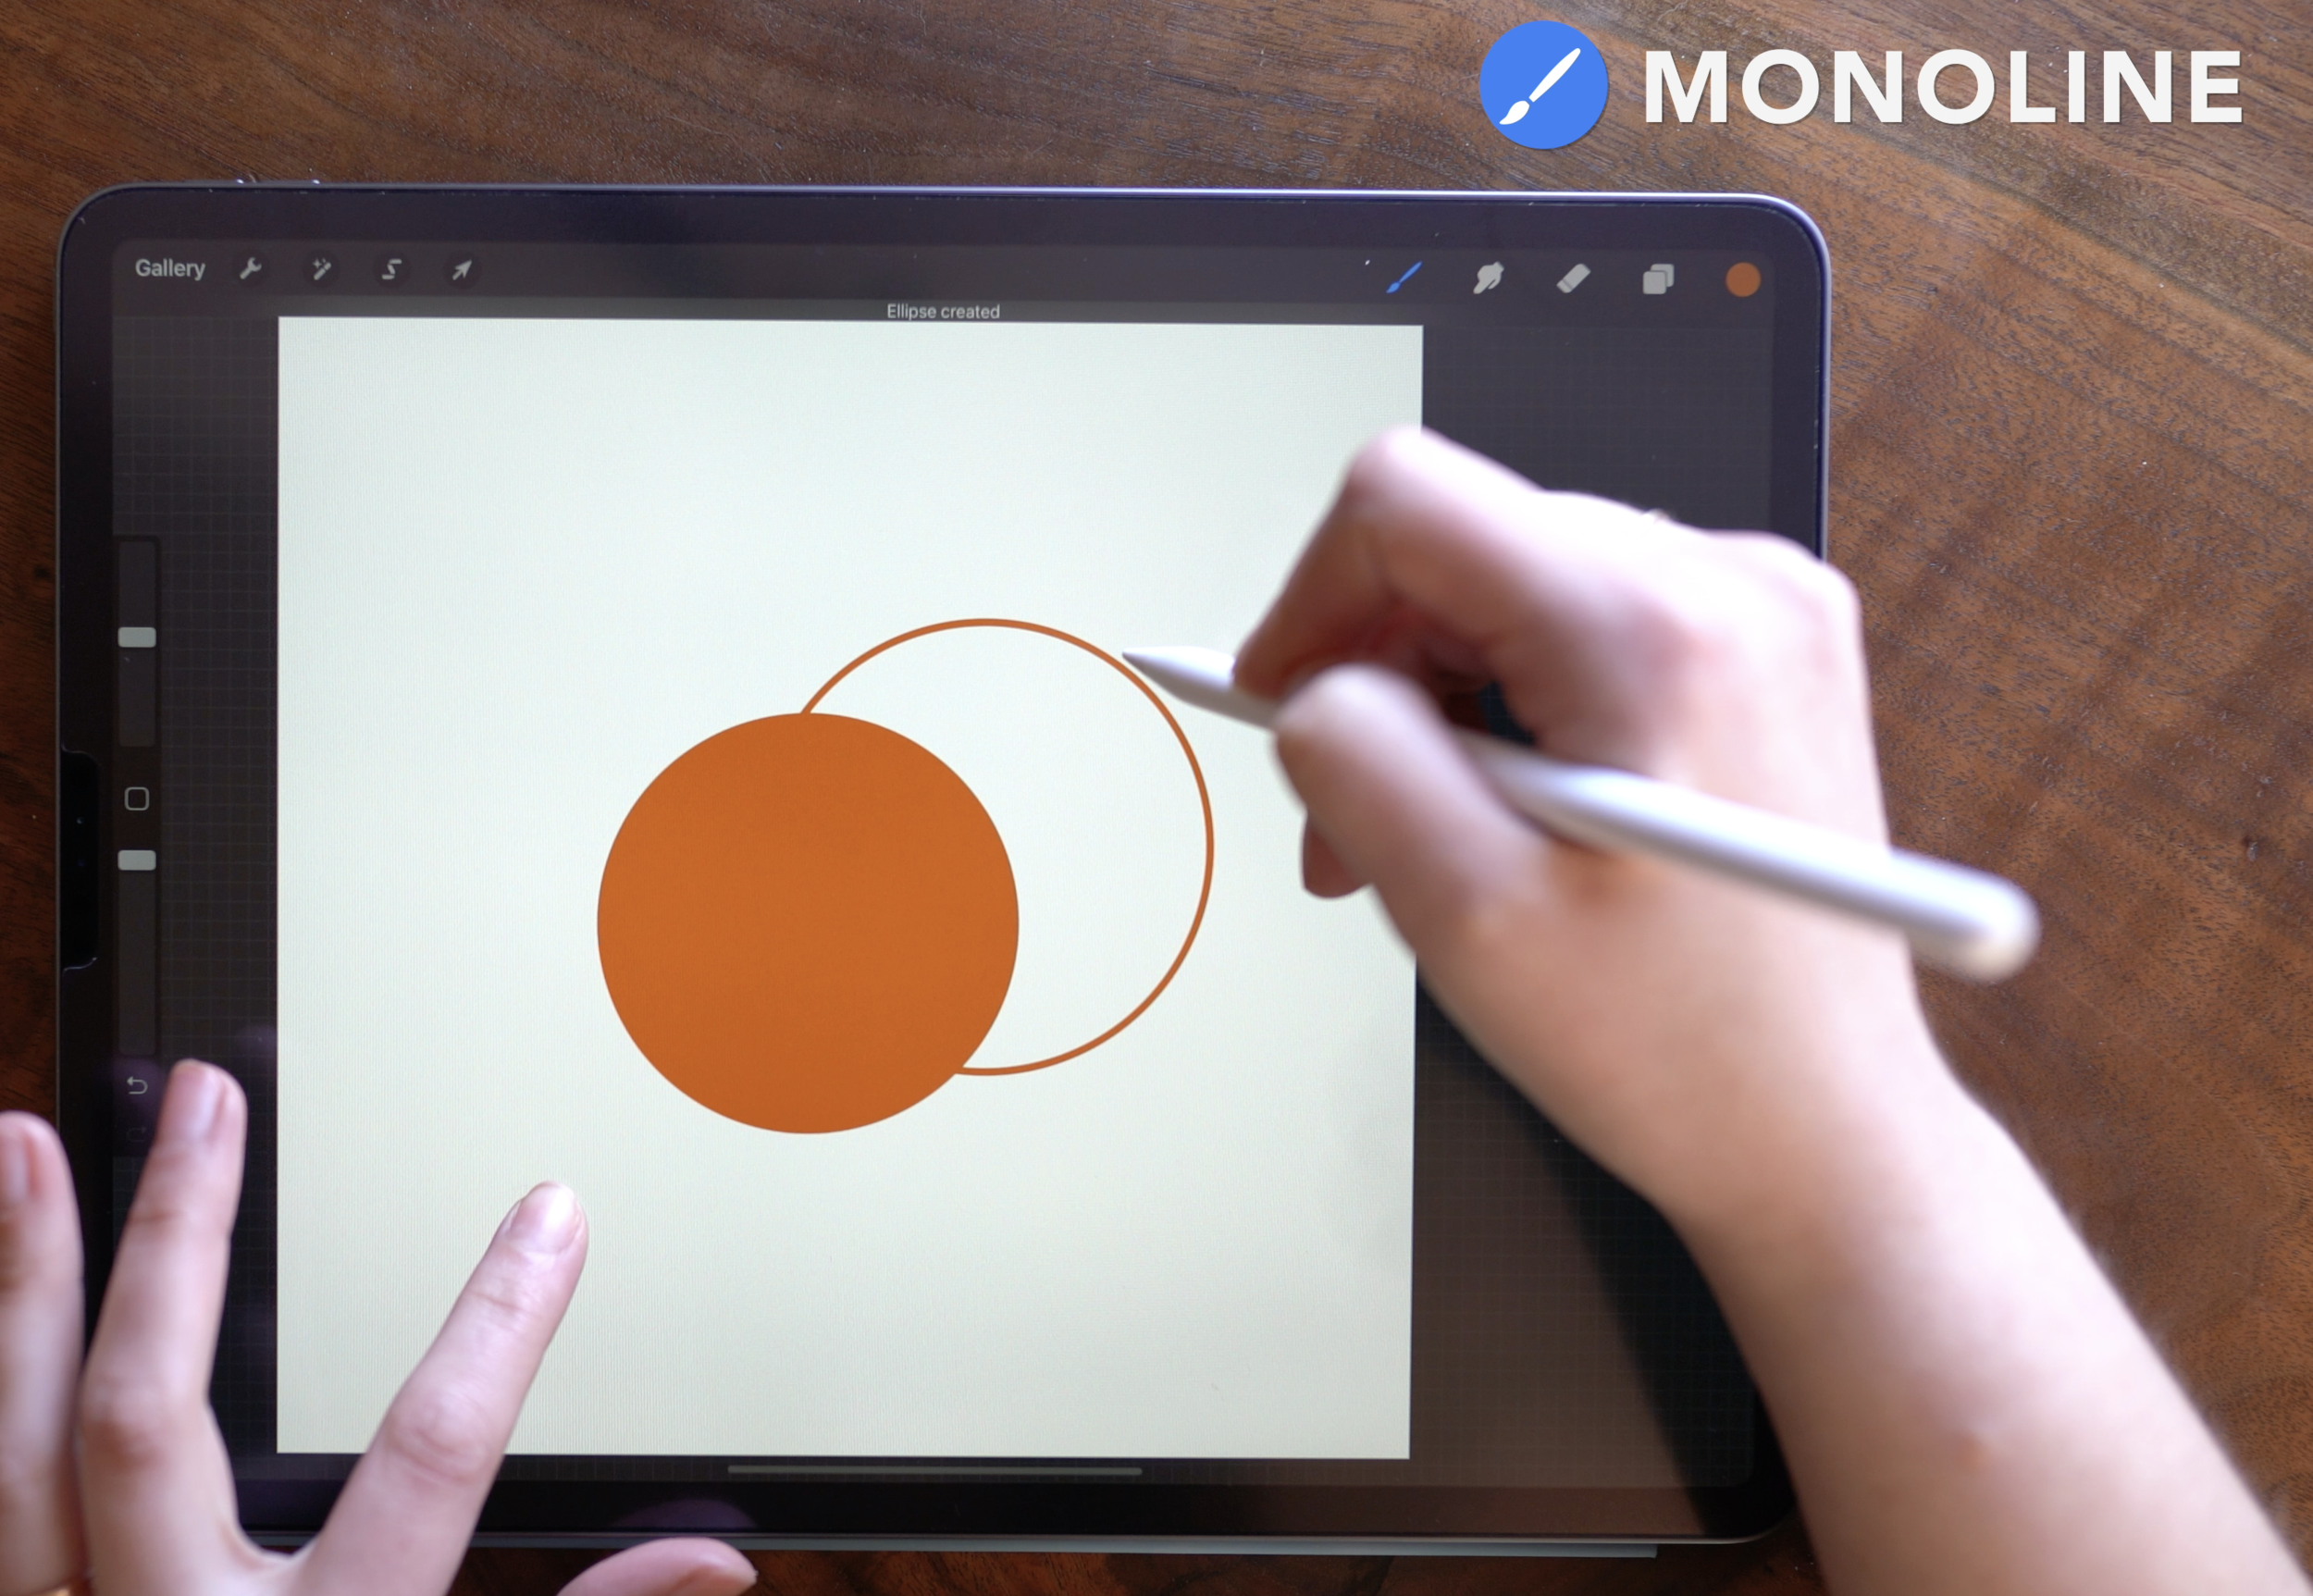
Tap and drag the color circle in the upper right corner to fill the circle completely. If the color fills the entire screen, you may need to decrease the color drop threshold by dragging the pencil to the left. Use the blue slider at the top of the screen for guidance.
Repeat this step on the second Orange layer, drawing this second orange to be overlapping the first.
Drawing the leaves
Move onto the first Leaves layer. Use the Monoline brush to draw several leaf shapes around the oranges.
Make sure these shapes are fully enclosed, so you can Color Drop to fill these shapes.
Moving on to the second leaf layer, draw more leaves, this time overlapping some of them behind the first leaves. This will allow us to create some nice depth later on when we add texture.
Color drop to fill these leaves as well.

Adding Texture Layers
Add four new layers: two layers above each orange.

Make each of the two new layers a clipping mask, as shown in this image. Tap the “N” on the layer to change the blend modes of each of these new layers, as follows:
Clipping mask 1 - Overlay
Clipping mask 2 - Multiply
[Orange Layer]
Multiply Texture Layer
On the multiply layer above the first orange, select the same orange color that you used before. Use a texture brush - in the example, I’m using the Seared brush. Set the brush opacity to 40%, and the size to 20%.
Start tapping to build up some shadow and texture on the lower left side. Because this is a lower opacity, it will allow the texture to slowly and subtly build up.
On the opposite side, reduce the brush size to 10% to add in an even slighter shadow along the edge.


Repeat these steps on the multiply layer for the second orange.
Then move back up to the Overlay layer for the first orange, and choose a lighter color (still in the orange color family).
Stamp to add texture here in the space that you didn’t draw the shadow. The Overlay blend mode and the lower brush opacity will make this really soft and subtle, and you’ll start to see the shape come to life!
Adding Texture to the LEaves layers
Now moving down to the leaves layers, we’re going to set up the clipping masks and blend modes just as we did for the oranges.
Add two clipping mask layers above each leaves layer, with the upper clipping mask set to Overlay, and the lower clipping mask set to Multiply.
Before we jump in to add the texture, you might find it easier to hide the lower set of leaves, as pictured. Then you’ll know exactly where you should be painting.
Repeat the texture adding steps, using the same green color on the Multiply layer to add darker texture, and then a lighter green on the Overlay layer for adding lighter texture.


Then move on to the clipping masks above the second set of leaves, being sure to turn the visibility back on if you’d turned it off before.
Repeat, adding some even darker texture on these lower leaves, to help indicate additional shadows.
Merge Layers
Here’s a snapshot of where we’re at now!
Pinch to merge each layer group together - so each set of clipping masks with the main shape layers.

Highlighting
Now add a new clipping mask on top of each main shape layer, for a total of four new layers. Set the blend mode of these to Add, and decrease the layer opacity to 35%.

Using the Soft Airbrush, select a solid white color, and set the brush opacity to 25%, and the brush size to 90%.
Now, on the lighter side, softly paint in a curved highlight on each orange, and then on the right side of each leaf. Feel free to decrease the brush opacity even more, if you want an even softer highlight.
Background
Moving down to the Background layer, use a texture brush (I’m using the Boiled brush) to stamp in some textured color, leaving some margin around the edges.


I also used the Fried brush to add a secondary tonal color to create a little more visual interest.
Then choose a darker color to set the background color to. This will create some nice contrast that shows through the texture.
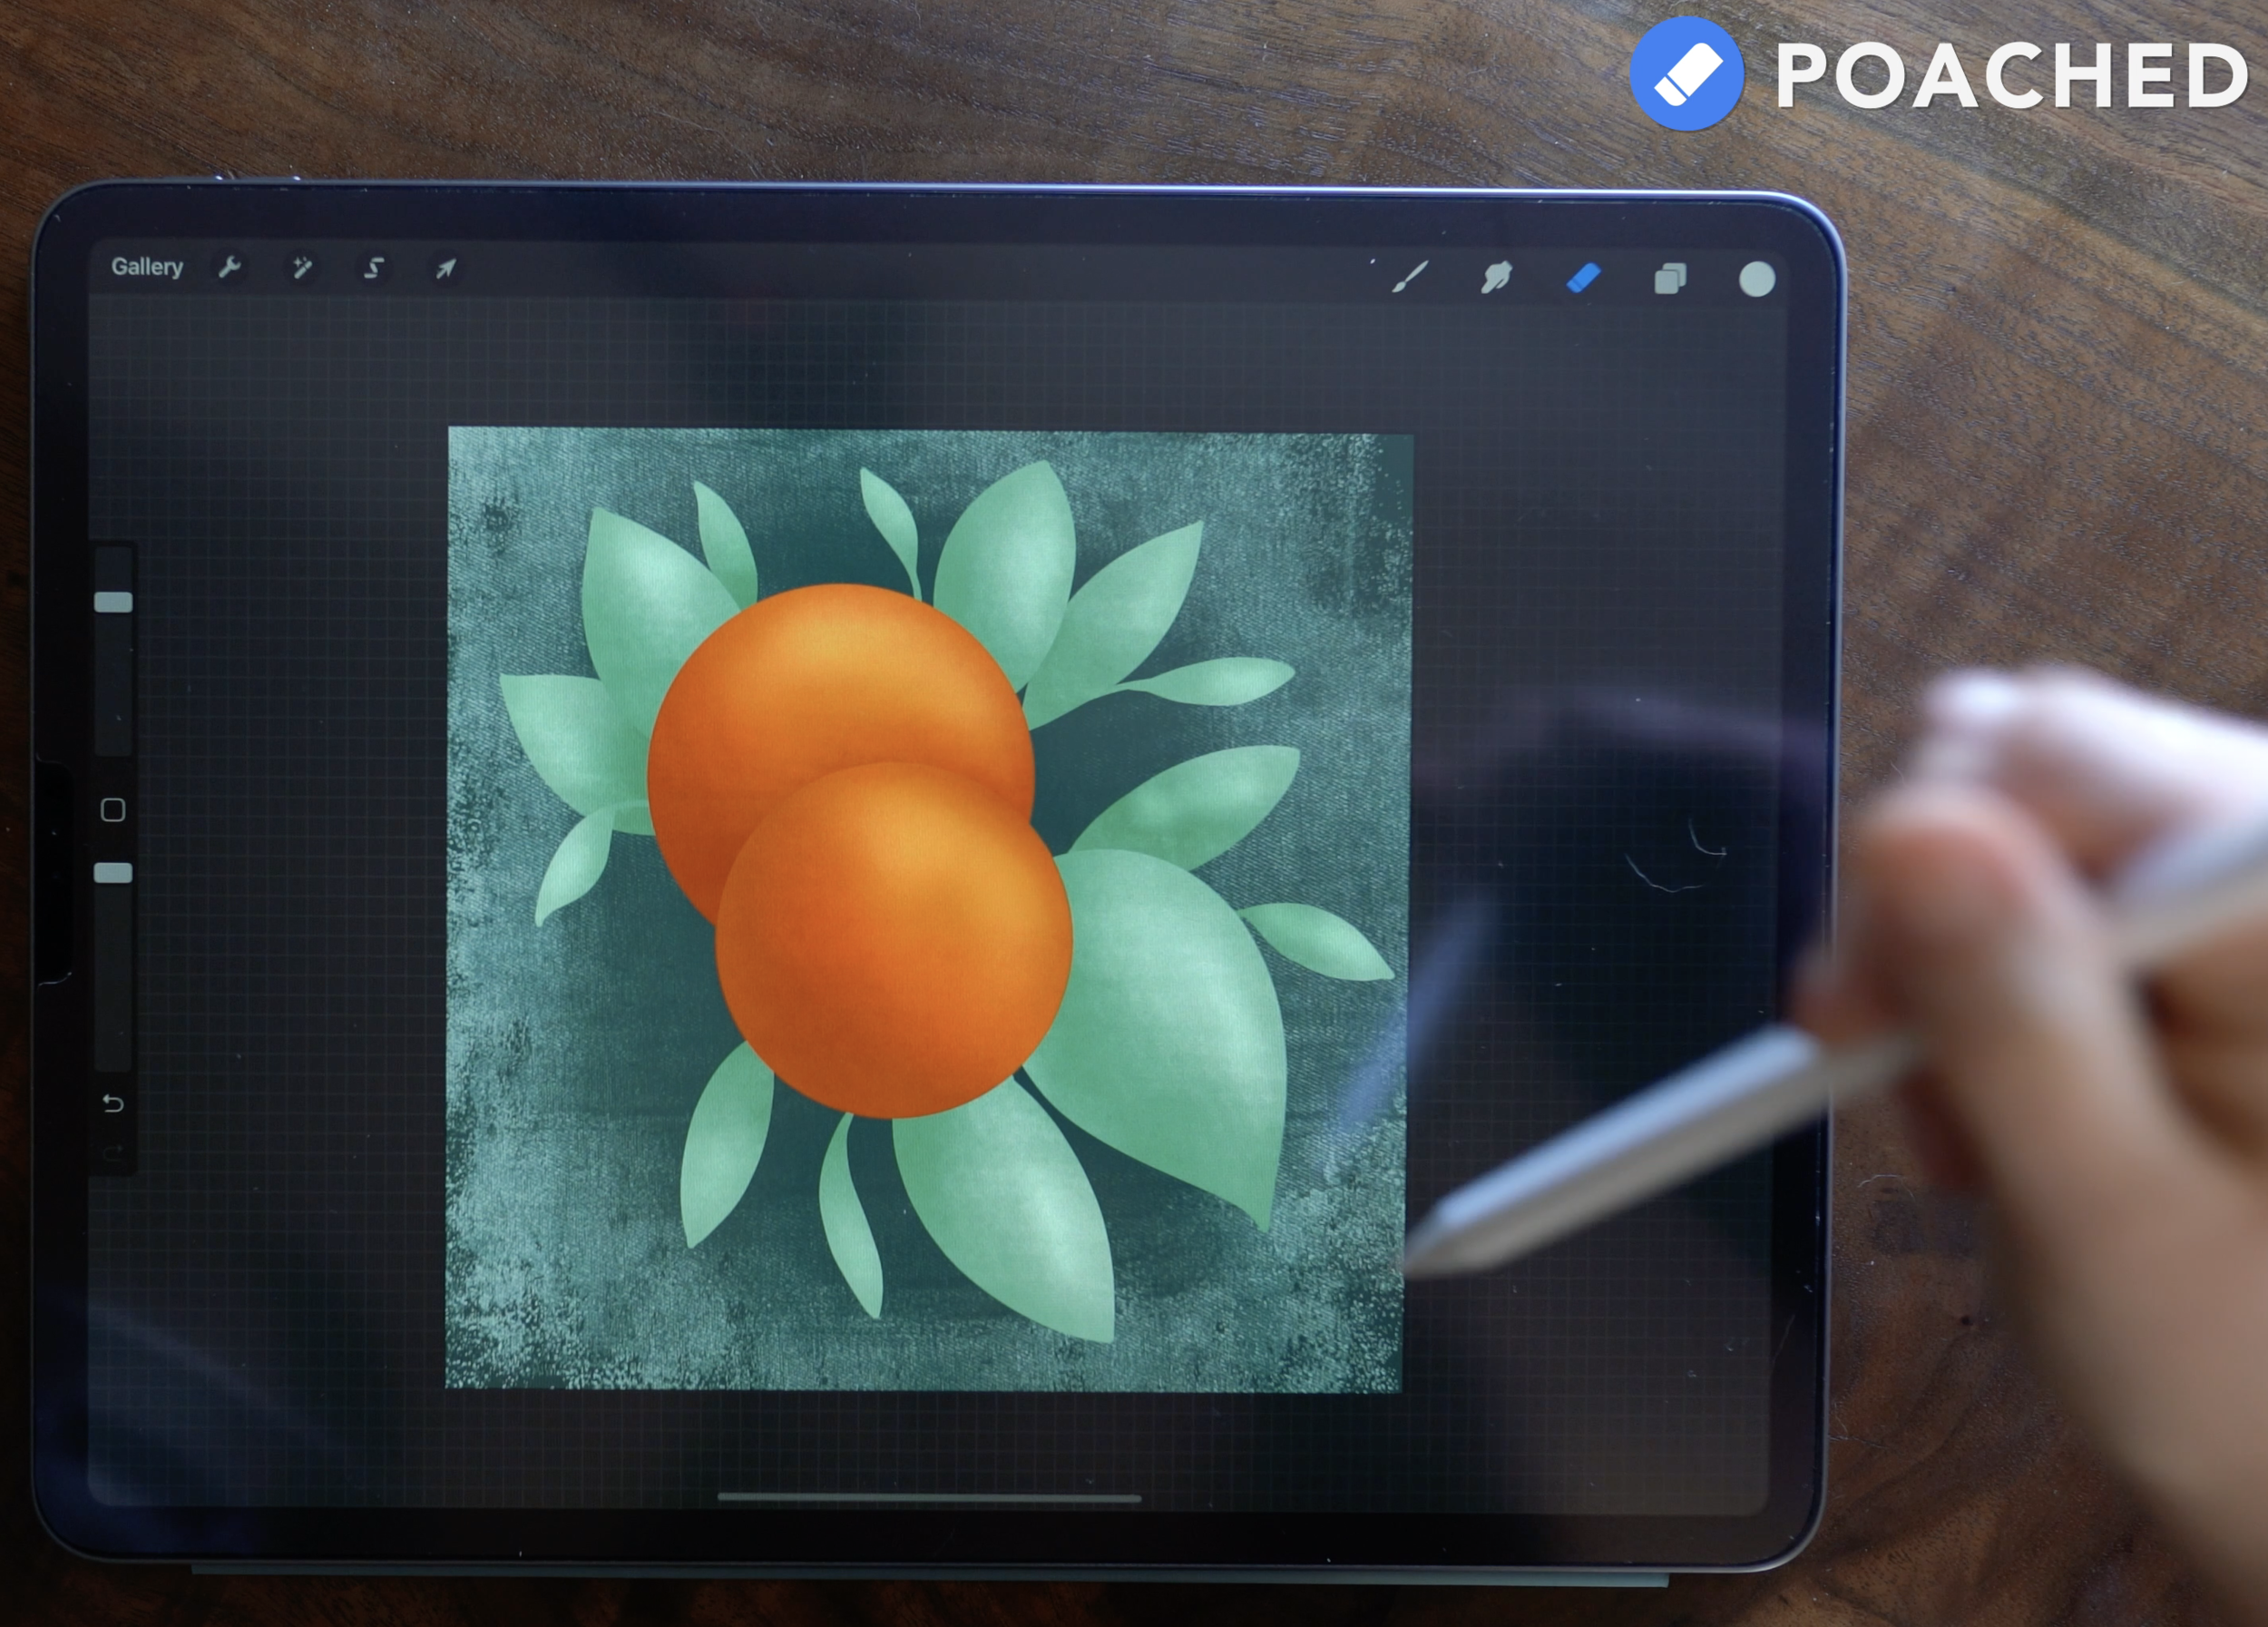
Using the eraser tool set to the Poached brush (or your texture brush of choice), lift up some of the pigment from the Background layer, to allow more of the darker color to show through. Removing the pigment from directly behind the oranges and leaves creates this cool vignette effect.
Start painting now, or pin this for later!

Get the color palette for this tutorial!

JOIN THE PACK
When you join, you'll gain access to dozens of Procreate freebies: brushes, paper textures, workbooks, and color palettes. I send out weekly updates with my best tips and tricks, and you'll be the first to hear when new freebies are released!