Half Drop Repeat Patterns in Procreate 5X
After creating full drop patterns with Design Cuts last month, I had several requests for a similar method for half drop patterns. It took a bit of puzzling, but I’ve got it all sorted for you :)
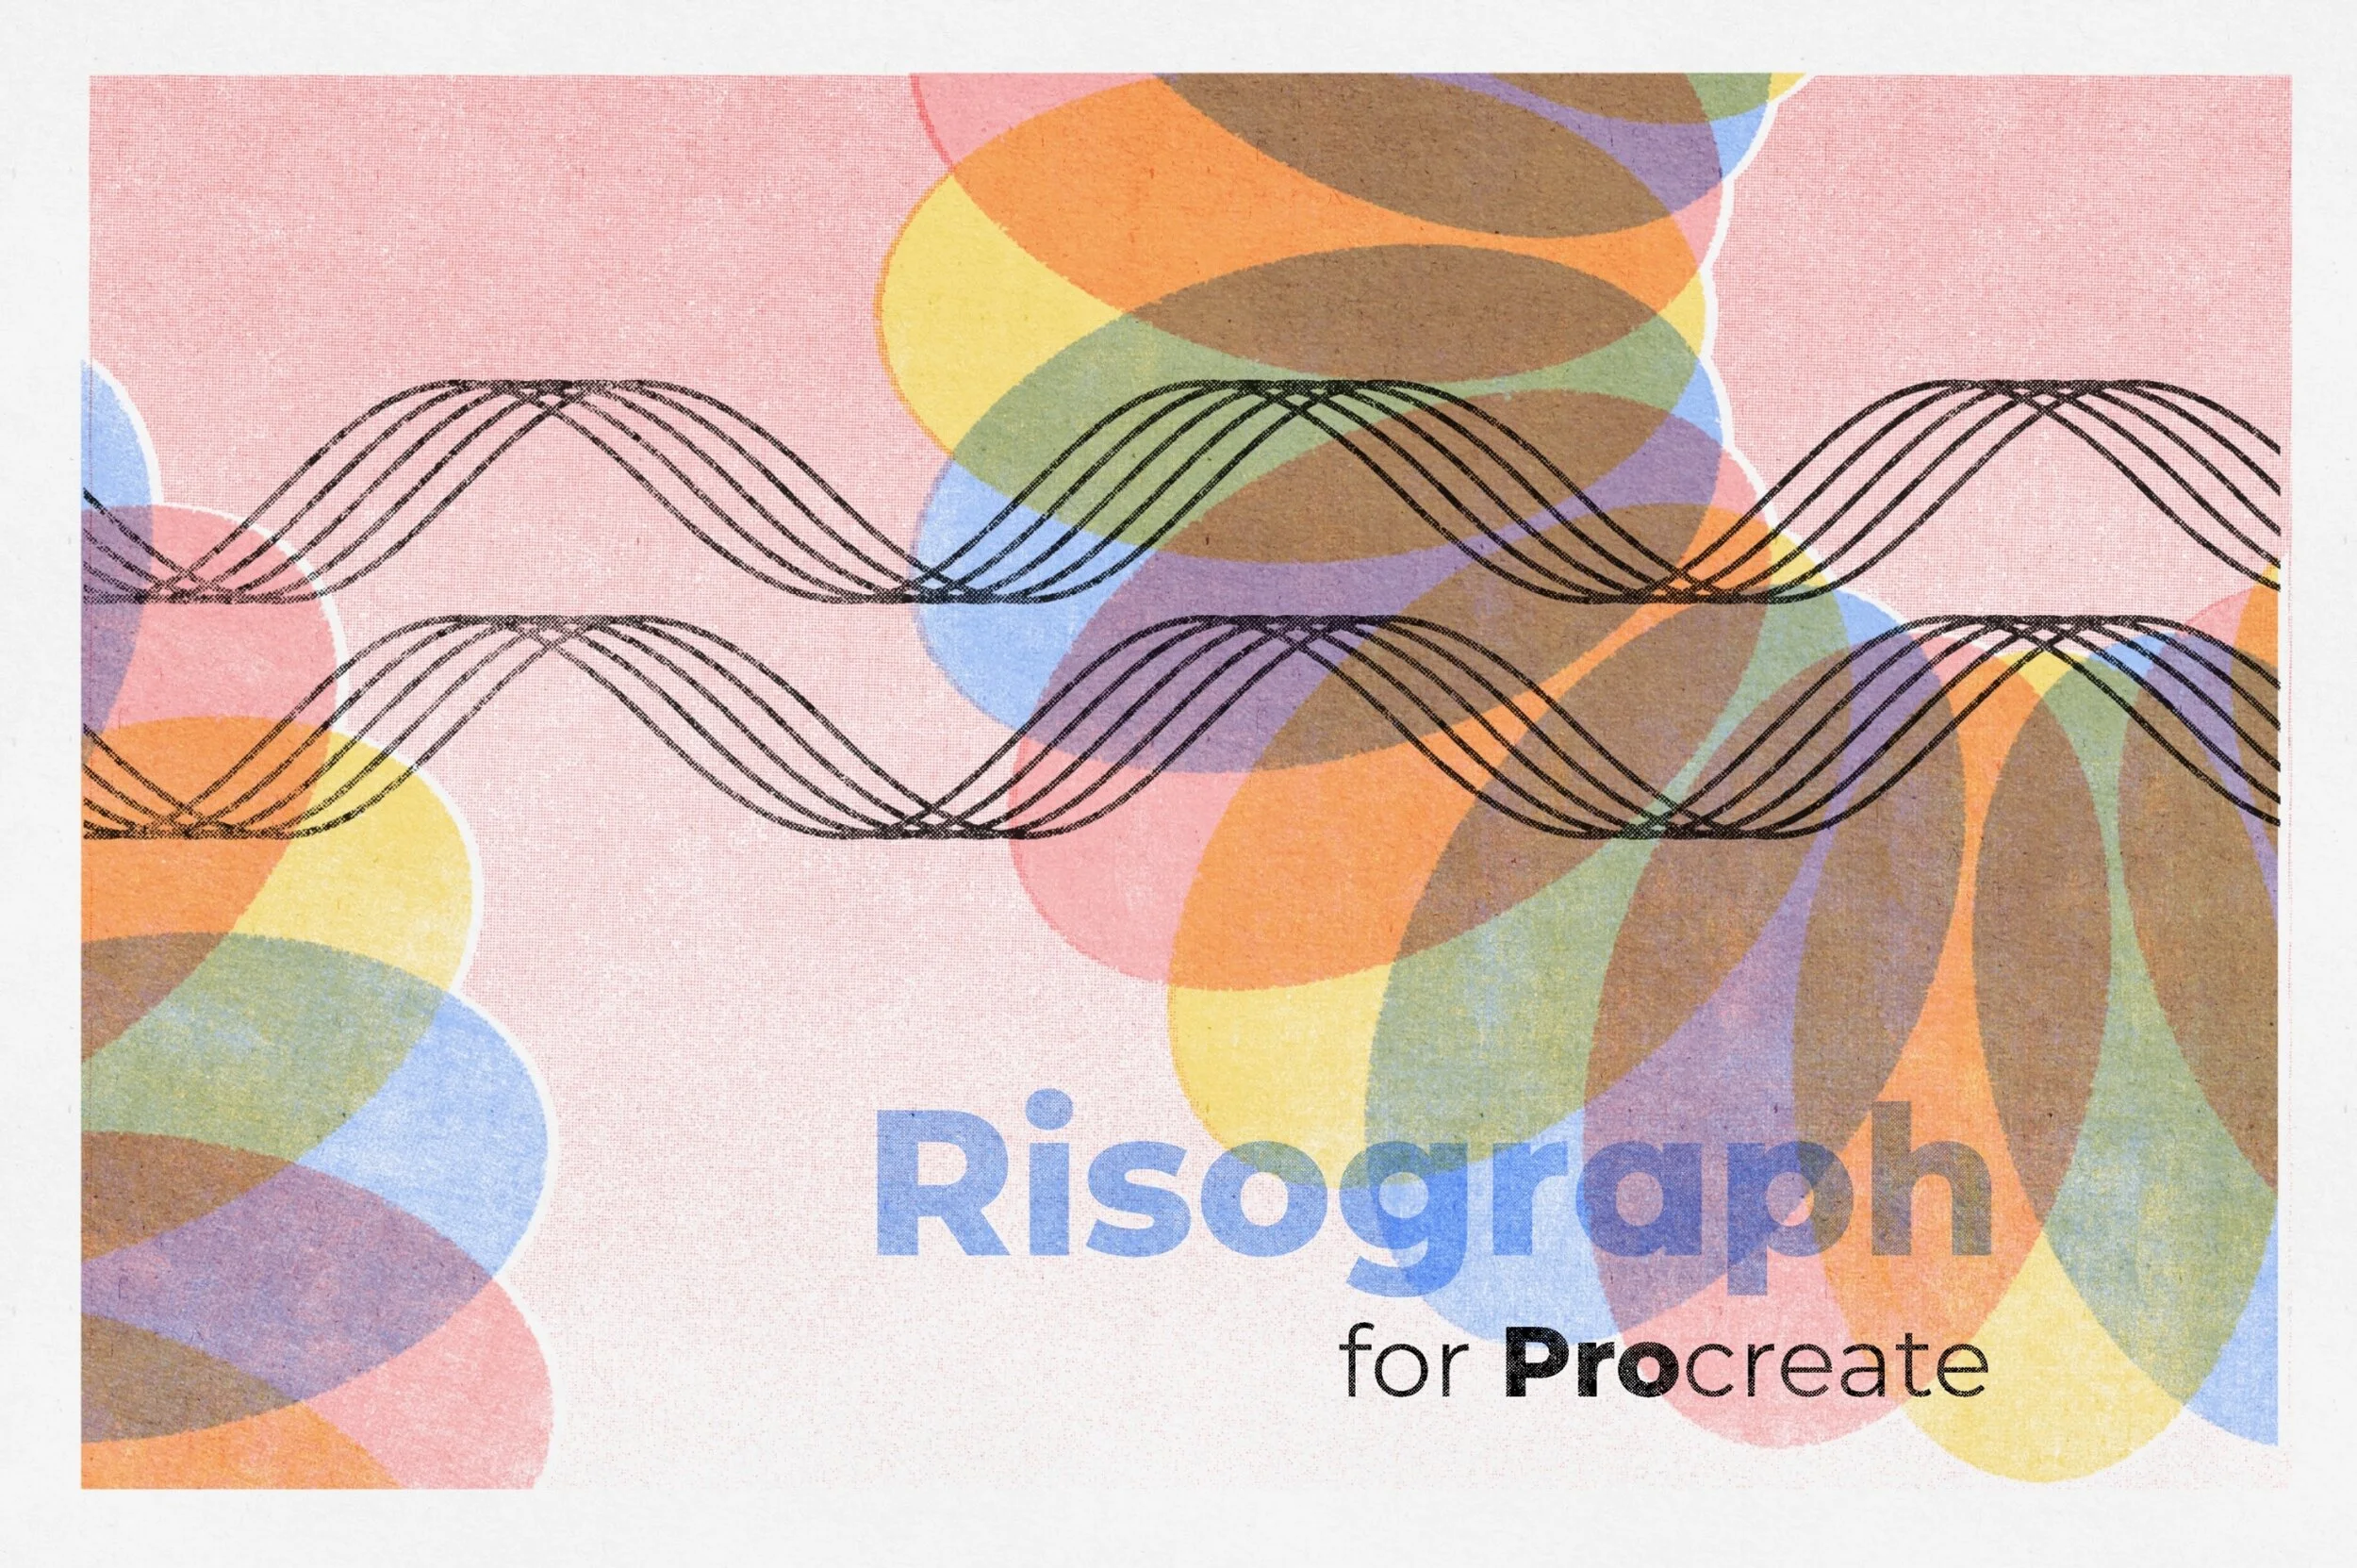
This video covers the method, with some added complexity of layer masks and Risograph texture. The project uses two brushsets, as below. If you use my affiliate link for the Risograph set, take an additional 10% off your purchase with code WOOLY10 at checkout:
To make things simple, I’ve created a canvas you can start from with guides to show selection locations - click here to download! But I’m also providing instructions below, which will allow you to set up any canvas from scratch, so that you can build patterns in any dimension.
Setting up the Canvas:
You can use any size canvas for this - square or rectangle. To start, you’ll just need a single, empty layer.

Setting saved selections
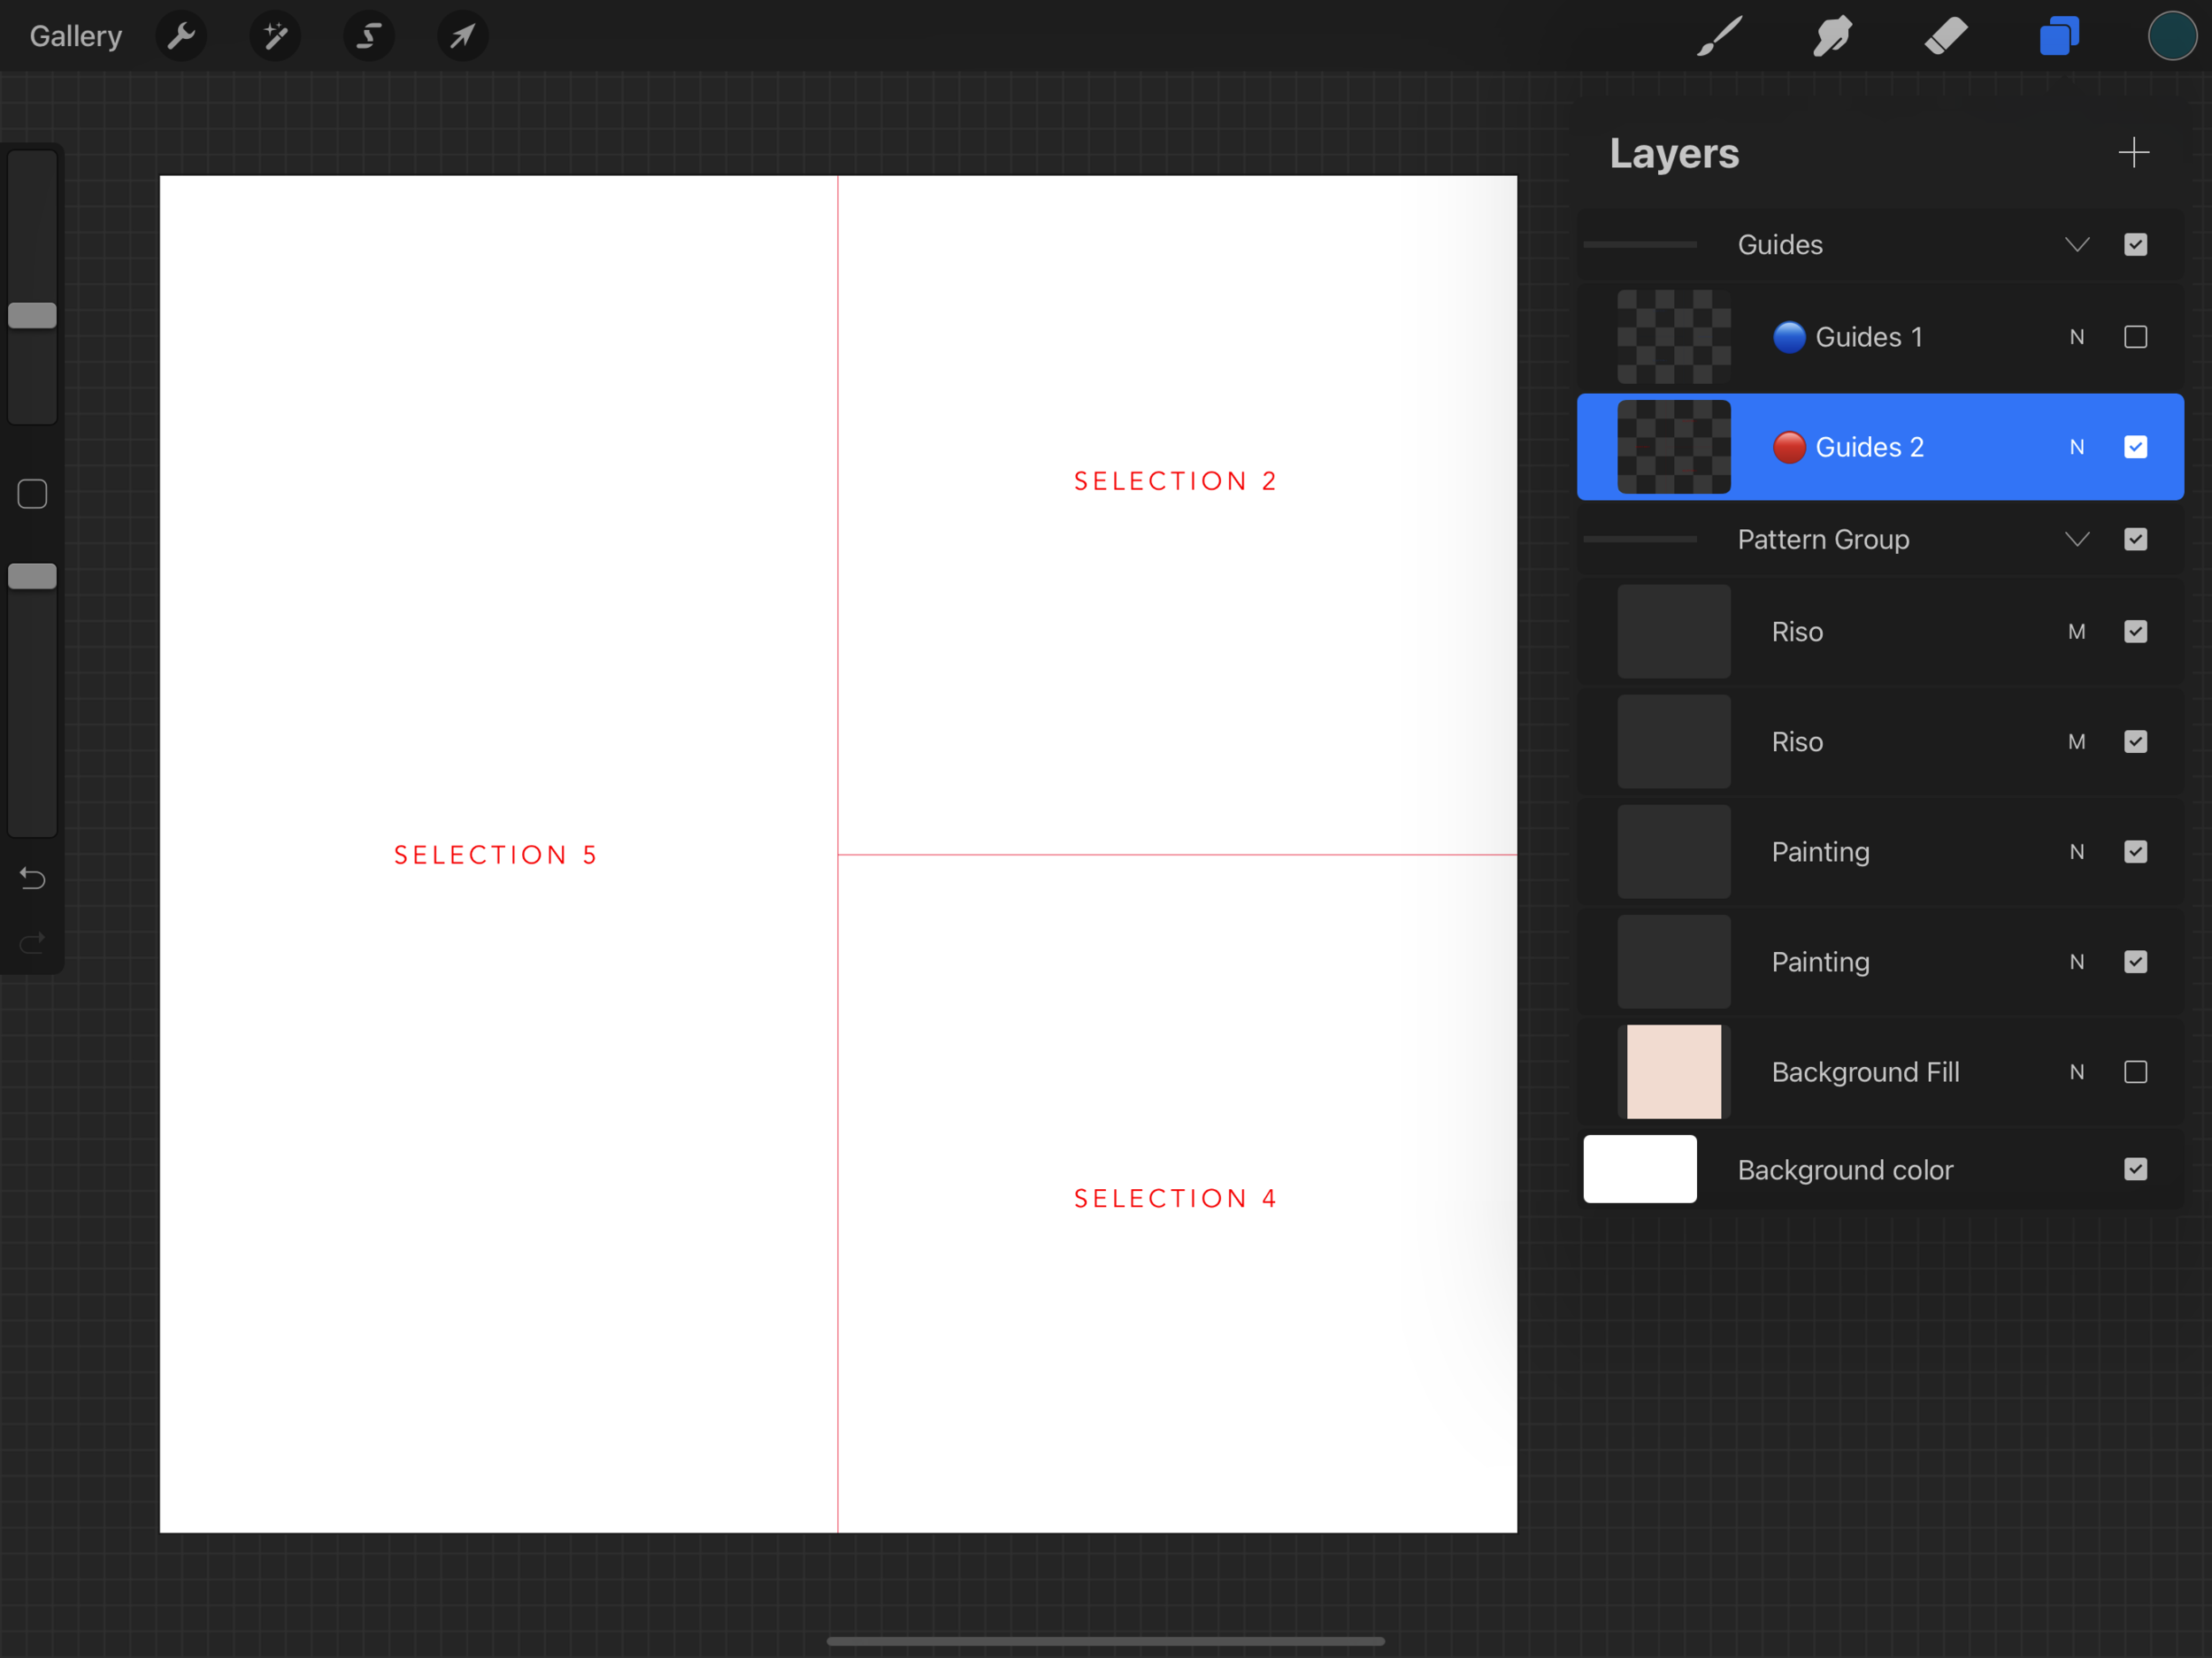
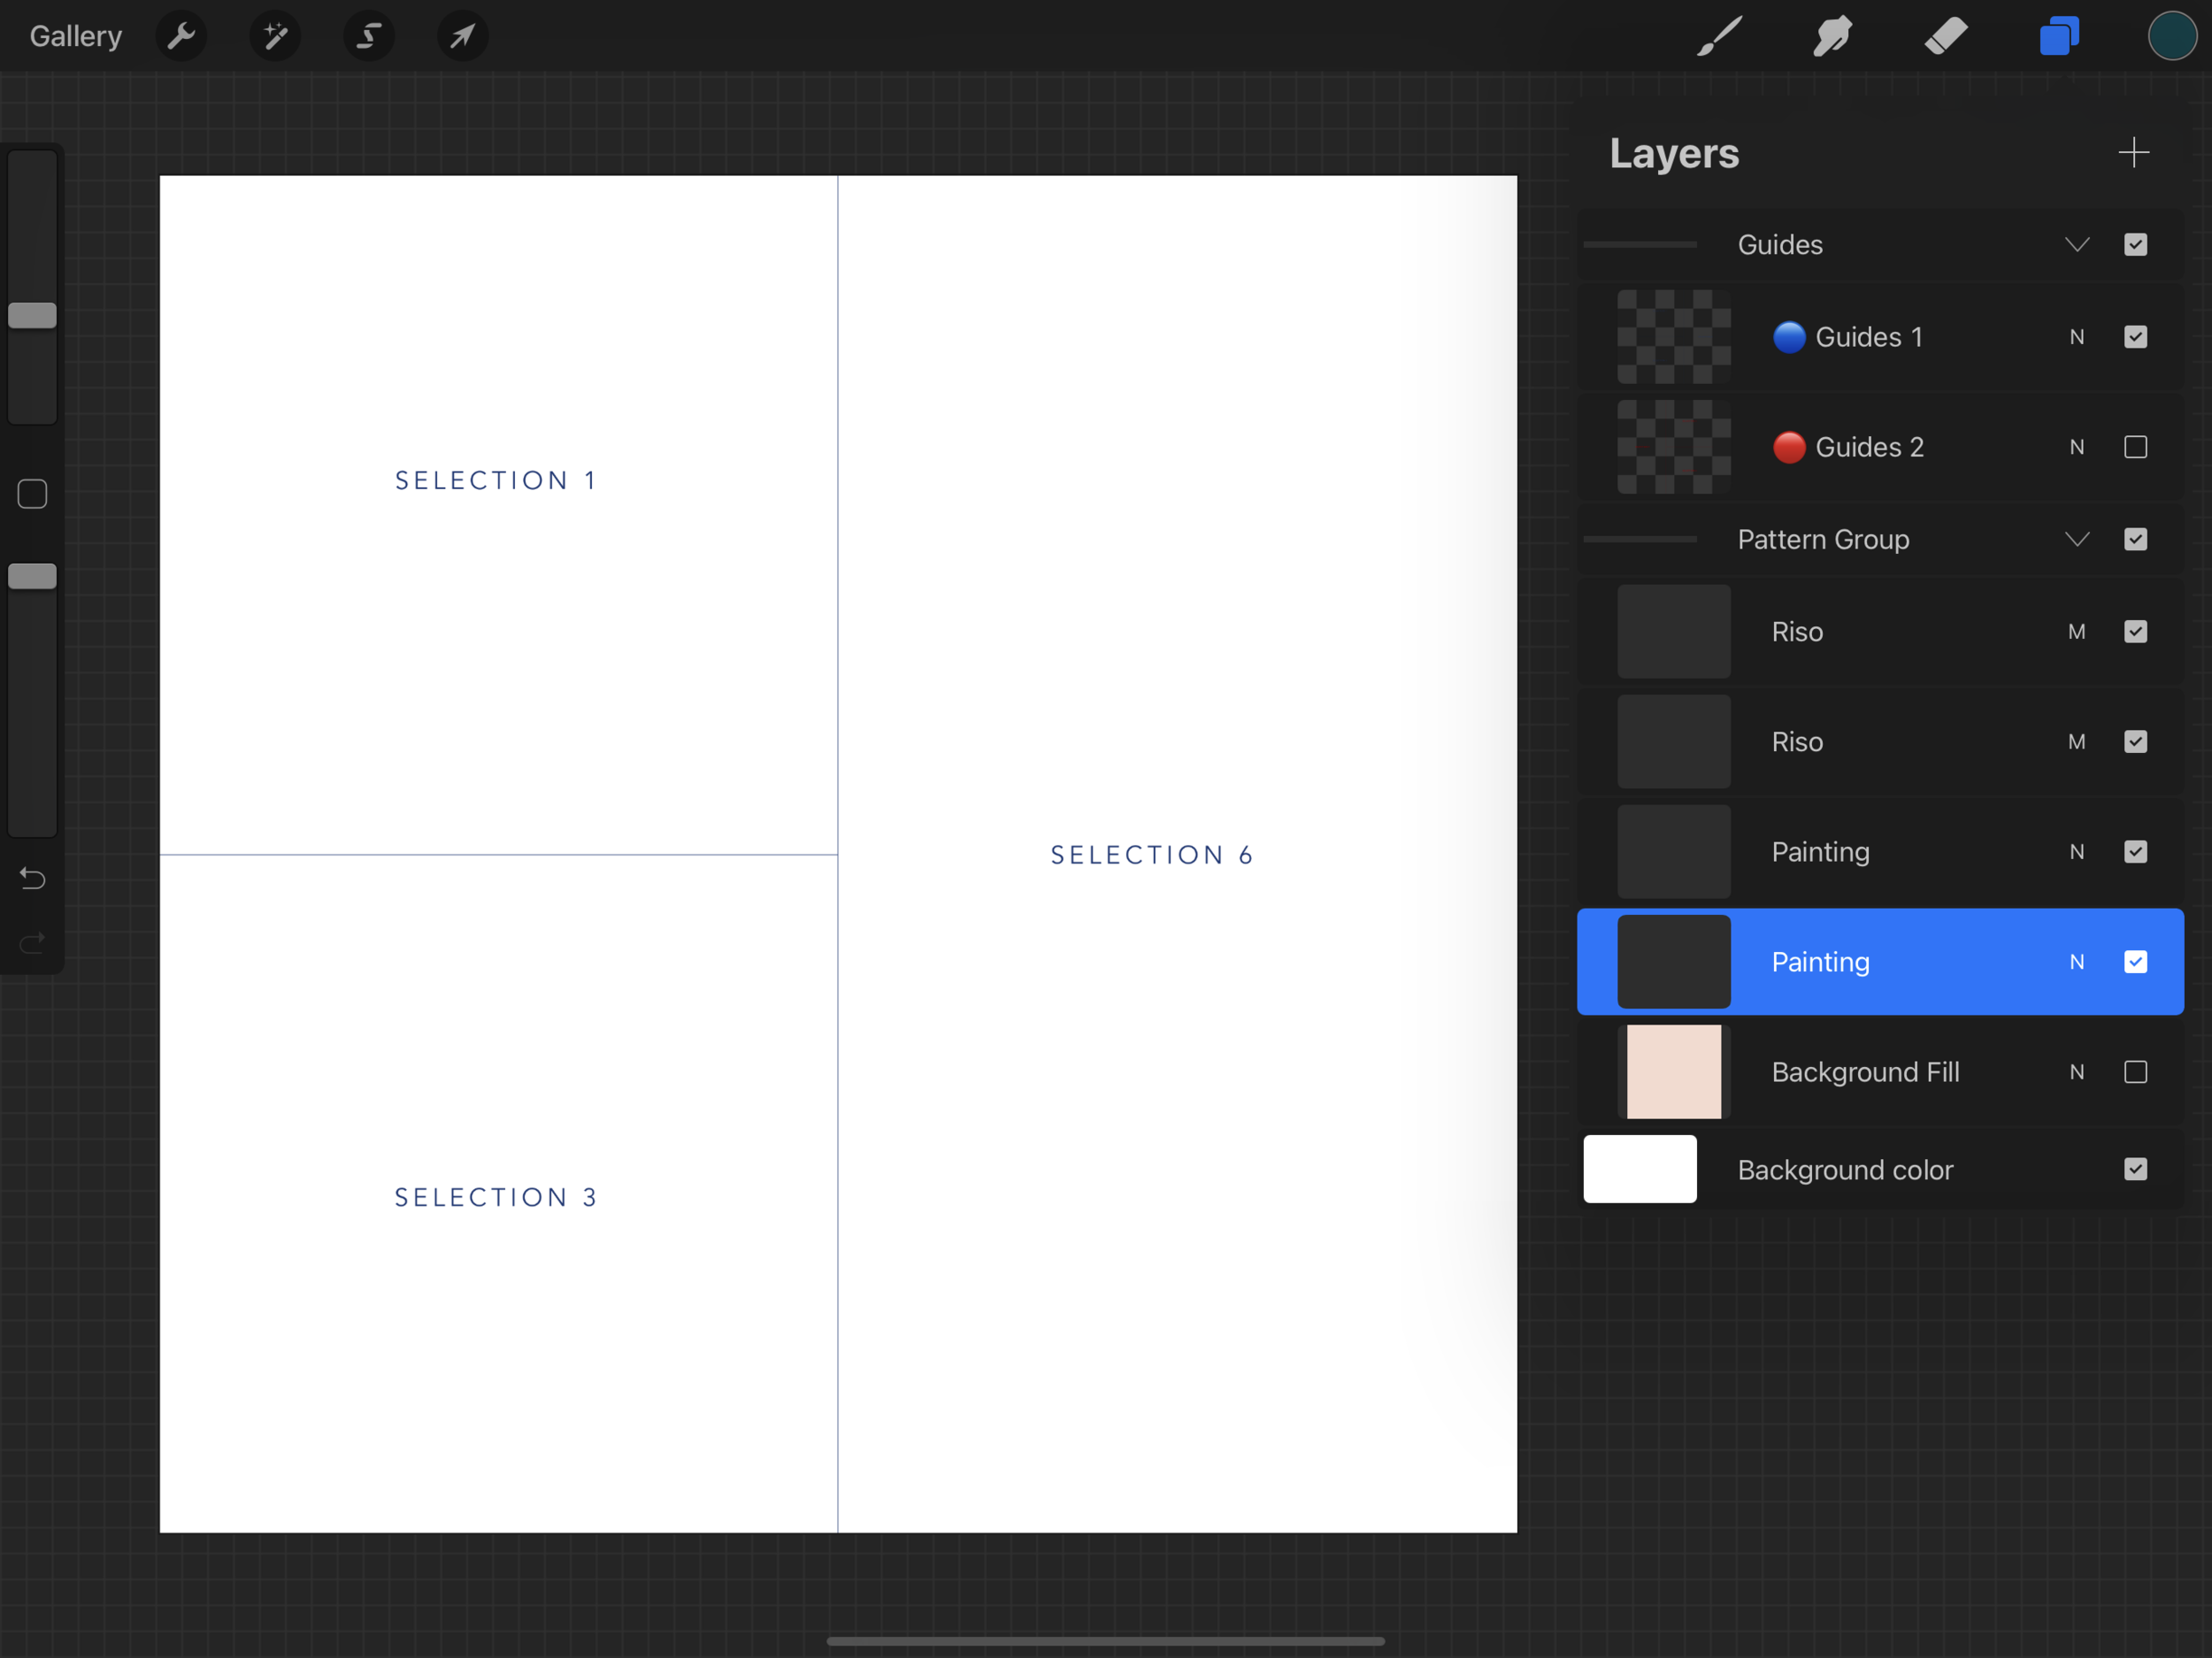
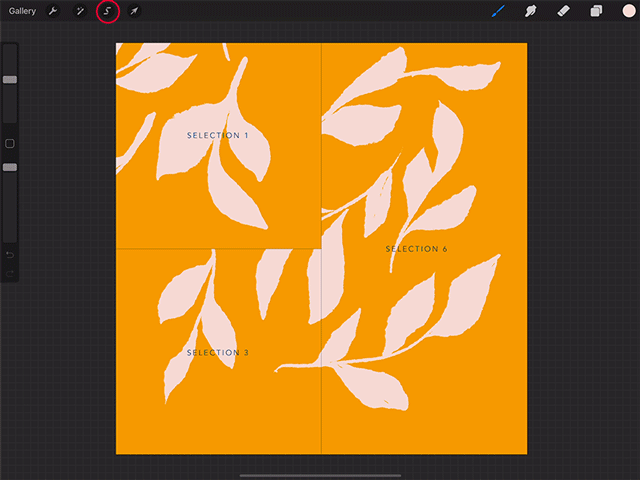
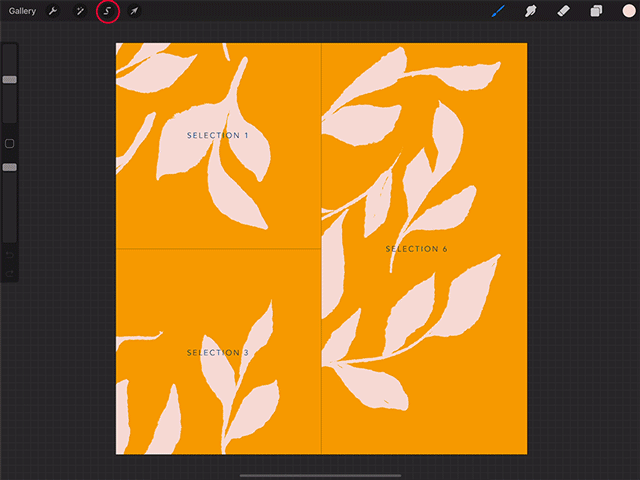
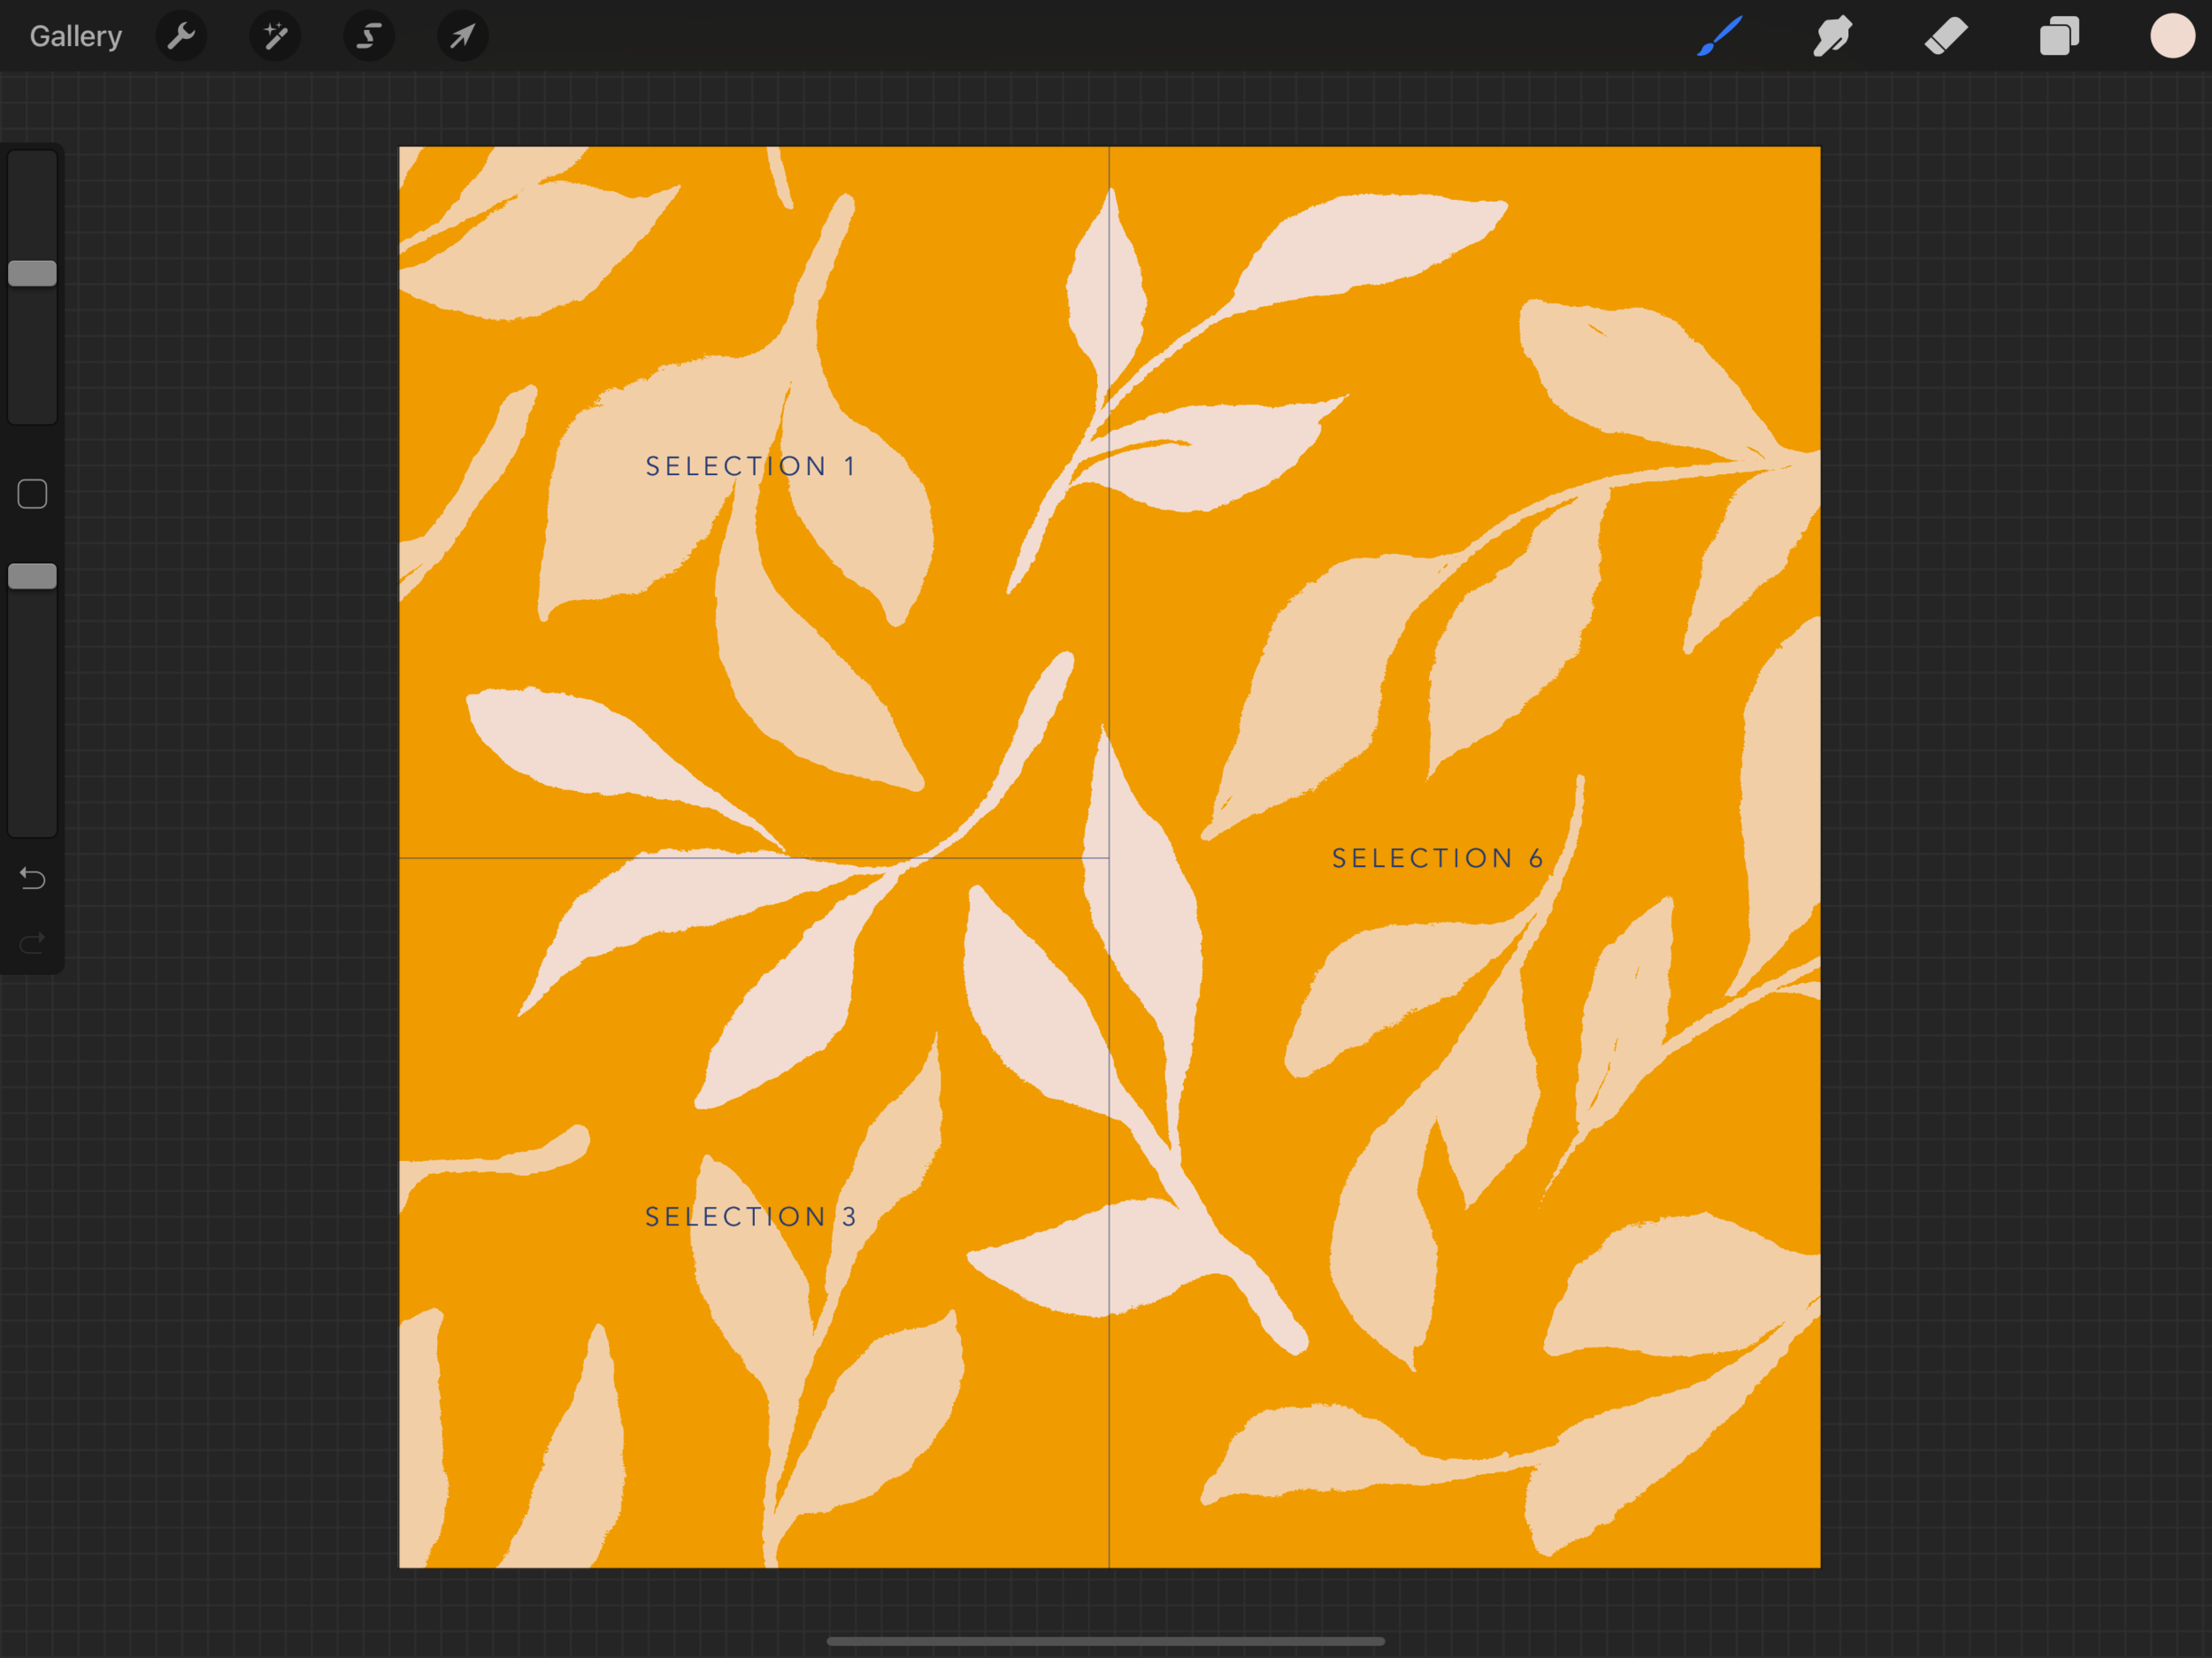
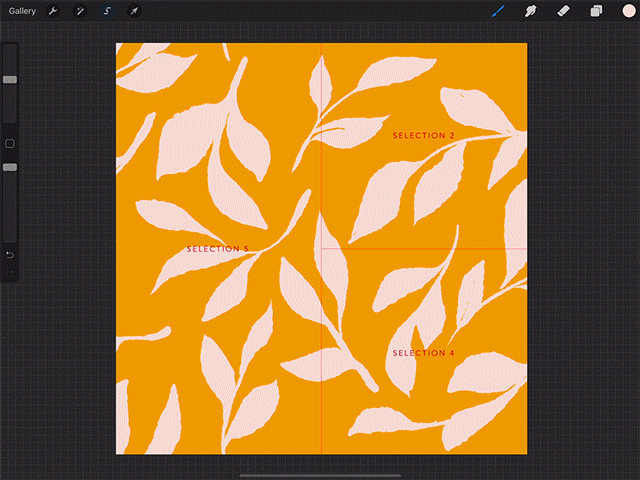
First, we’ll need to save six selections: one for each quadrant of the canvas, and then one for the right half of the canvas, and one for the left half.
Use color drop to fill the entire layer with any color.
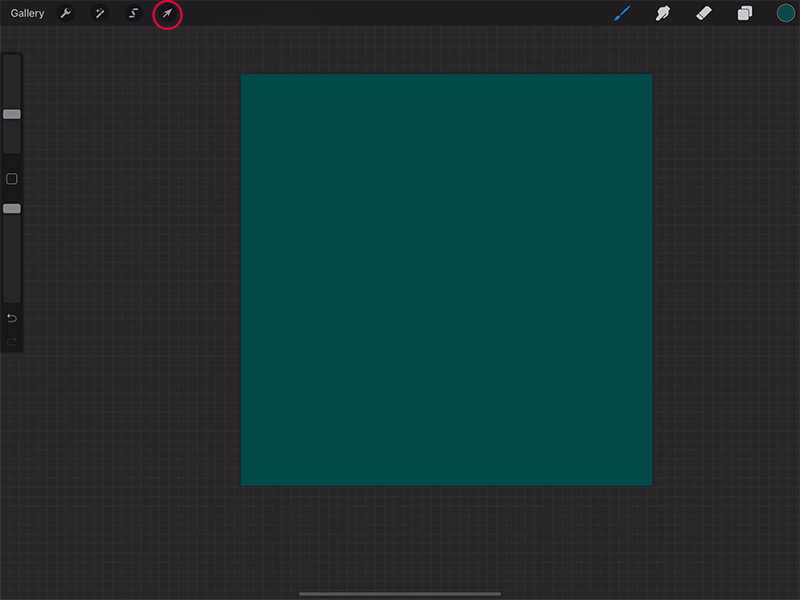
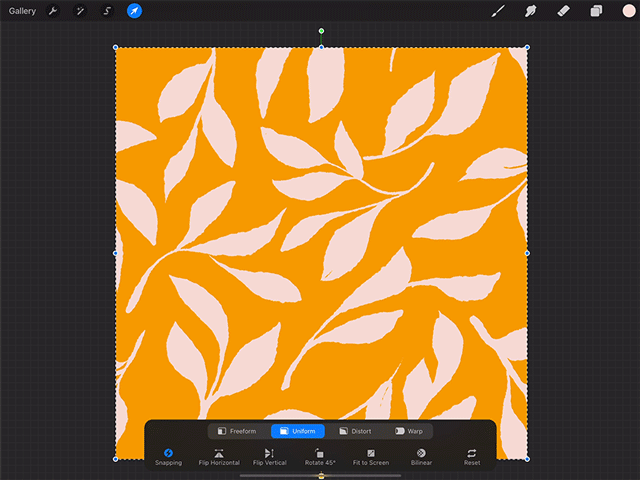
When the layer is completely filled with color, tap the transform tool (the arrow icon in the upper left).

Transform settings
Procreate 5X has snapping tools! Here are the settings you’ll need:
When you tap the transform tool to resize, tap “Uniform”, and then tap the “snapping” button.
In the menu that pops up, make sure that Magnetics and Snapping are both turned on. Slide the Distance and Velocity settings to Max.

Distance indicates how far from a guide your object can be before it snaps to the guide - so setting it at Max will help guide your object into place. Velocity controls how freely the object can be moved around the canvas; setting it at Max will mean that it catches on more guides on the canvas.
You’ll also want to check that the interpolation is set to Bilinear. This essentially dictates how the pixels will render as you move and scale them. Setting it to Bilinear will ensure the least distortion.

From here, you can resize by dragging the blue corner nodes. When the square snaps to the center alignment guides (the gold ones), and check that the width and height measurements are correctly indicating that you’ve resized it to 50%.
Release the square by tapping the transform tool.
This is how you’ll be able to ensure an absolutely crisp selection, which will ensure your repeats will be totally seamless.
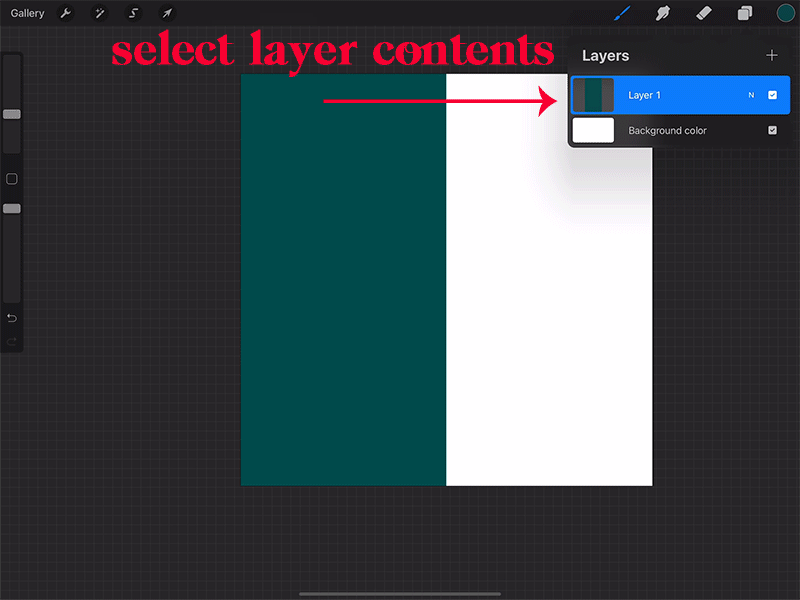
Now, go into the Layers panel, and select the layer contents. You can do this by tapping on the layer to bring up the side menu, and choosing select from the menu; or, you can use two fingers to press and hold on the layer until the selection appears.

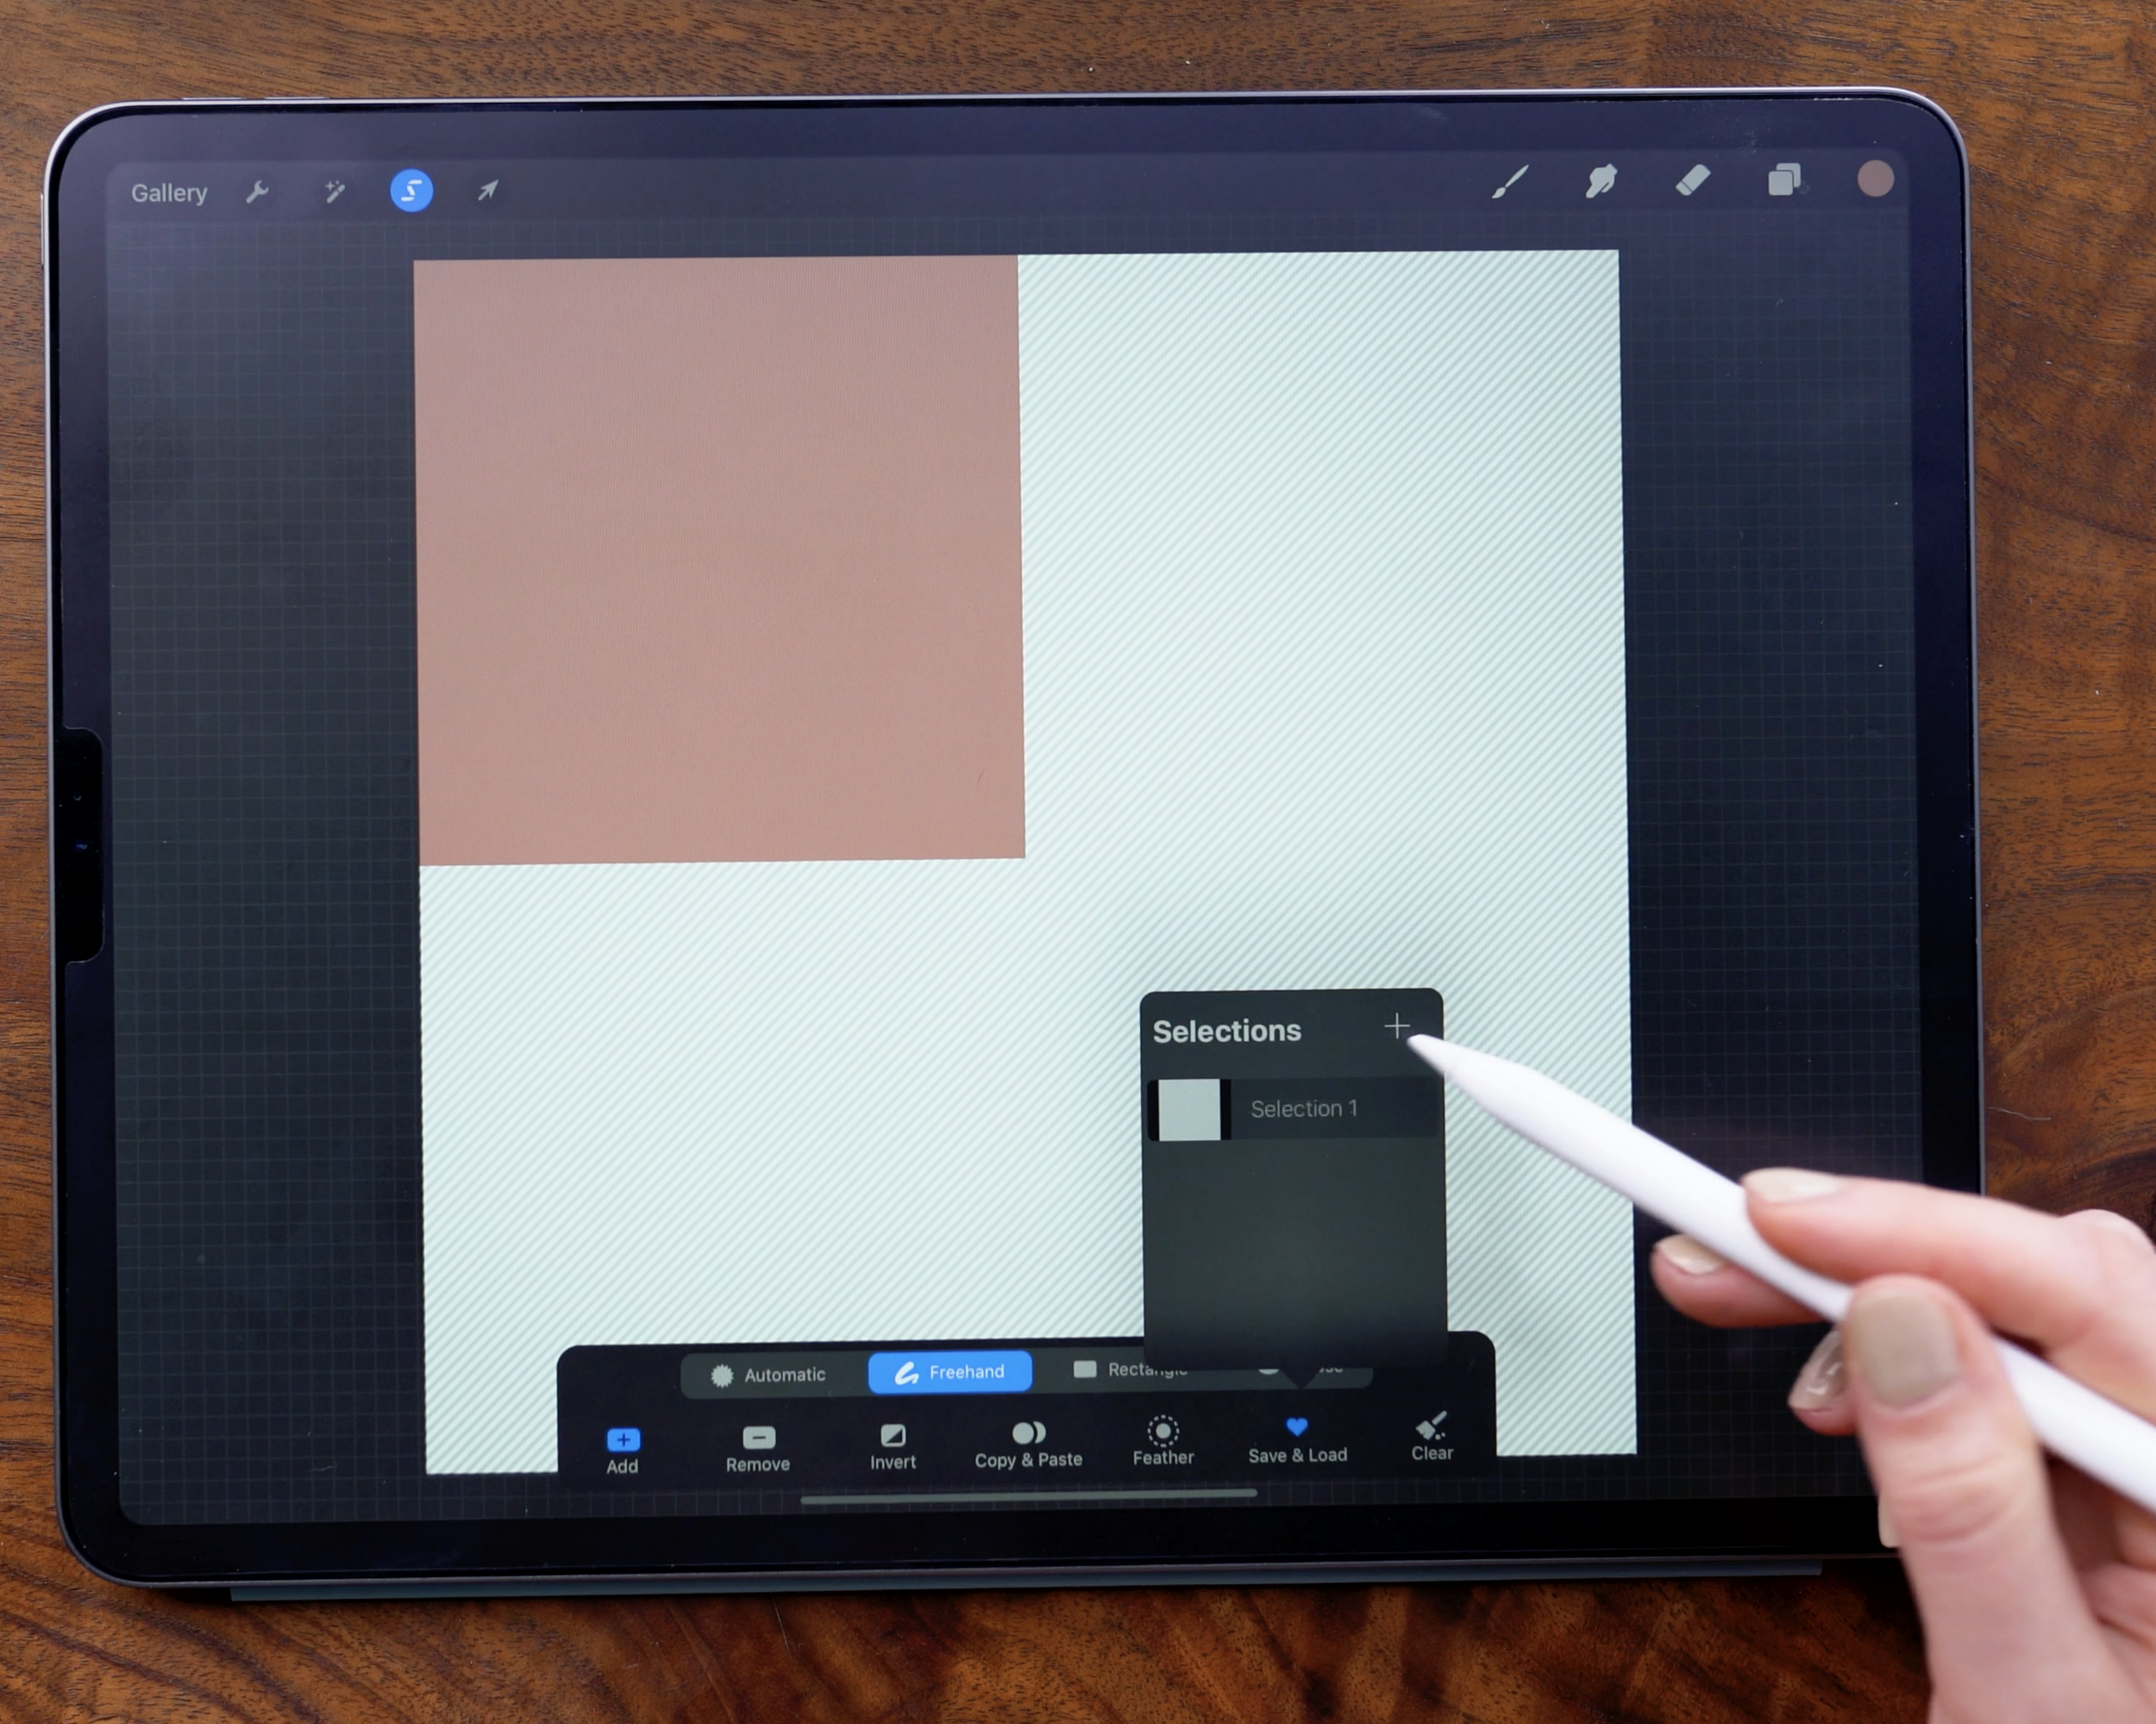
Once the lower selection toolbar appears, tap Save & Load, and then tap the plus sign to save this as Selection 1.
Then, tap the selection tool to exit. Now, repeat for the remaining quadrants, until you have four saved selections.
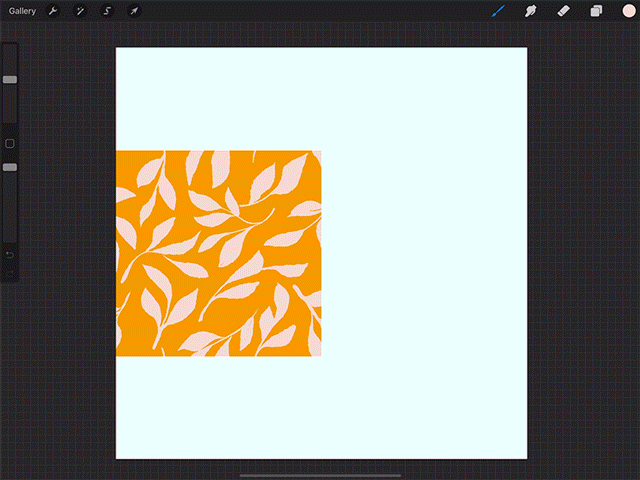
Next, color drop to fill the screen once again. Tap the transform tool, but this time, instead of resizing the shape, slide it over until it snaps into place, filling up exactly half of the canvas.
The top and bottom nodes of the object should be aligned with the canvas corners, and you’ll also want to ensure the gold guide lines appear - one vertical line in the very center, and three horizontal lines, indicating that it’s aligned to the middle of the canvas.
Then tap the layers icon, select the layer contents, and save this as Selection 5.
Without leaving the selection, on the bottom toolbar, tap “invert” to select the other half of the canvas. Save this as selection 6.
You can clear the layer after your selections are saved, and move on to creating the pattern.
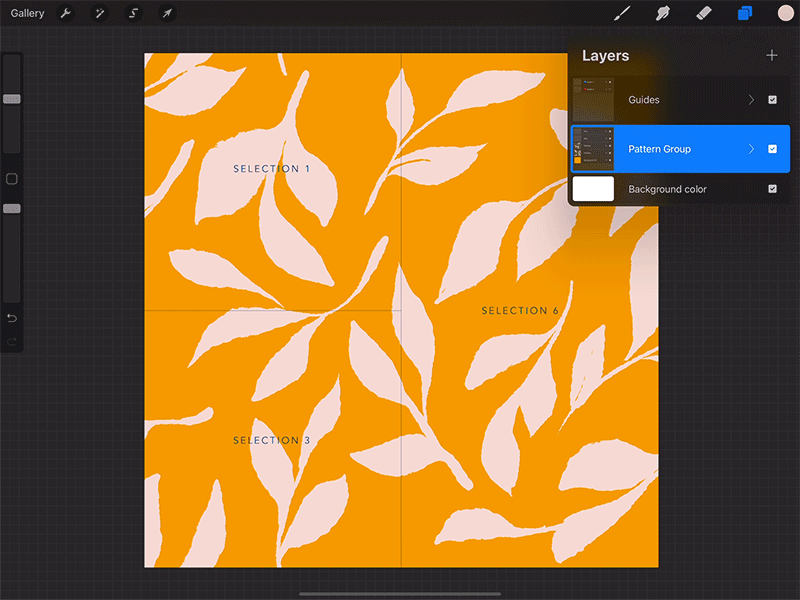
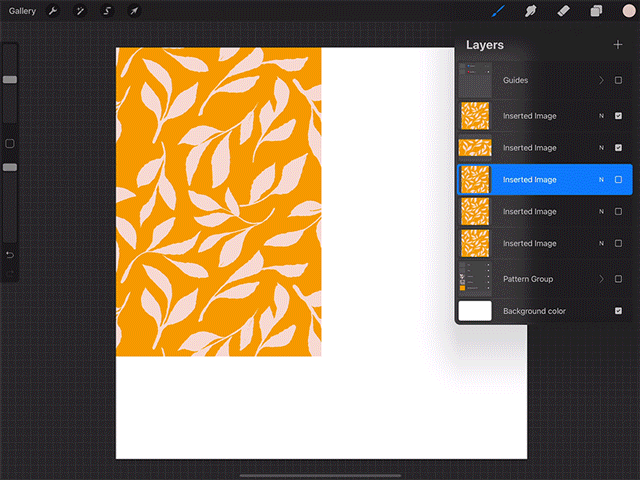
Creating the pattern: Layer Group
If you’re working in the premade canvas with guides, you’ll already have a group of layers set up, with guides to indicate where each selections are located.
If you’re starting from scratch, you’ll need to group your layers for the pattern. In the layers panel, add in empty layers, and then select all layers and tap “Group”. Working within a group will allow you to easily treat the pattern as a single entity, but also gives you the flexibility of adding your pattern elements on different layers - meaning you can preserve blend modes and clipping masks as you create your repeat.
Start with the blue guides turned to visible, and the red guides hidden.
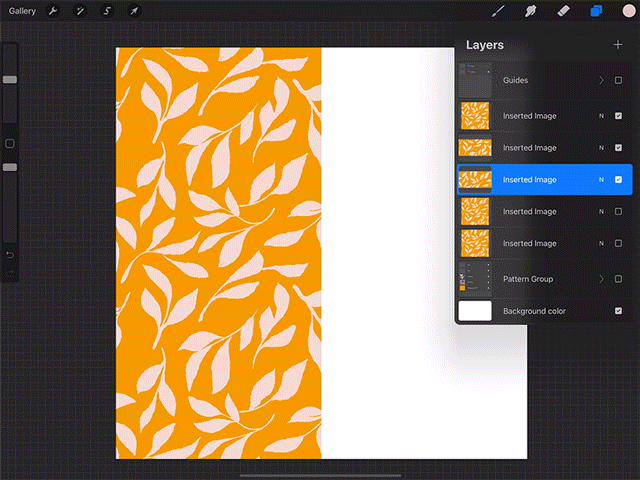
Use color drop to fill the bottom layer with your background color of choice.
You can change or remove this later on, but it’s necessary to have a background that fills the entire canvas when using our saved selections later on. If you skip this step, your pattern may end up with seams or breaks.
Adding Pattern Elements
Move to a layer within your pattern group, and start painting your elements! For this example, I’m painting simple, flat leaves. In the video tutorial, you’ll see how to use multiple layers and texture. The amount of complexity is up to you!
Just be sure to avoid drawing over the canvas edges. We will fill in the extra space later - for now, stick to the bounds of the canvas. I like to cluster a handful of elements in the center of the canvas for this first step.
Transforming part 1
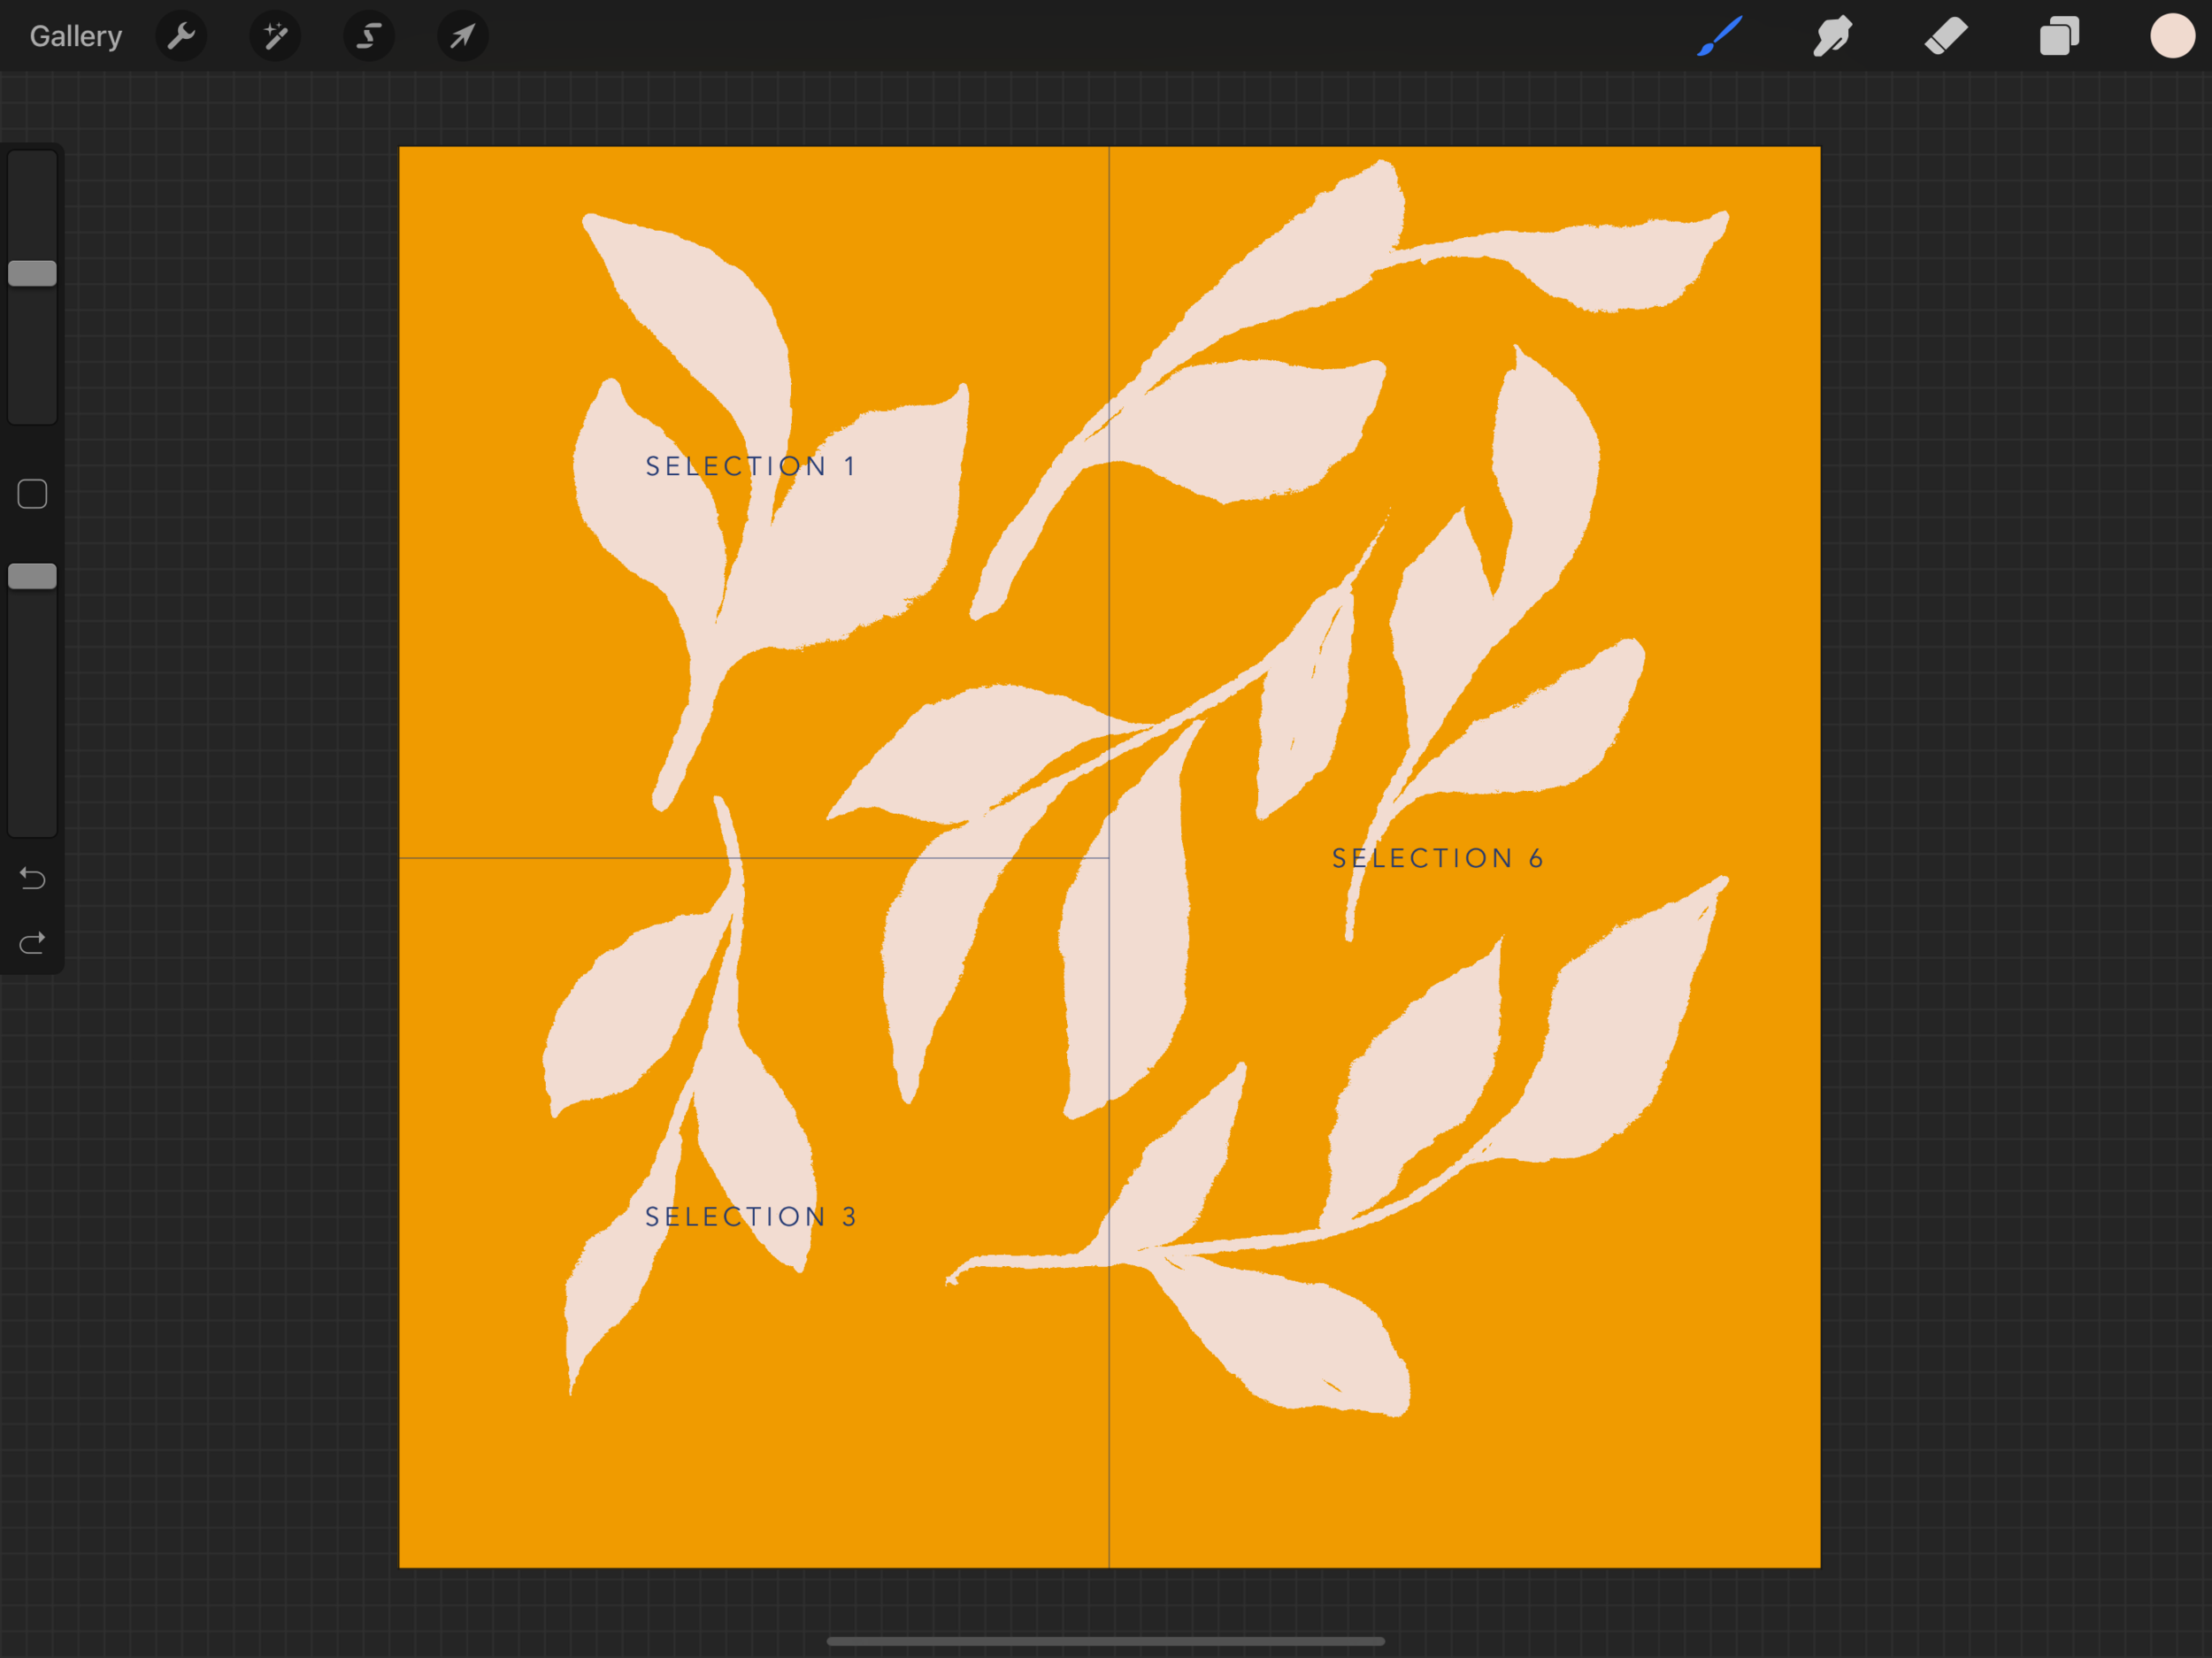
Once you’ve drawn the initial pattern elements, it’s time to flip the selections to create the first part of the repeat.
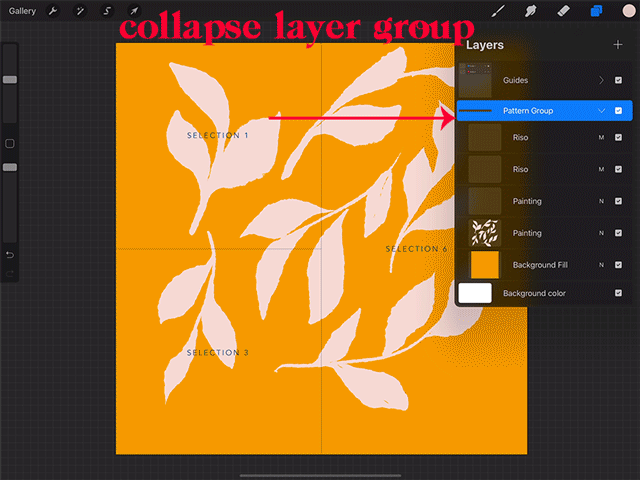
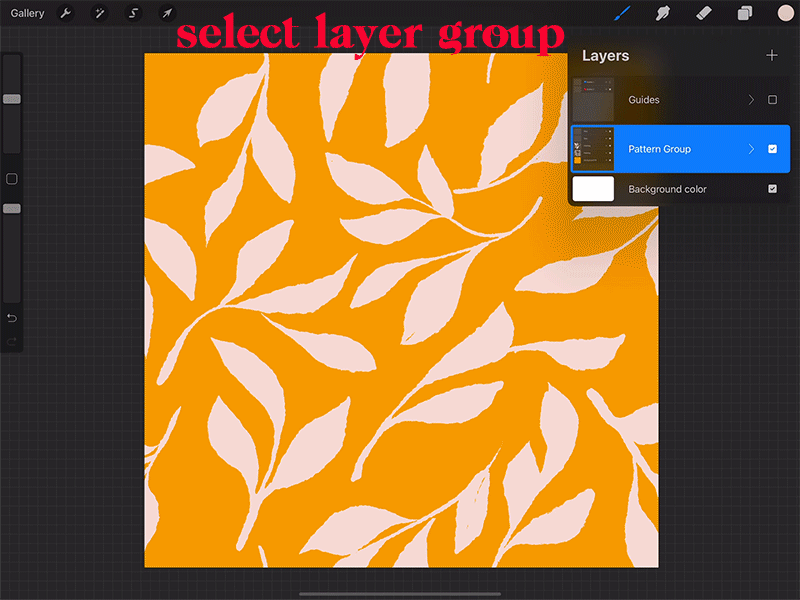
In the layers panel, collapse the pattern layer group, and then keep it selected (indicated by the blue highlight). Then tap the Selection Tool. Make sure the tool is set on Freehand. If it is set to Automatic, you won’t be able to work with the entire group of layers.*
Then tap Save and Load, and load Selection 1. When the selection is loaded, tap the Transform tool, and in the bottom bar that pops up, tap Flip Horizontal and then Flip Vertical.
*Some people have run into issues when trying to load the selection with the group selected. If you’re running into a message telling you to select a layer instead of a group, here’s what you can try:
Tap the selection tool while on a single layer, and turn it to Freehand
While in the selection tool, deactivate Color Fill
If the issue persists, you can reach out to the Procreate care team; you may need to uninstall and reinstall Procreate to get it to work properly. Be sure to back up your brushes, palettes, and artwork if you choose to re-install!
What this does is rotate the square 180 degrees - so the inside edges of the selections become the outside, creating the repeat.
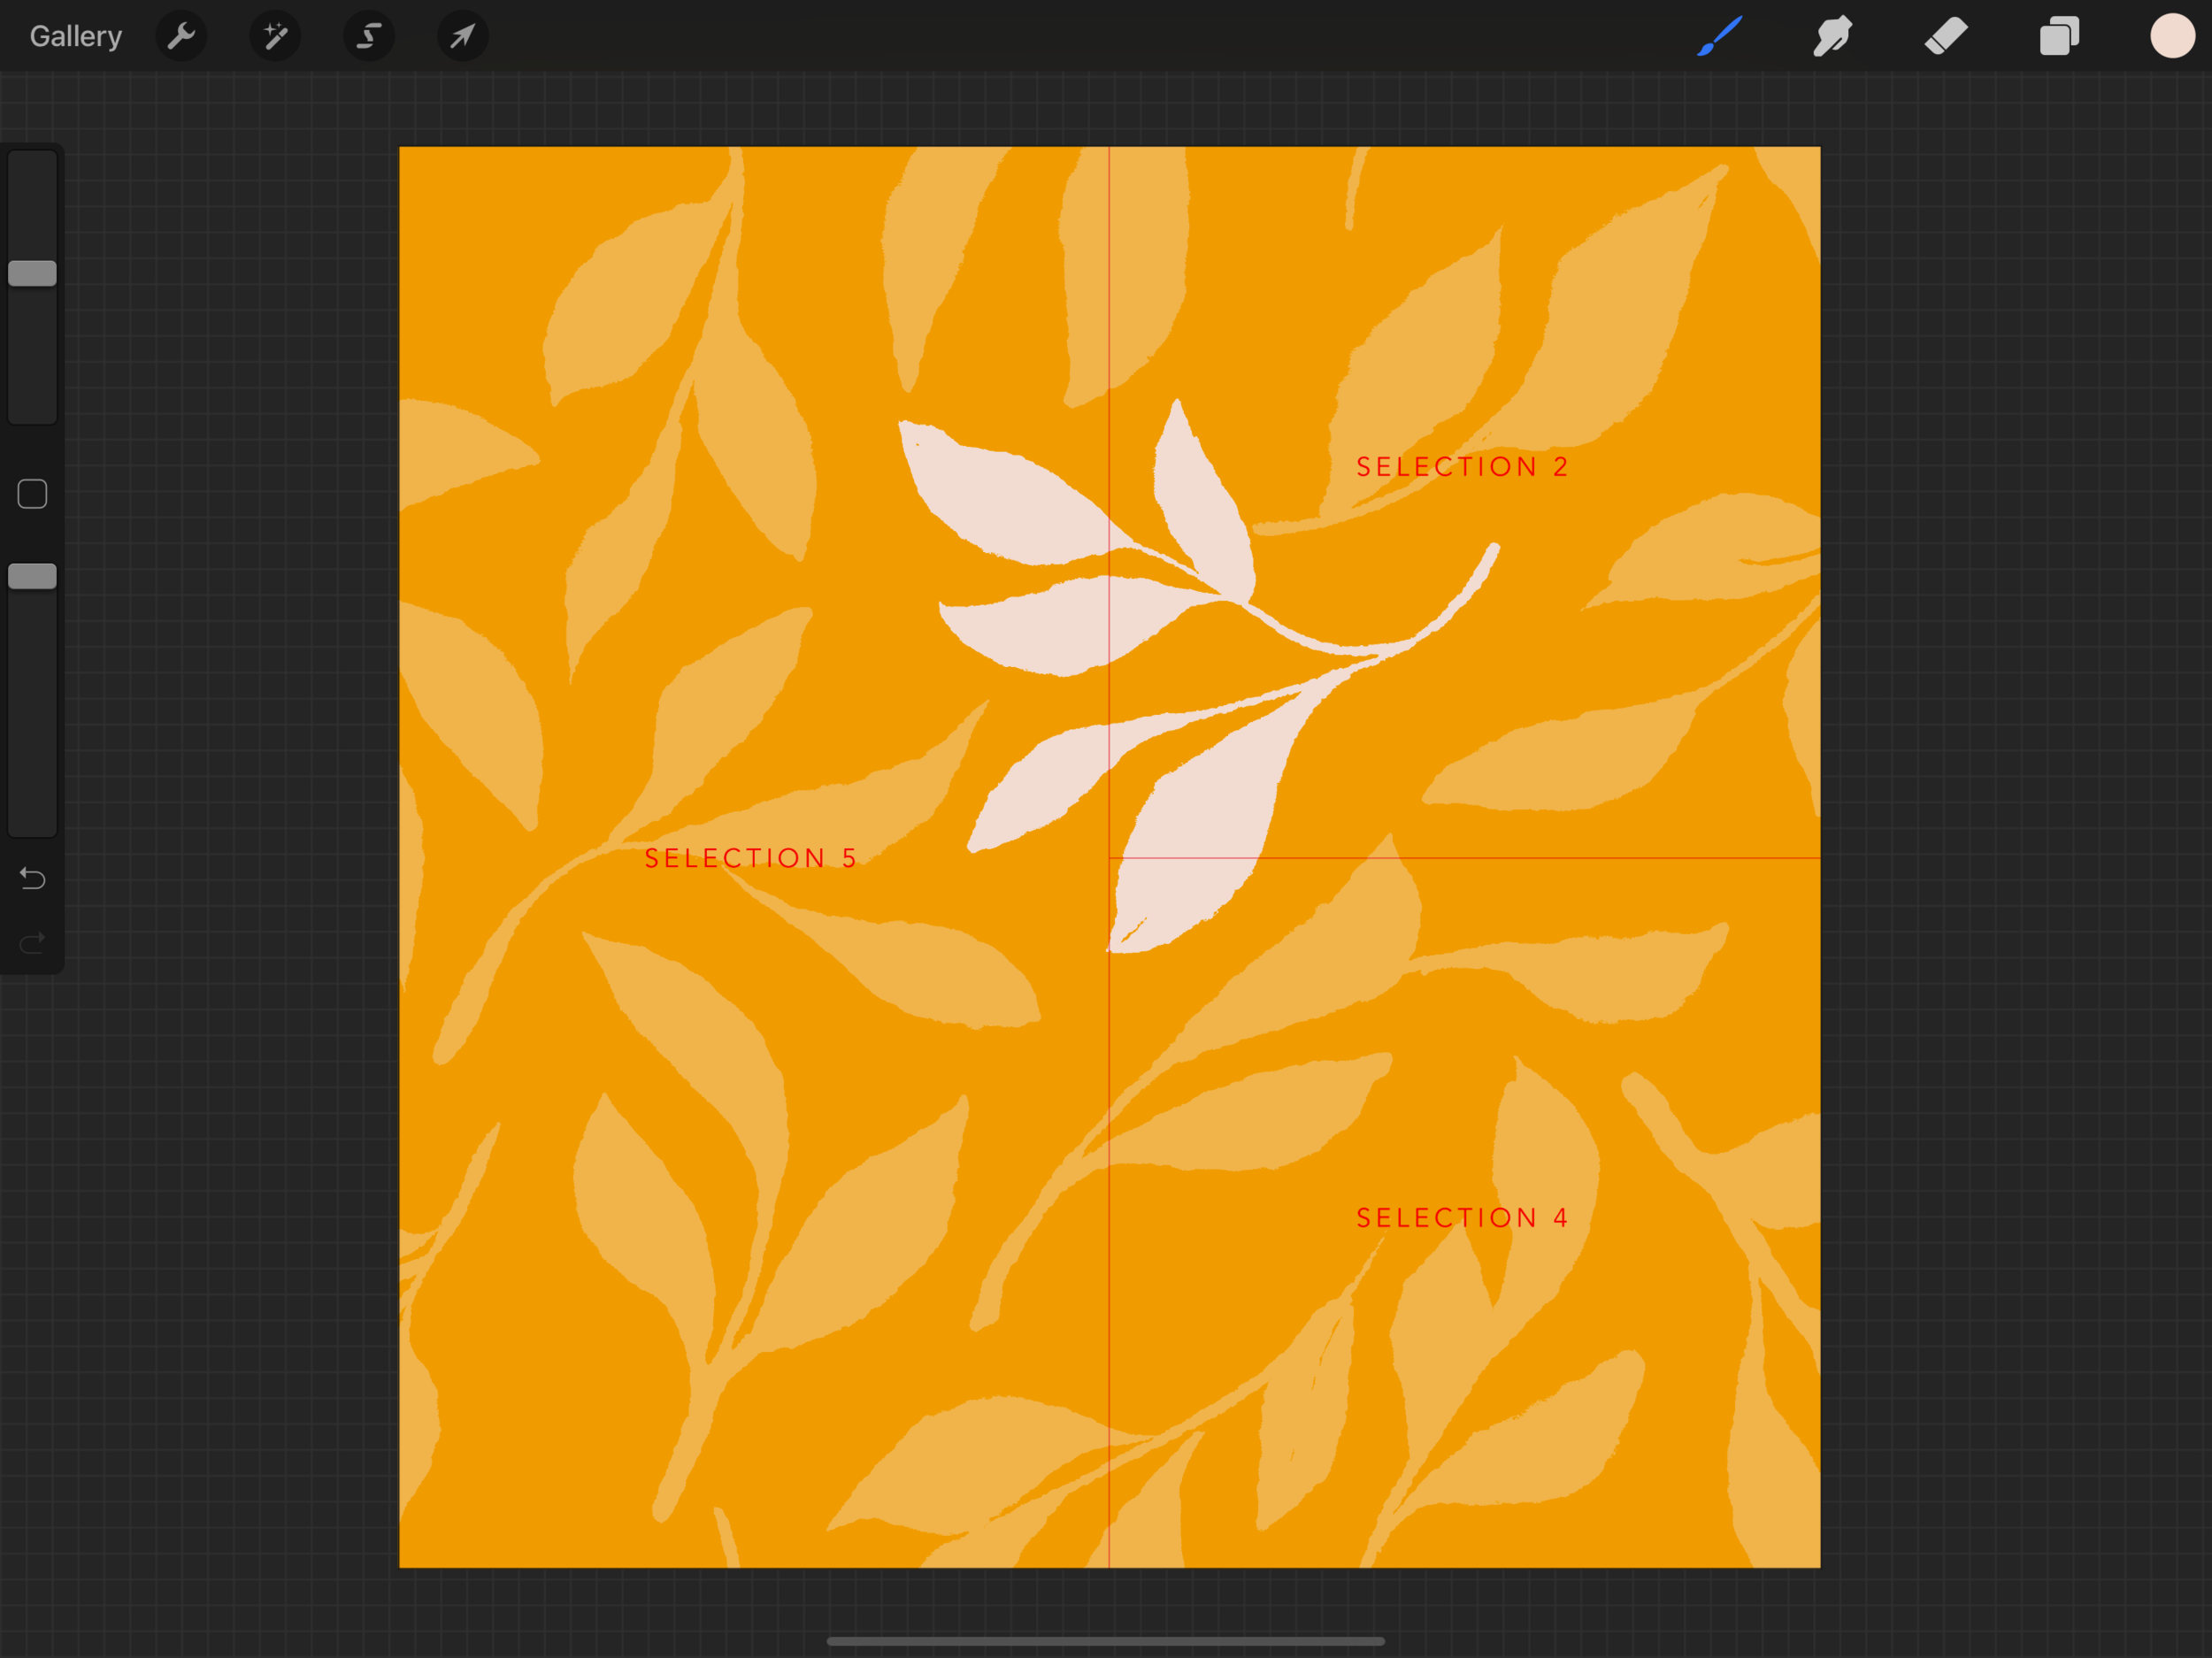
Repeat for Selection 3, and then for Selection 6, according to the blue guides. Take care not to nudge, move, or scale anything when transforming.
Now you should have some empty space across the lines of the guide. You can go back into the Pattern layer group to add more elements. Here I’ve lowered the opacity of the original elements to help the new ones stand out.
Transforming Part 2
Once you’ve added in your new elements, open the layers panel, hide the blue guides, and turn on the red guides. We’ll be transforming the pattern one more, just as before, this time following these red guides.
Now, collapse the pattern layer group, keeping it selected. Tap the selection to save and load the selections according to the red guides, starting with Selection 5. Flip horizontally and vertically, repeating for Selections 2 and 4.
At this point, you may have a bit of a gap, or some odd spacing between elements that you want to adjust. Because you’ve kept all your layers intact within the layer group, you can go back into them to make any changes.
Use freehand select to draw a marquee around elements that you want to re-arrange, and then tap the transform tool to move them.
You can also add in additional elements - here, I added one final leaf sprig.
testing the repeat
Once you are happy with the spacing and overall arrangement of the elements, it’s time to test how the pattern looks as a repeat. To do this, go into the layers panel, and collapse the layer group, keeping it selected
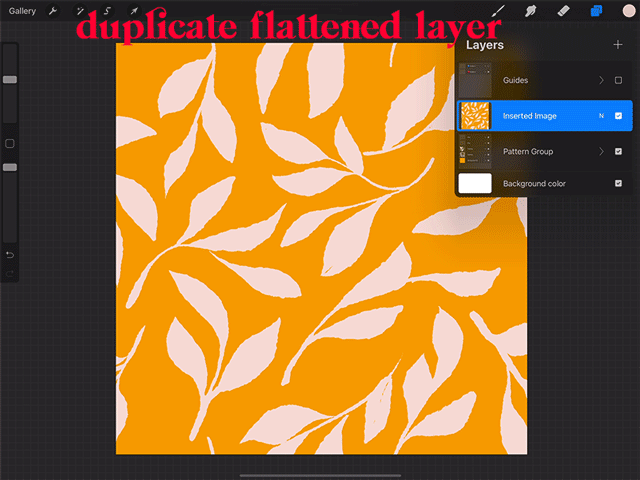
Use three fingers to swipe down on the screen to access the Copy & Paste menu. Once here, tap Copy All. Use the three-finger-swipe-down gesture once more, and then tap Paste. This will paste a flattened version of the pattern above the group.
Back in the layers panel, duplicate the flattened layer until there are five of them.
Next, we’re going to resize each of these layers, similarly to how we did when we were setting up the selections.
On the topmost layer, tap the transform tool. Starting with the node on the center right side, drag inward to resize the layer until the edge snaps in to align with the center of the canvas, indicated by the gold guide lines. Lift up the pencil, and then tap the Layers icon to move to the next layer down.
Repeat the steps to resize this 2nd layer. Then, move the layer up until it is halfway off the canvas, and the gold guides appear. You’ll also see that the pattern is aligned with the previous layer
Now move on to the 3rd layer.
Repeat again to resize this layer. Then, move the layer down, until it is halfway off the canvas, and the gold guides appear.
Move on to work on the 4th layer. Tap the transform tool, and for this one, drag the lower left corner node to resize until it snaps into the quadrant, and aligns with the rest of the pattern.
Finally, move onto the 5th layer, tap transform, and resize this one by dragging from the upper left corner node, until it snaps into place, aligning with the rest of the pattern.
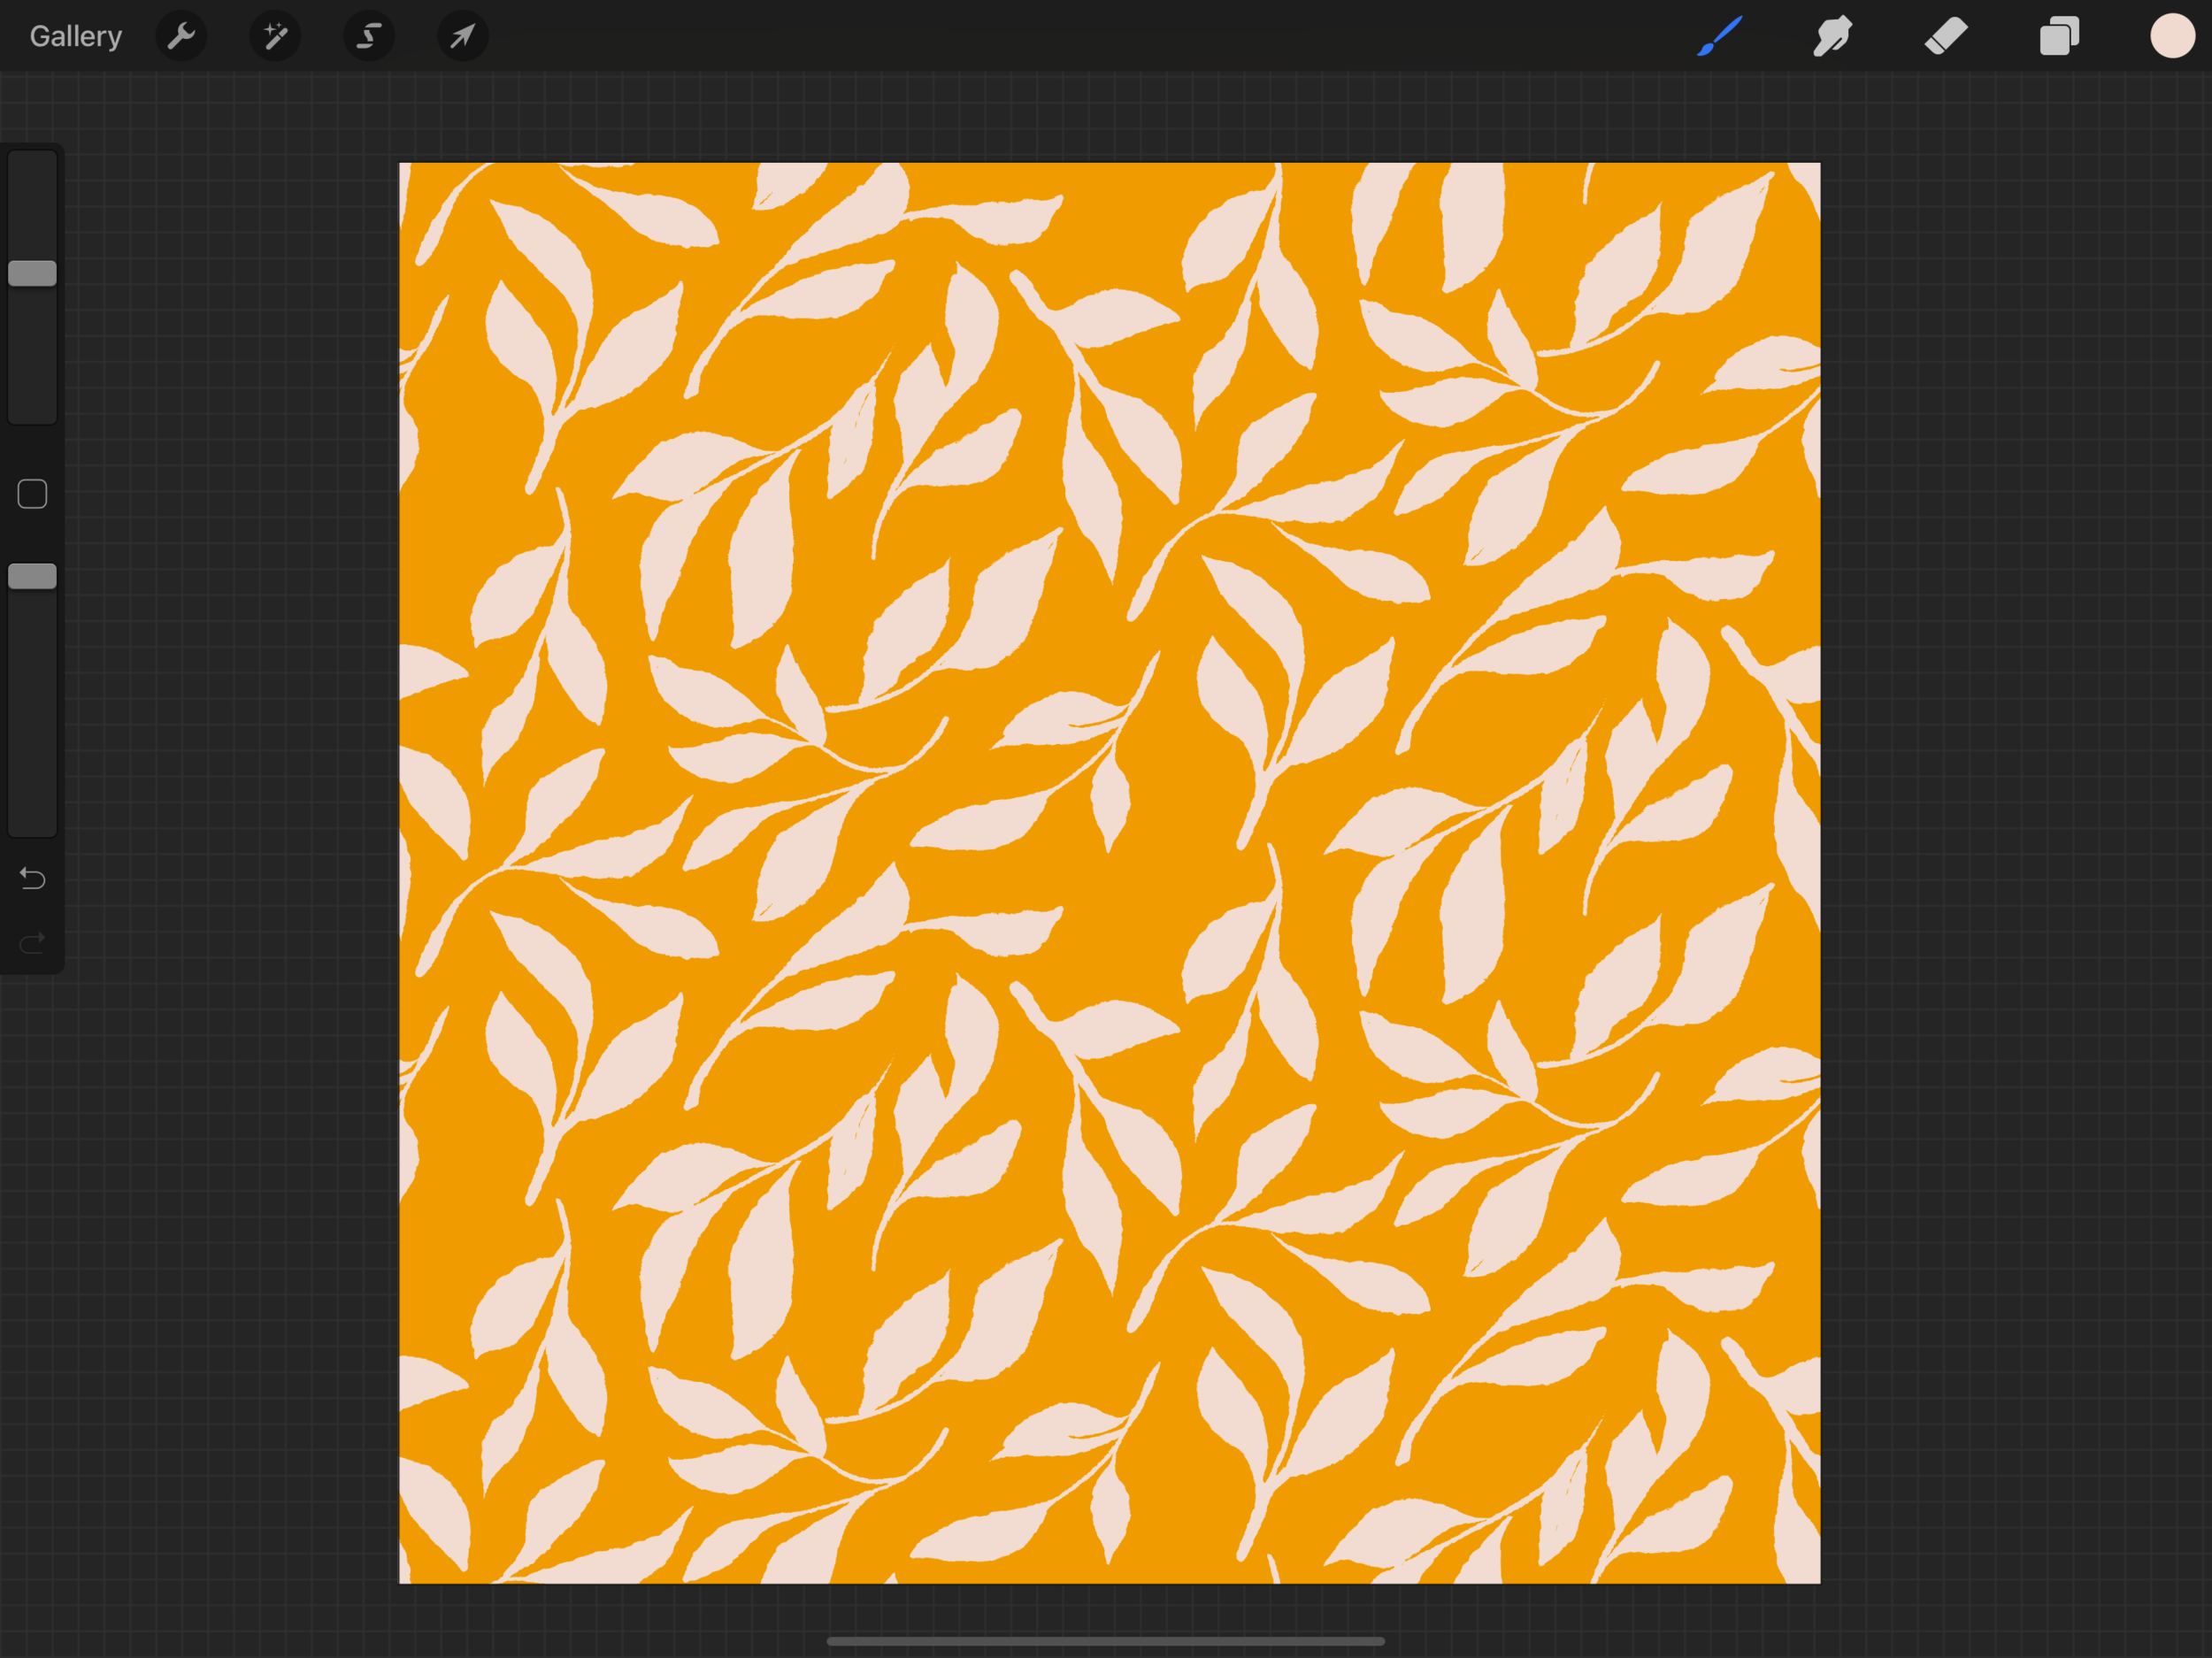
And there’s the full tiled repeat!
From here, you can merge these five layers together, duplicate them five more times, and repeat the process again if you want to continue to test the repeat at a smaller scale.
If you need to make adjustments, simply hide the test layers, go back into your layer group, and arrange as necessary. You can also re-flip the selections if want to make changes to any elements that cross the canvas edges. Just be sure to flip the selections in groupings according to the guides.
Definitely tag me on Instagram if you post your results there - I’d love to see!
Start painting now, or pin this for later!
Sign up to get FREE Procreate Brushes!

JOIN THE PACK
When you join, you'll gain access to dozens of Procreate freebies: brushes, paper textures, workbooks, and color palettes. I send out weekly updates with my best tips and tricks, and you'll be the first to hear when new freebies are released!