Retro Printing Press Effects in Procreate
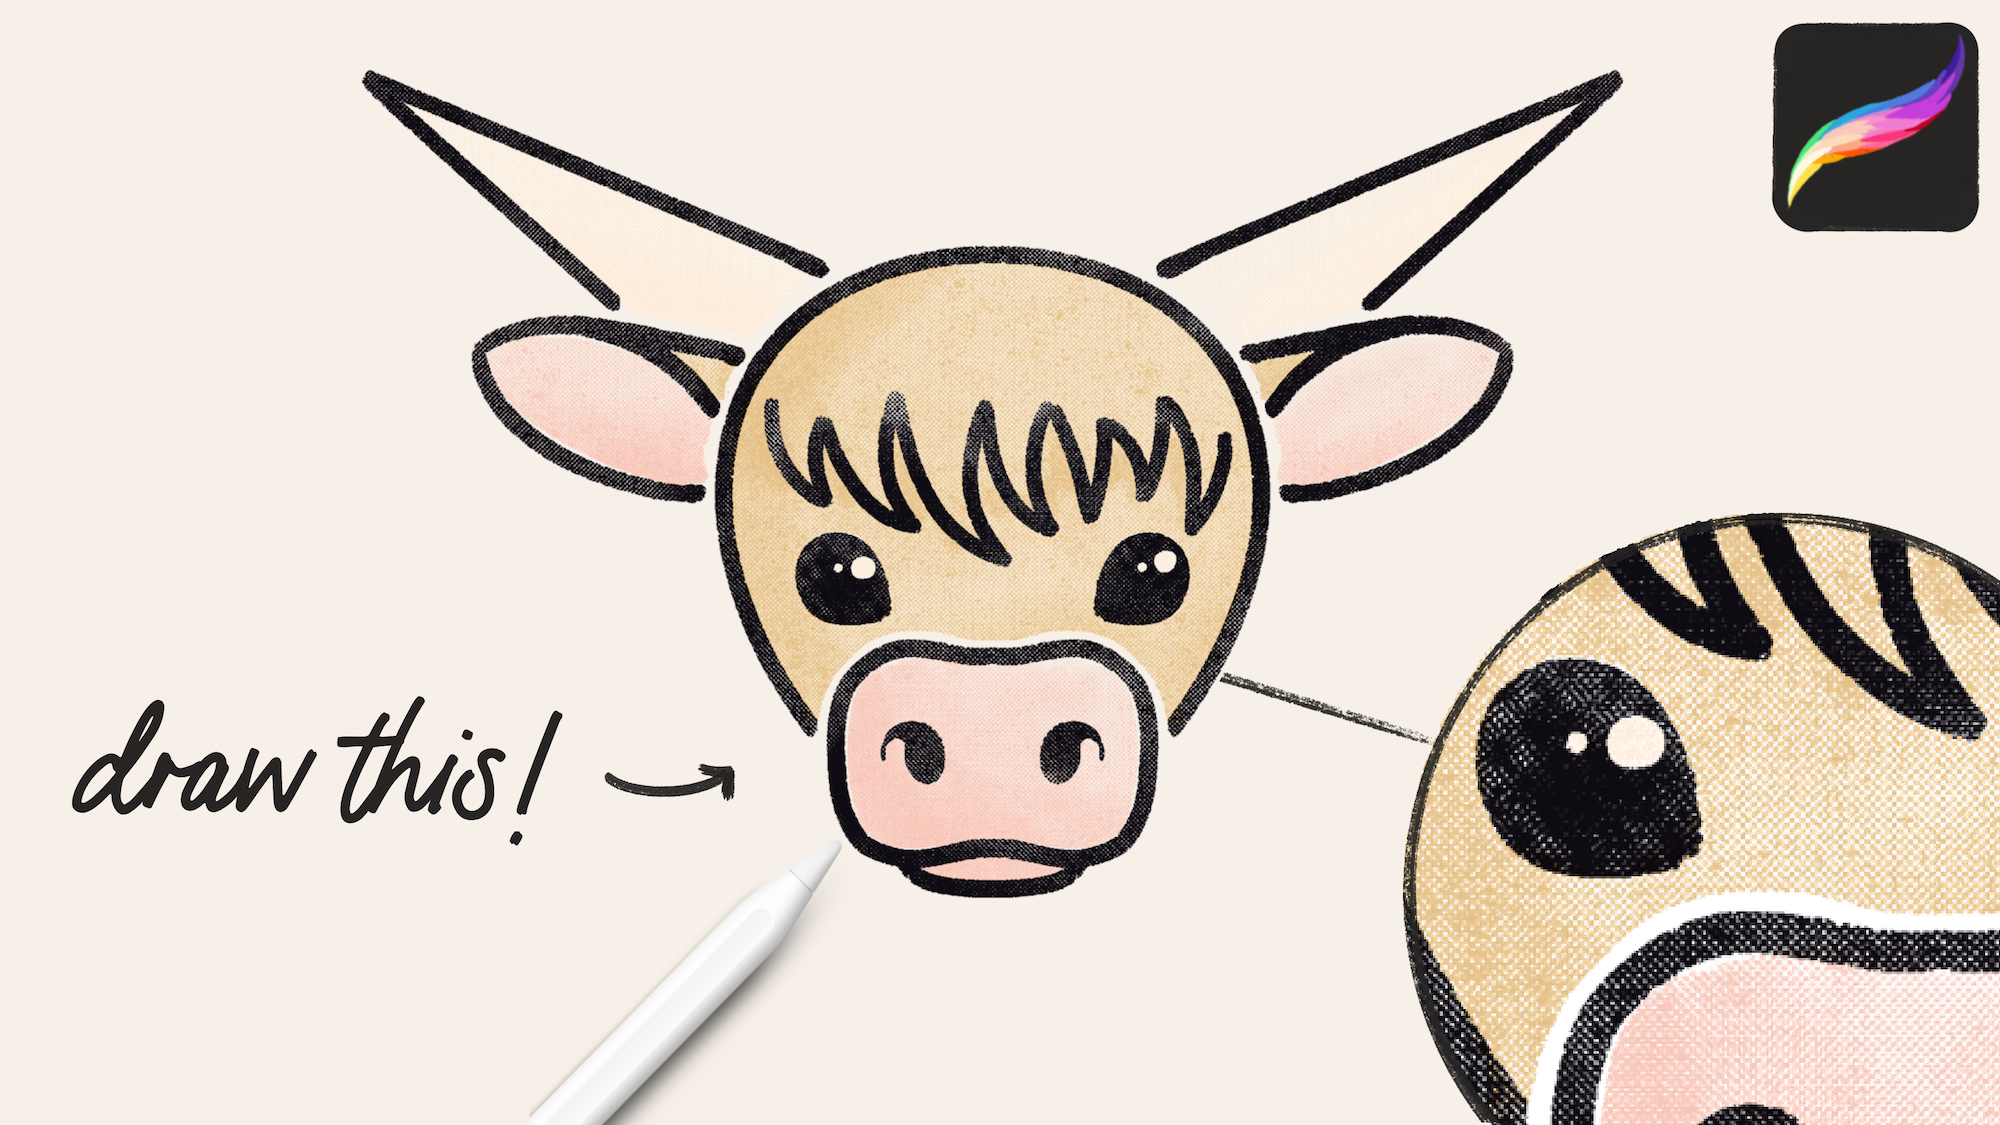
In this tutorial, we’re going to be creating retro print effects in Procreate, and illustrating this cute moth!
Brushes Used
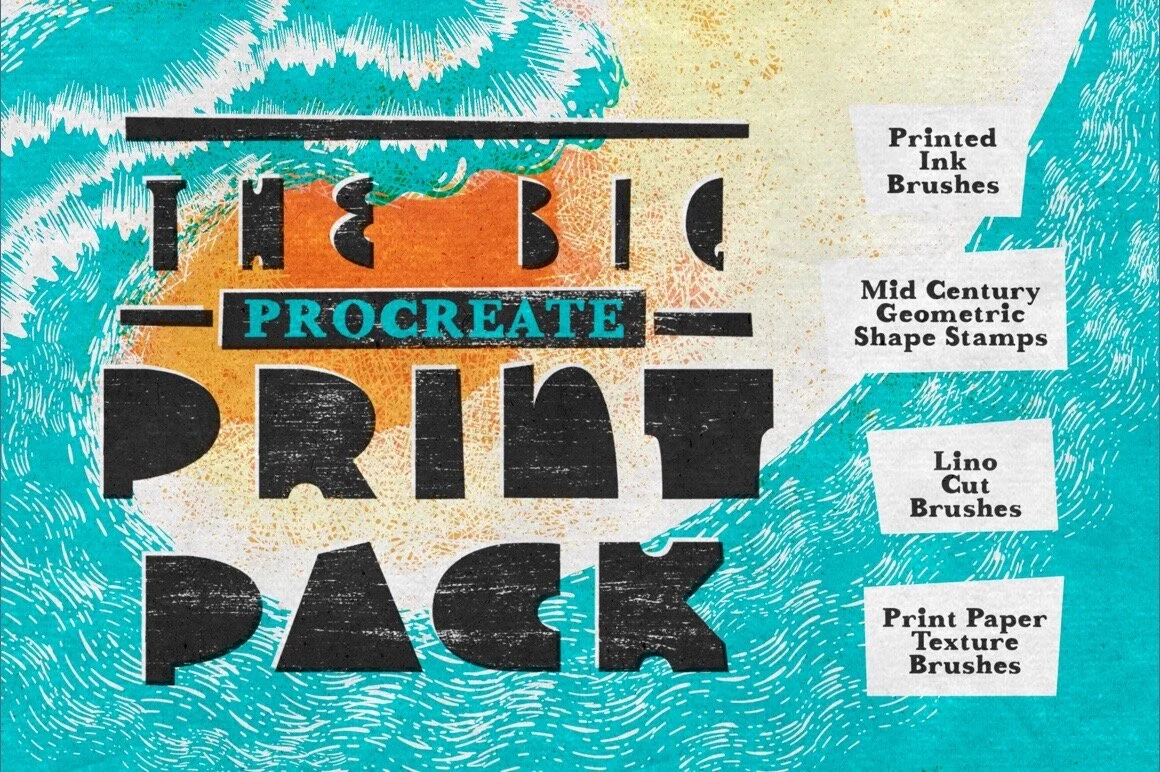
For the authentic print texture, I used brushes from Uproot’s Big Procreate Print Pack. You know I love a good print press effect, and these brushes are SO REALISTIC in creating that texture! I also used brushes from my own Scatter Stamps to create the stars.

Color Palette:
I used my October 2020 palette, which you can get for free by signing up for my newsletter:
Canvas set up:
For this project, I’m using a 2000 x 2000 pixel canvas set at 300 dpi with six layers, and a paper texture above. First, let’s make the paper texture using one of the texture brushes in the Big Print Pack.

The texture brush we’re using for this is the Super Watercolor Paper Texture brush. Then select a mid tone gray. To set this, go into the “Value” section of the color panel.
You’ll see six sliders in the panel; we're going to be focusing on the second and the third. The second one is saturation - so the amount of pigment - and then the third is brightness - so the scale of black-white. Set saturation to 0%, and brightness to 50%.
On the texture layer, zoom out a bit so you can see the whole canvas. Then, making sure the brush is set to 100% size, use one continuous stroke to fill the entire canvas.
Back in the layers panel, duplicate the layer. Then tap to bring up the blend mode and opacity settings. Change the top layer blend mode to Color Burn, reducing the opacity to 70%. Change the second layer blend mode to Linear burn, and reduce the opacity of this layer to around 20%.


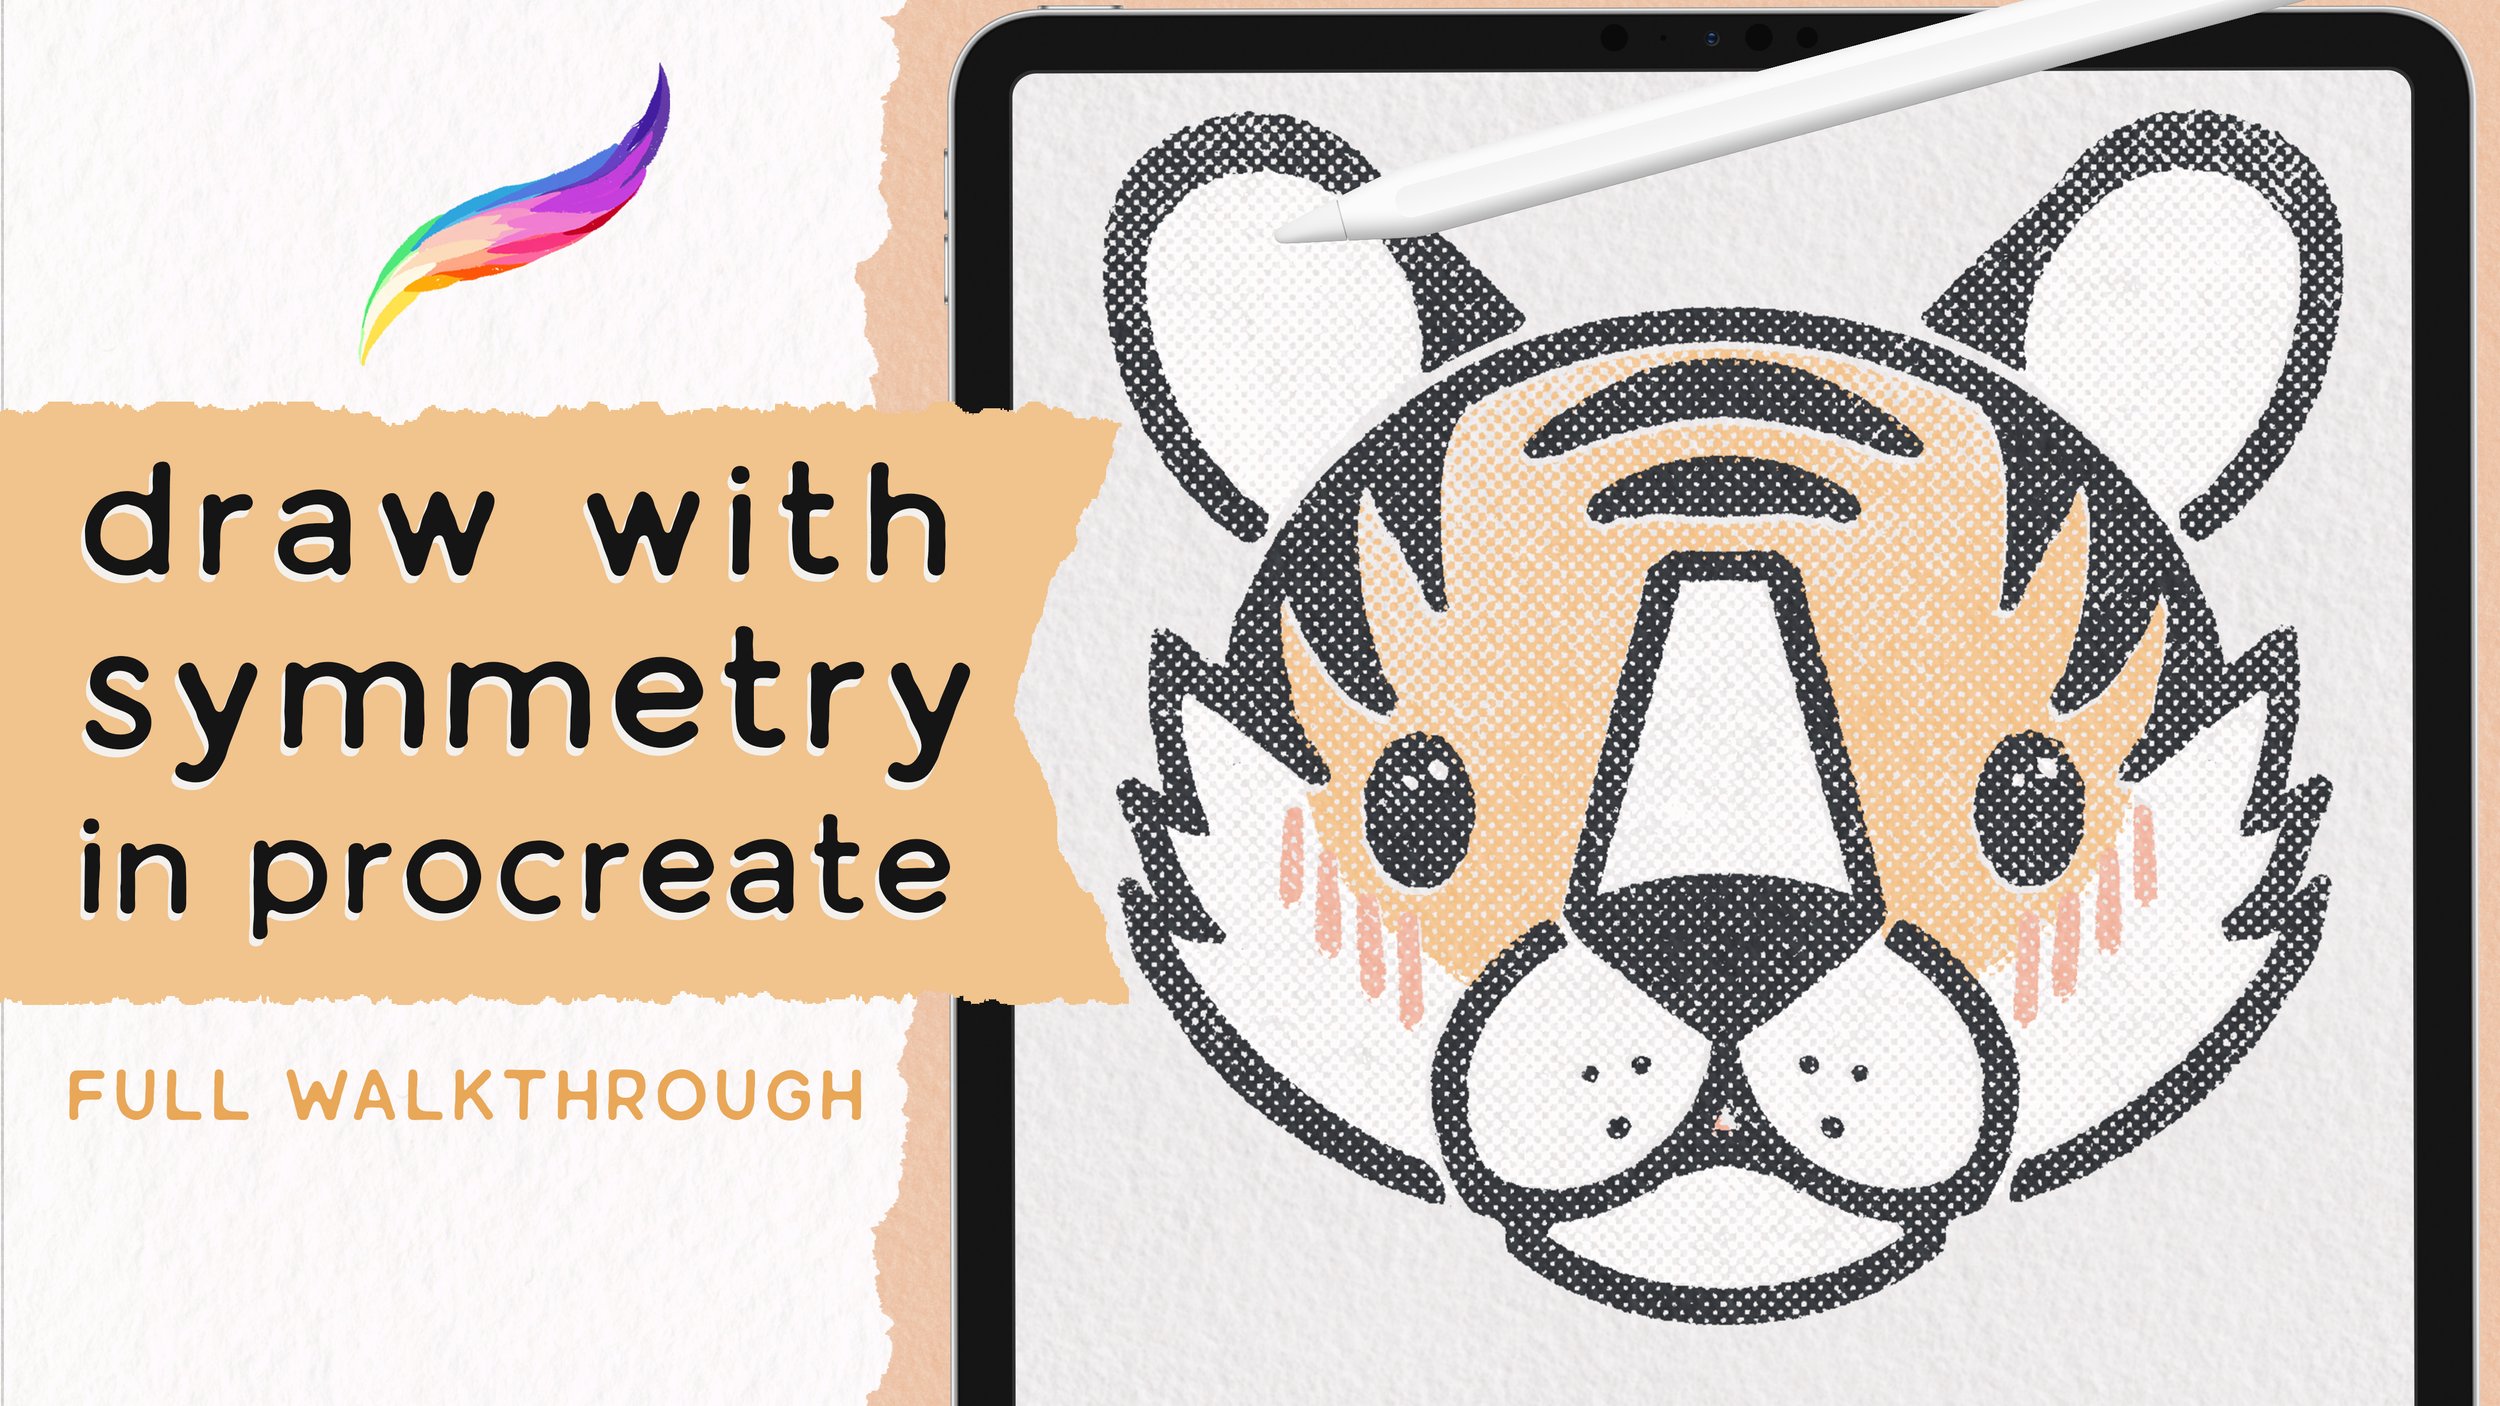
Symmetry
To set up symmetry on the canvas, go into the wrench on the upper left. Under Canvas, there's an option for Drawing Guide. Turn that on, and then tap Edit Drawing Guide. It'll automatically come to the 2D grid. Select symmetry, and then the guide should automatically be a vertical symmetry guide in the middle. If it isn't, tap options, and just double check that it's vertical, and then make sure that assisted drawing is turned on.
Next, turn Drawing Assist on for all drawing layers, with the exception of the BGRD2 layer.


Moth Body
Choose a dark blue to set for the background, and then move to the Crimson layer to draw the moth body. For this step, use the Letterpress Lettering brush, set to 15%. Then use color drop to fill the shape.
Moth Wings
Move to a new layer above to draw the wings. Start below the head section and trace over the sections of the body using a curvy, wavy line.
Then draw a big arch to make the wing shape, then a smooth wavy edge of the bottom of the wings, and then use color drop to fill.


Decrease the brush size down to about 5%, and then draw the antennae, starting with a curved line, and then a lot of little brush strokes to draw the individual feather things.
Legs and head
Move above to the Cream layer, setting the brush size back to between 10-15%. Draw a circle over the head, completely covering the crimson. Then draw legs, making the upper section rounder, and the lower section skinny and straight. Then, follow the shape of the wing, draw line a consistent margin from the edge. Color drop to fill this wing shape.


Erasing Details
Switch to the eraser tool, set on the letterpress Lettering brush, set to 7%. Erase circles from the cream head for the moth eyes. Then, move to the wings and use the eraser to create these “cut out” shapes, revealing the teal underneath.
Wing detail
Move to a new layer beneath the Cream layer. With the Print Gaps Eraser 1 on the paintbrush tool, choose a color to start filling in the sections we’ve erased. I chose this mustard color, but later on I ended up changing it.
The texture of the brush begins to create this cool distressed polkadot look.


Leaves
Move down to the Leaves layer, beneath all the moth layers. Use a mint green color, and the Letterpress Lettering brush, to draw in vines and leaves. Include a few stems without leaves on them, and then go back in with an accent color to add simple flowers.
Stars
Move to the BGRD2 layer - making sure that this layer is still below the moth, but above the Greenery layer, and that it doesn’t have Drawing Assist turned on. Choose the same cream color from before, and use the Scattered Stamps brushes to add in some stars. You can also draw these shapes in manually, if you wish - the stamps just make it a little quicker.

Now, turn on Drawing Assist for all the layers, and back under the wrench, turn off the Drawing Guide so you no longer see the symmetry line.

Erasing to add texture
Starting at the top and working down through all the layers, use the Printing Mess 1 brush on the Eraser tool to remove a bit of paint from each layer. This adds a beautiful - and super authentic - print effect.
(optional) recolor
I had a heckuva time making color decisions with this, and just could not make up my mind. I ended up recoloring the polkadots and the antennae. If you wish to do this the way that I did, you can alpha lock the layer you want to recolor, and then paint on the layer with a new color.

Painting it in, rather than using color fill, will allow you to choose which parts of the layer you recolor. So for example, the antennae and the bottom wing color were on the same layer. By using the brush, I was able to recolor just the antennae.
And that’s it! You now have a completed moth print, and more skills in your arsenal!
Start painting now, or pin this for later!

Get This Color Palette FREE:

JOIN THE PACK
When you join, you'll also gain access to dozens of Procreate freebies: brushes, paper textures, workbooks, and color palettes. I send out weekly updates with my best tips and tricks, and you'll be the first to hear when new freebies are released!