Step-by-Step Procreate Tutorial: Textured City Landscape
Brushes
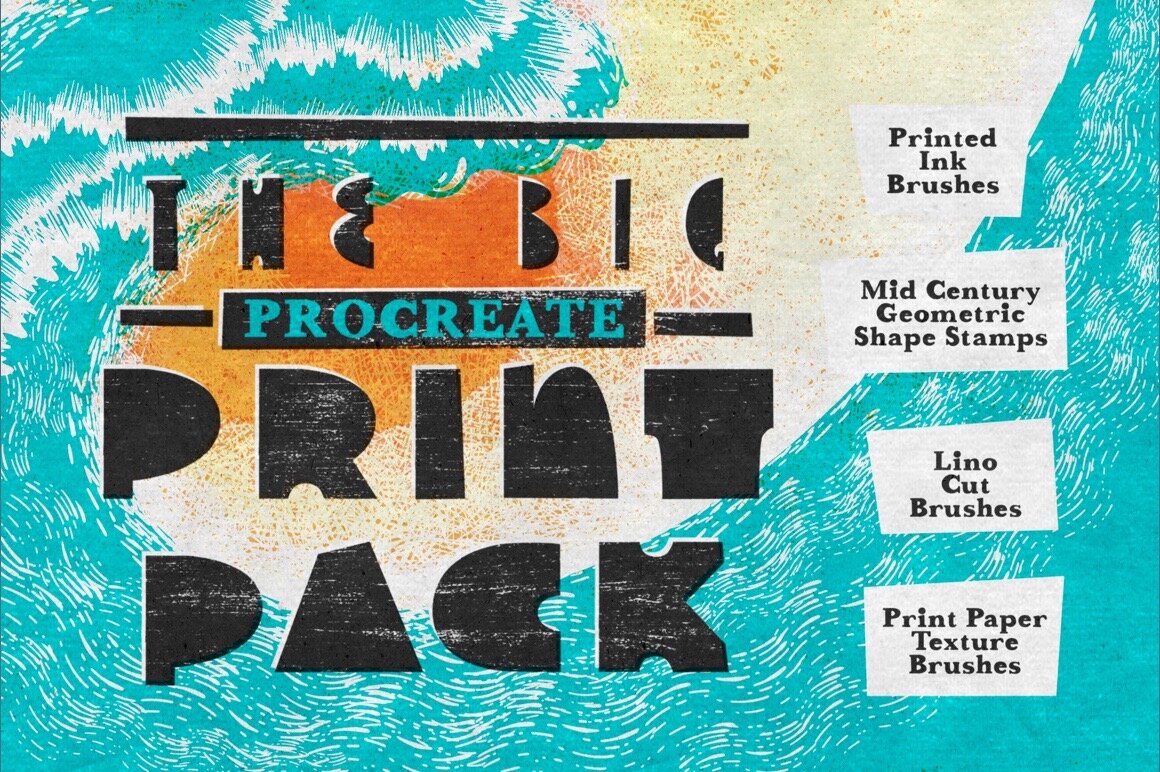
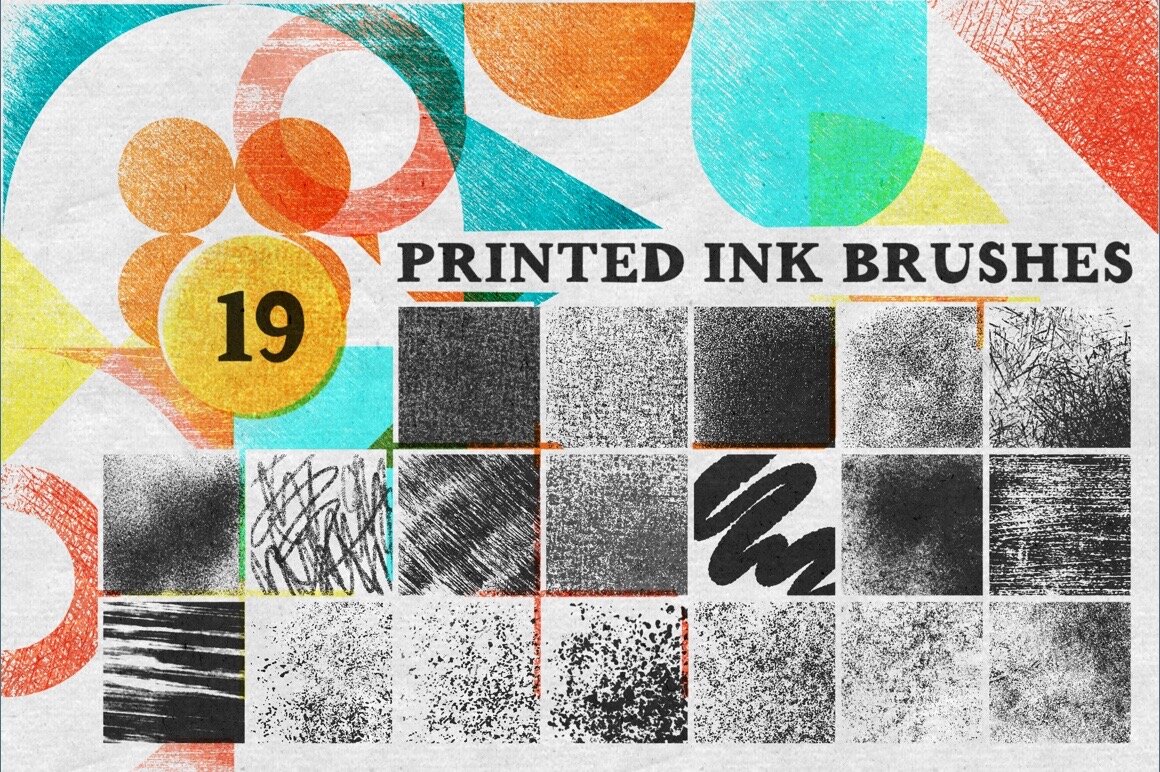
For the print textures, I used brushes from Uproot’s Big Procreate Print Pack. I love a good print press effect, and these brushes are ✨chef’s kiss✨.
Check out the set and learn more here:
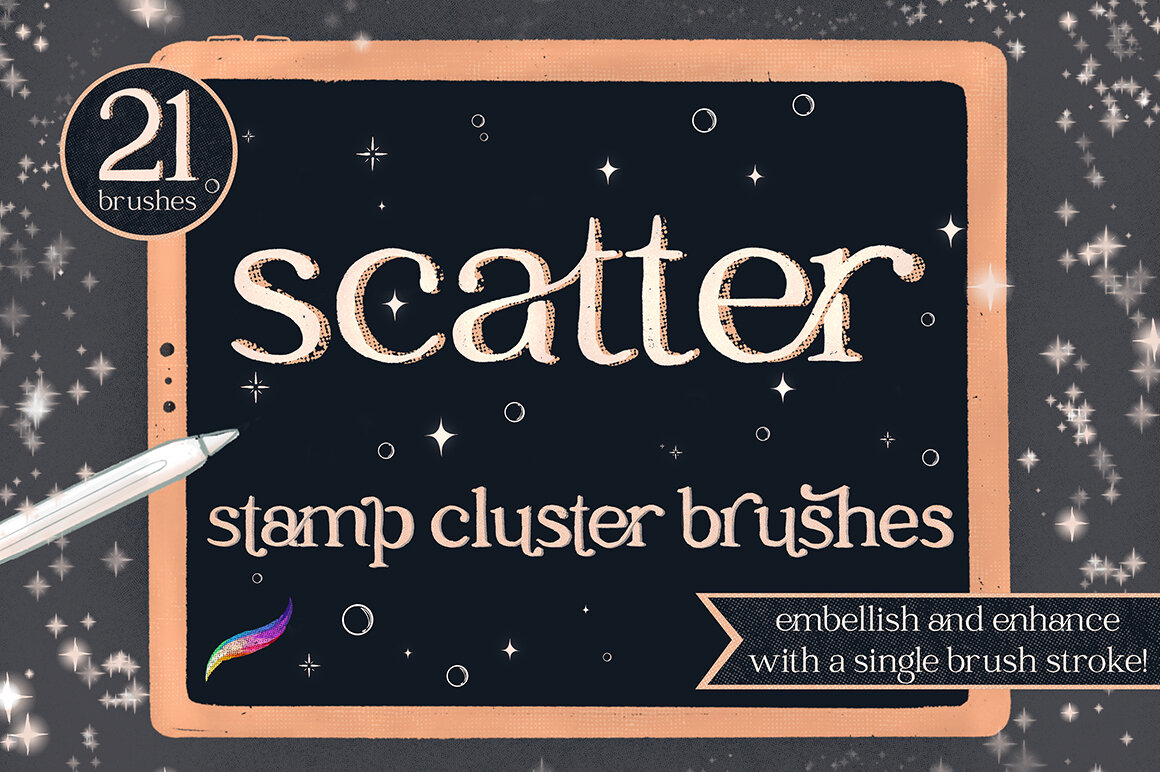
I also used brushes from my own Scatter Stamps to create the stars.
palette
The color palette this tutorial uses is the March 2021 palette, which is available for free for my newsletter subscribers. You can become one (and access all kinds of other goodies!) by signing up here:
Layers Set Up:
⤹ Clipping mask - texture
Sky elements
⤹ Clipping mask - lights
⤹ Clipping mask - color fade
City skyline foreground
⤹ Layer Mask
City Skyline background
⤹ Clipping Mask - Dark - Multiply
⤹ Clipping Mask - Dusk
Base Shape
Background colors
Base layer: Draw shape with pink, fill completely
Litho Crayon Brush
Draw a circle shape - duplicate and position to Venn Diagram, merge layers
Draw vertical lines to connect the circles
Color drop to fill
Dusk layer: background colors with textures
Monoprint Messy Brush
Fill upper portion with bluee, fading to a slight gradient towards the bottom
Dust bottom portion with mid teal - leave a gap of pink
Dark layer: create an even darker texture effect.
Printing Press Mess 1 Brush
Use dark purple to layer in color over the blue, not covering it completely
City Skyline
Background buildings: Paint as rectangles with color-picked swatch from dark of sky
Brush: Litho Crayon
Use Bristling Scratch eraser on layer mask to remove some color
This is a non-destructive way to erase. So if you remove too much, you can use any brush on white to restore the color as originally painted.
Paint foreground buildings with same dark sky color
Color drop to fill buildings with solid color
Brush: Litho Crayon
Clipping mask - Color Fade layer
Dust in dusk blue color
Brush: Printing Press Mess 1
Clipping Mask Window Lights
Brush: Litho Crayon
Use light yellow to draw vertical lines, holding til they are straight
Vary line weight between buildings, keep lines evenly spaced
Erase in horizontal lines with Litho Crayon to create windows in a “grid” layout
Then individually erase various windows (so the lights aren’t all on)
Sky Elements
On the Sky Elements layer, draw in clouds, moon, and stars.
Use Bristling Scratch brush on a larger size to draw clouds using circular motions to build shape
Light peach
Large brush size gives them a more airy look
Use Bristling Scratch Brush on smaller size with same light yellow from windows
Draw a crescent, holding to snap to a quick shape
Then touch the screen to snap to a perfect circle
Repeat with a smaller circle to close the shape
Scribble to fill
Smaller brush size retains some edge texture but gives more definition to shape
Use scattered stamp brushes to add stars - or draw them in manually
Crunchy Stars Brush
Color fade Clipping Mask:
Brush: Printing Press Mess 1
Use ultra-light-peach to dust in texture on tops of clouds, also on top of moon
Use mint and teal on stars and moon bottoms
Optional: On City Color Fade layer, add dusting of mint to balance out all colors.
If you’ve been searching for ways rich texture, then this brush set could be just the thing for you! Click through below to see the full details:
start painting now, or pin this project for later!
Get FREE Procreate Palettes in Your Inbox:
JOIN THE newsletter fam:
When you join, you'll gain access to dozens of Procreate freebies: brushes, paper textures, workbooks, and my entire library of color palettes. I send out updates each week with my best tips and tricks, and you'll be the first to hear when new freebies are released!
