Beginner Procreate Landscape Tutorial
Brushes
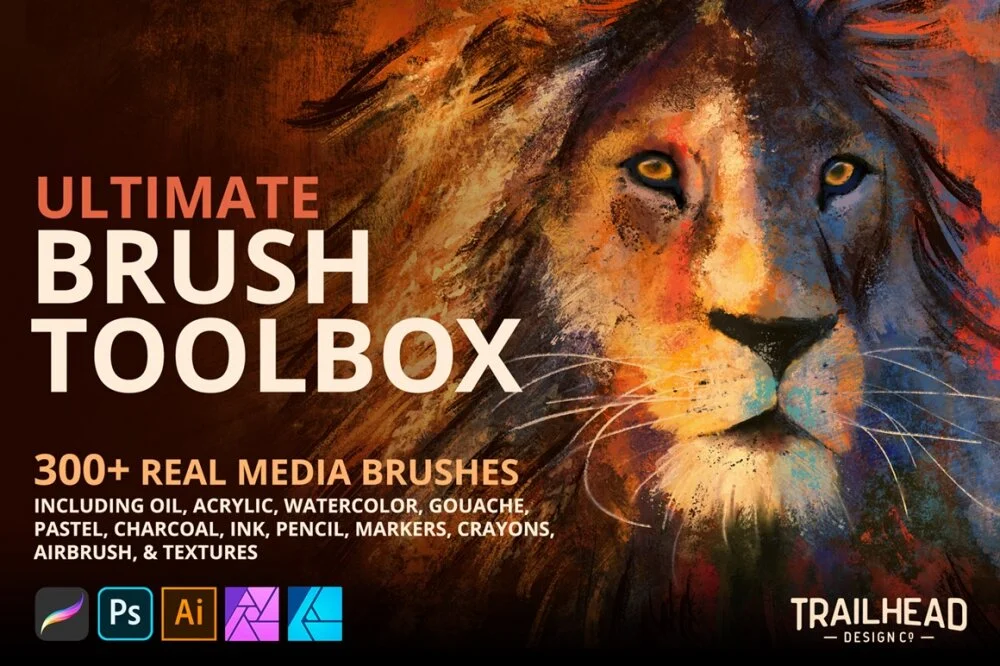
This project uses the Ultimate Brush Toolbox - an incredible, massive brush pack that includes versions for not just Procreate, but also Photoshop, Illustrator, and Affinity Photo and Designer.
Check out the set and learn more here:
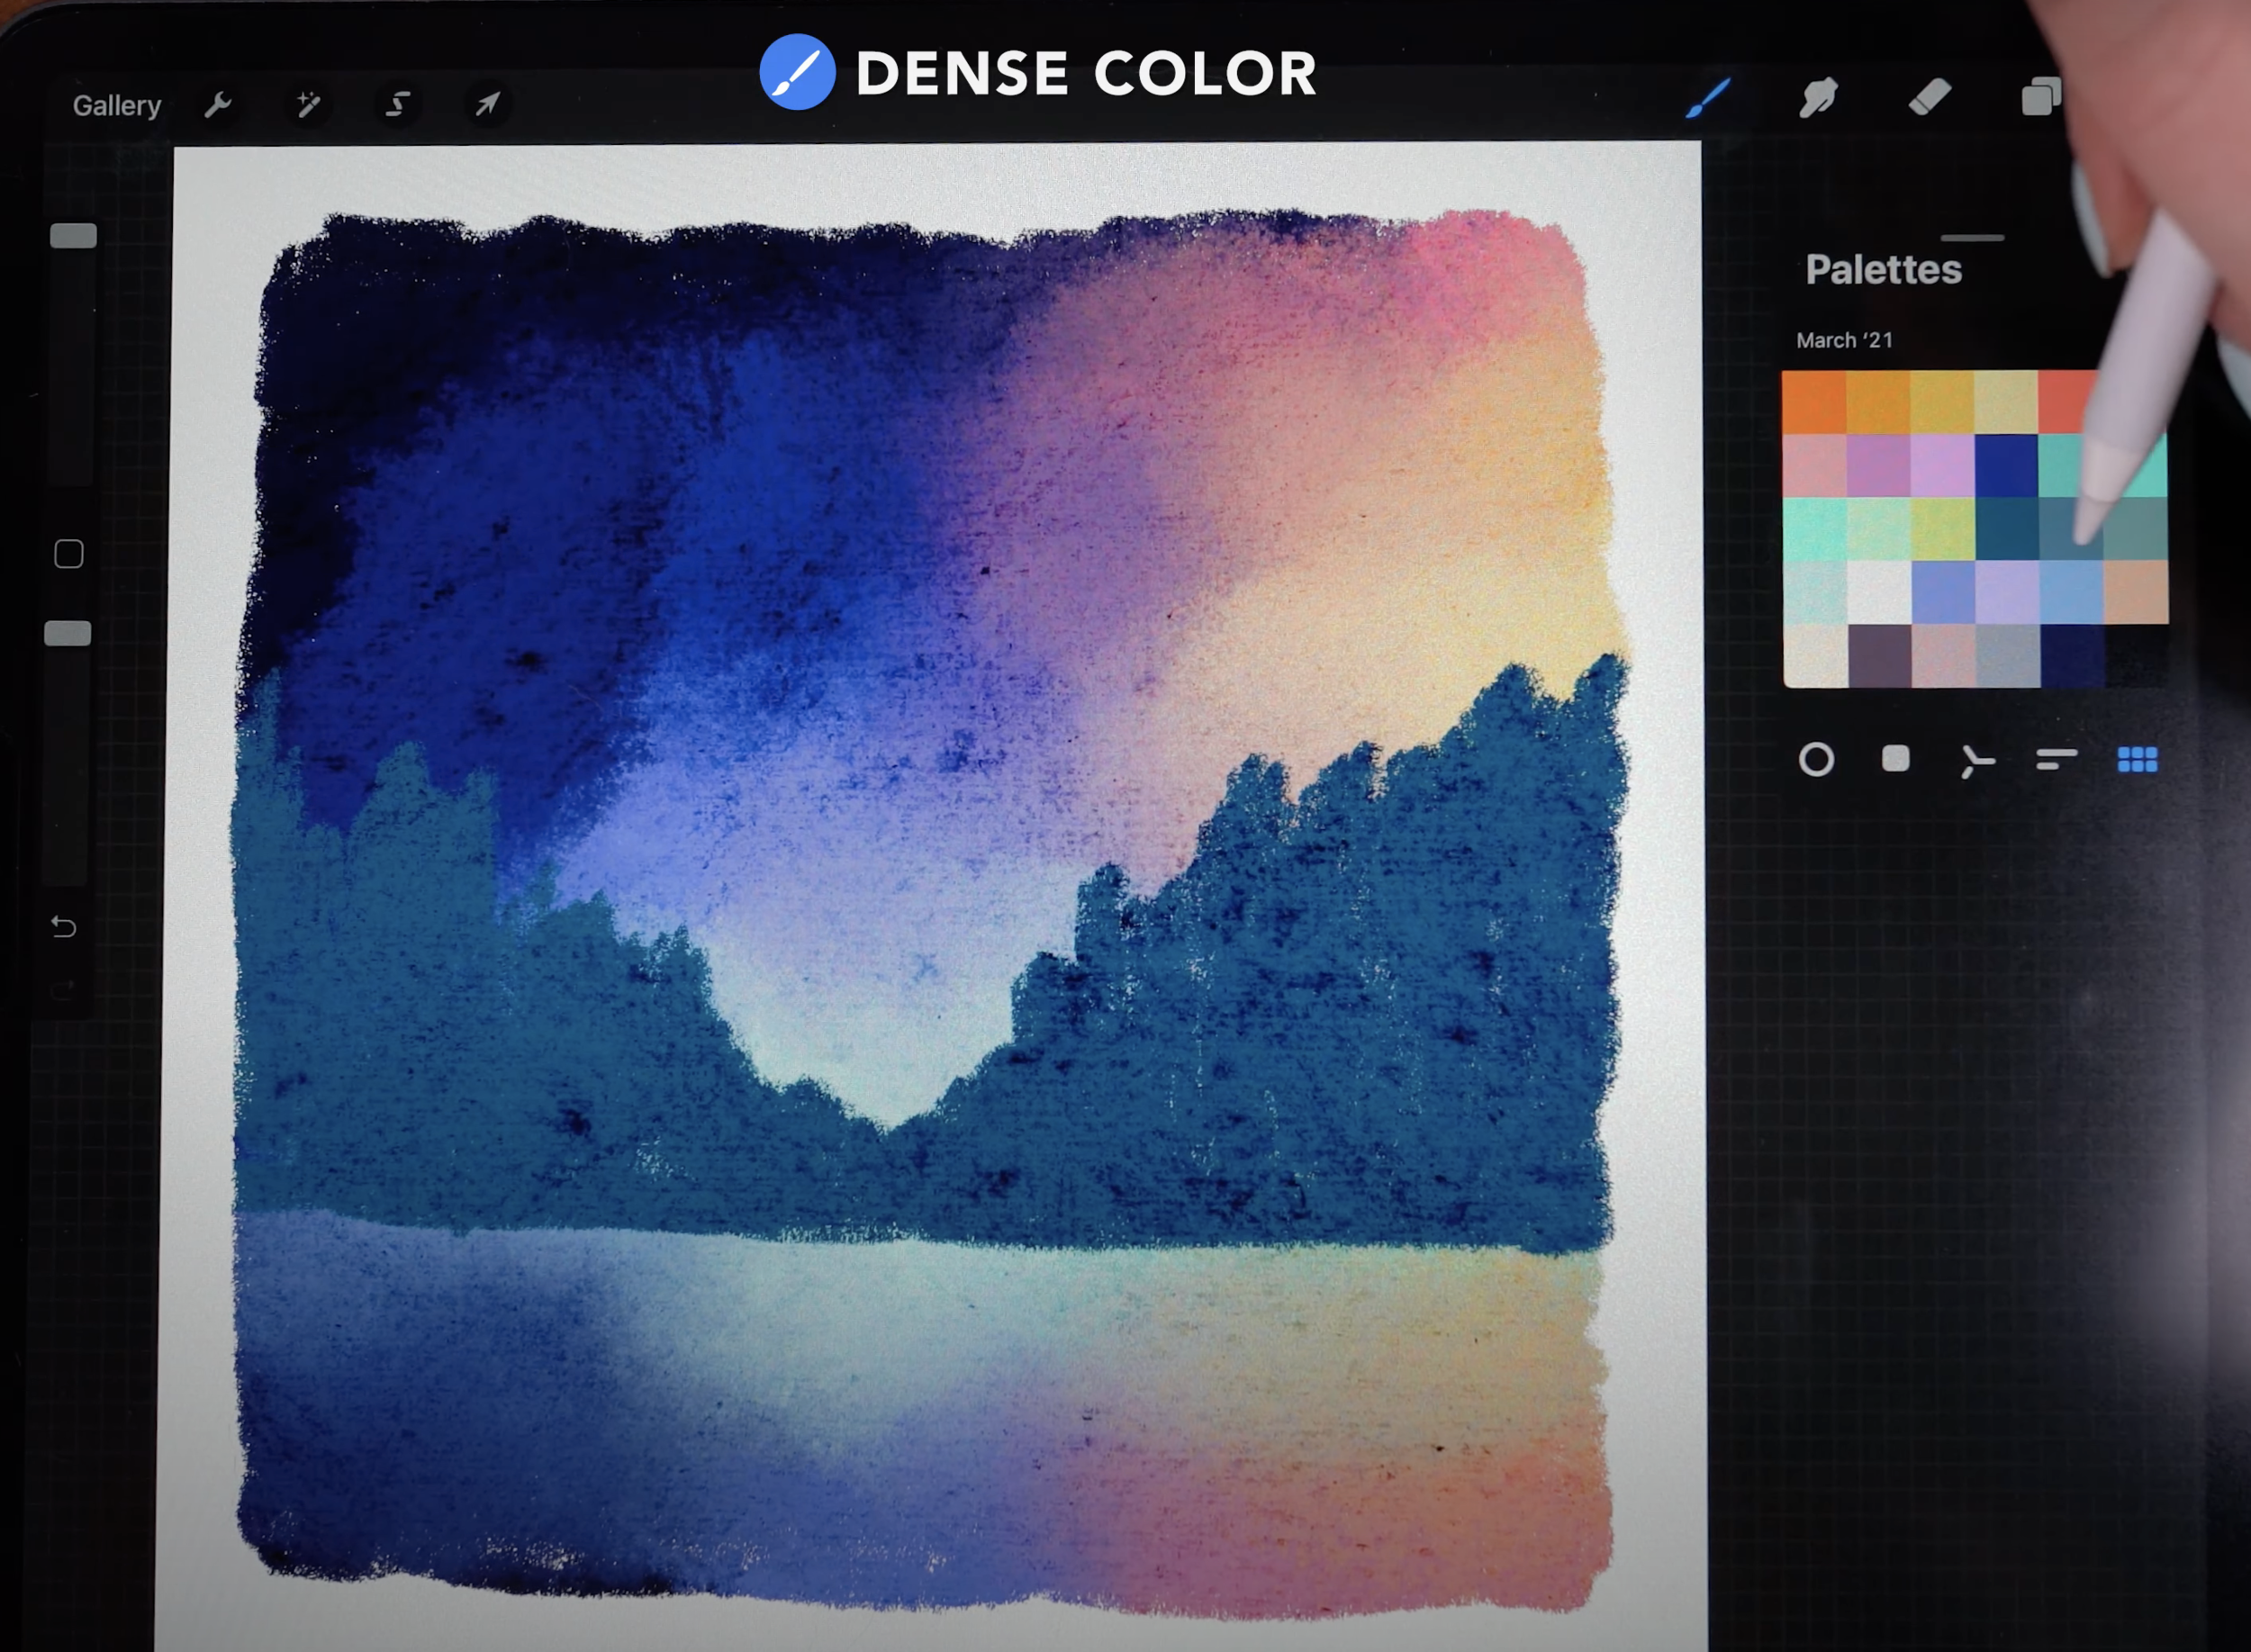
palette
The color palette this tutorial uses is the March 2021 palette, which is available for free for my newsletter subscribers. You can become one (and access all kinds of other goodies!) by signing up here:
canvas and Layers Set Up:
Canvas dimensions: 3000x3000px, 300dpi
Initial layer set up:
Paper Texture Layer - Color Burn
⤹ Clipping mask - stars
⤹ Clipping mask - lighting effects - Overlay
⤹ Clipping mask - shoreline
⤹ Clipping mask - trees highlights - Overlay
⤹ Clipping mask - trees
⤹ Clipping Mask - hills - Multiply
⤹ Clipping mask - sky coloring
Base Shape Layer

Background shape
Uncheck the “background” layer to hide visibility
On the very bottom layer, draw a square to create a background shape using white
Brush: Dense Color
Fill the square with color. Then roughly draw along the edges to add texture.
Coloring the Sky
Brush: Rough Shader
Paint on the layer above the base shape to create the sky coloring.
Fill about two thirds of the canvas with these initial colors. Choose one side to use brighter, warmer colors - this will be where we add lighting effects later on.
In the bottom third, paint a mirrored version of the sky coloring; this will become the water reflection.


Smudge: Smooth Eraser
Blend the colors together softly
On the bottom third of the canvas, use more horizontal strokes to blend the water.
Background Hills
Move to the next layer up (blend mode set to Multiply)
Starting with dark teal, use vertical brush strokes to draw in hills, ending just at the start of the bottom third of the canvas (the waterline)

Roughly layer in medium teal and then light teal on top to create depth and variation
Blend the colors together softly with the smudge tool
Brush: Dense Color
Smudge: Smooth Eraser
Drawing The Trees
Move to the next layer above. Use the color picker to select a mid tone green
Paint the trees using zig-zag motions, starting at the shoreline and tapering off at the top
Brush: Dense Color
Layer in a second set of trees with a darker shade of green
Layer a third set with the darkest green.


Layer in a second set of trees with a darker shade of green
Layer a third set with the darkest green.
Tree Highlights
Move to the layer above the trees (blend mode set to Overlay).
Brush: Grainy Shader
Use a bright green to add highlighting to one side of the frontmost trees
The side should be the same side that has the warmer colors in the sky
Use black on the opposite side of the frontmost trees to add shadow and create dimension


Smudge: Smooth Eraser
Blend the highlight and shadow together slightly using the smudge tool
Reduce the layer opacity to about 80% to soften the effect
Merge this layer down with the tree layer below so only one tree layer remains
Reflection
Duplicate the tree layer
On the duplicate, tap the transform tool. Then select “flip vertical” from the lower toolbar.
With magnetics turned on (under snapping), drag the reflection downward.
With “freeform” selected, squish to reduce the height of the reflection
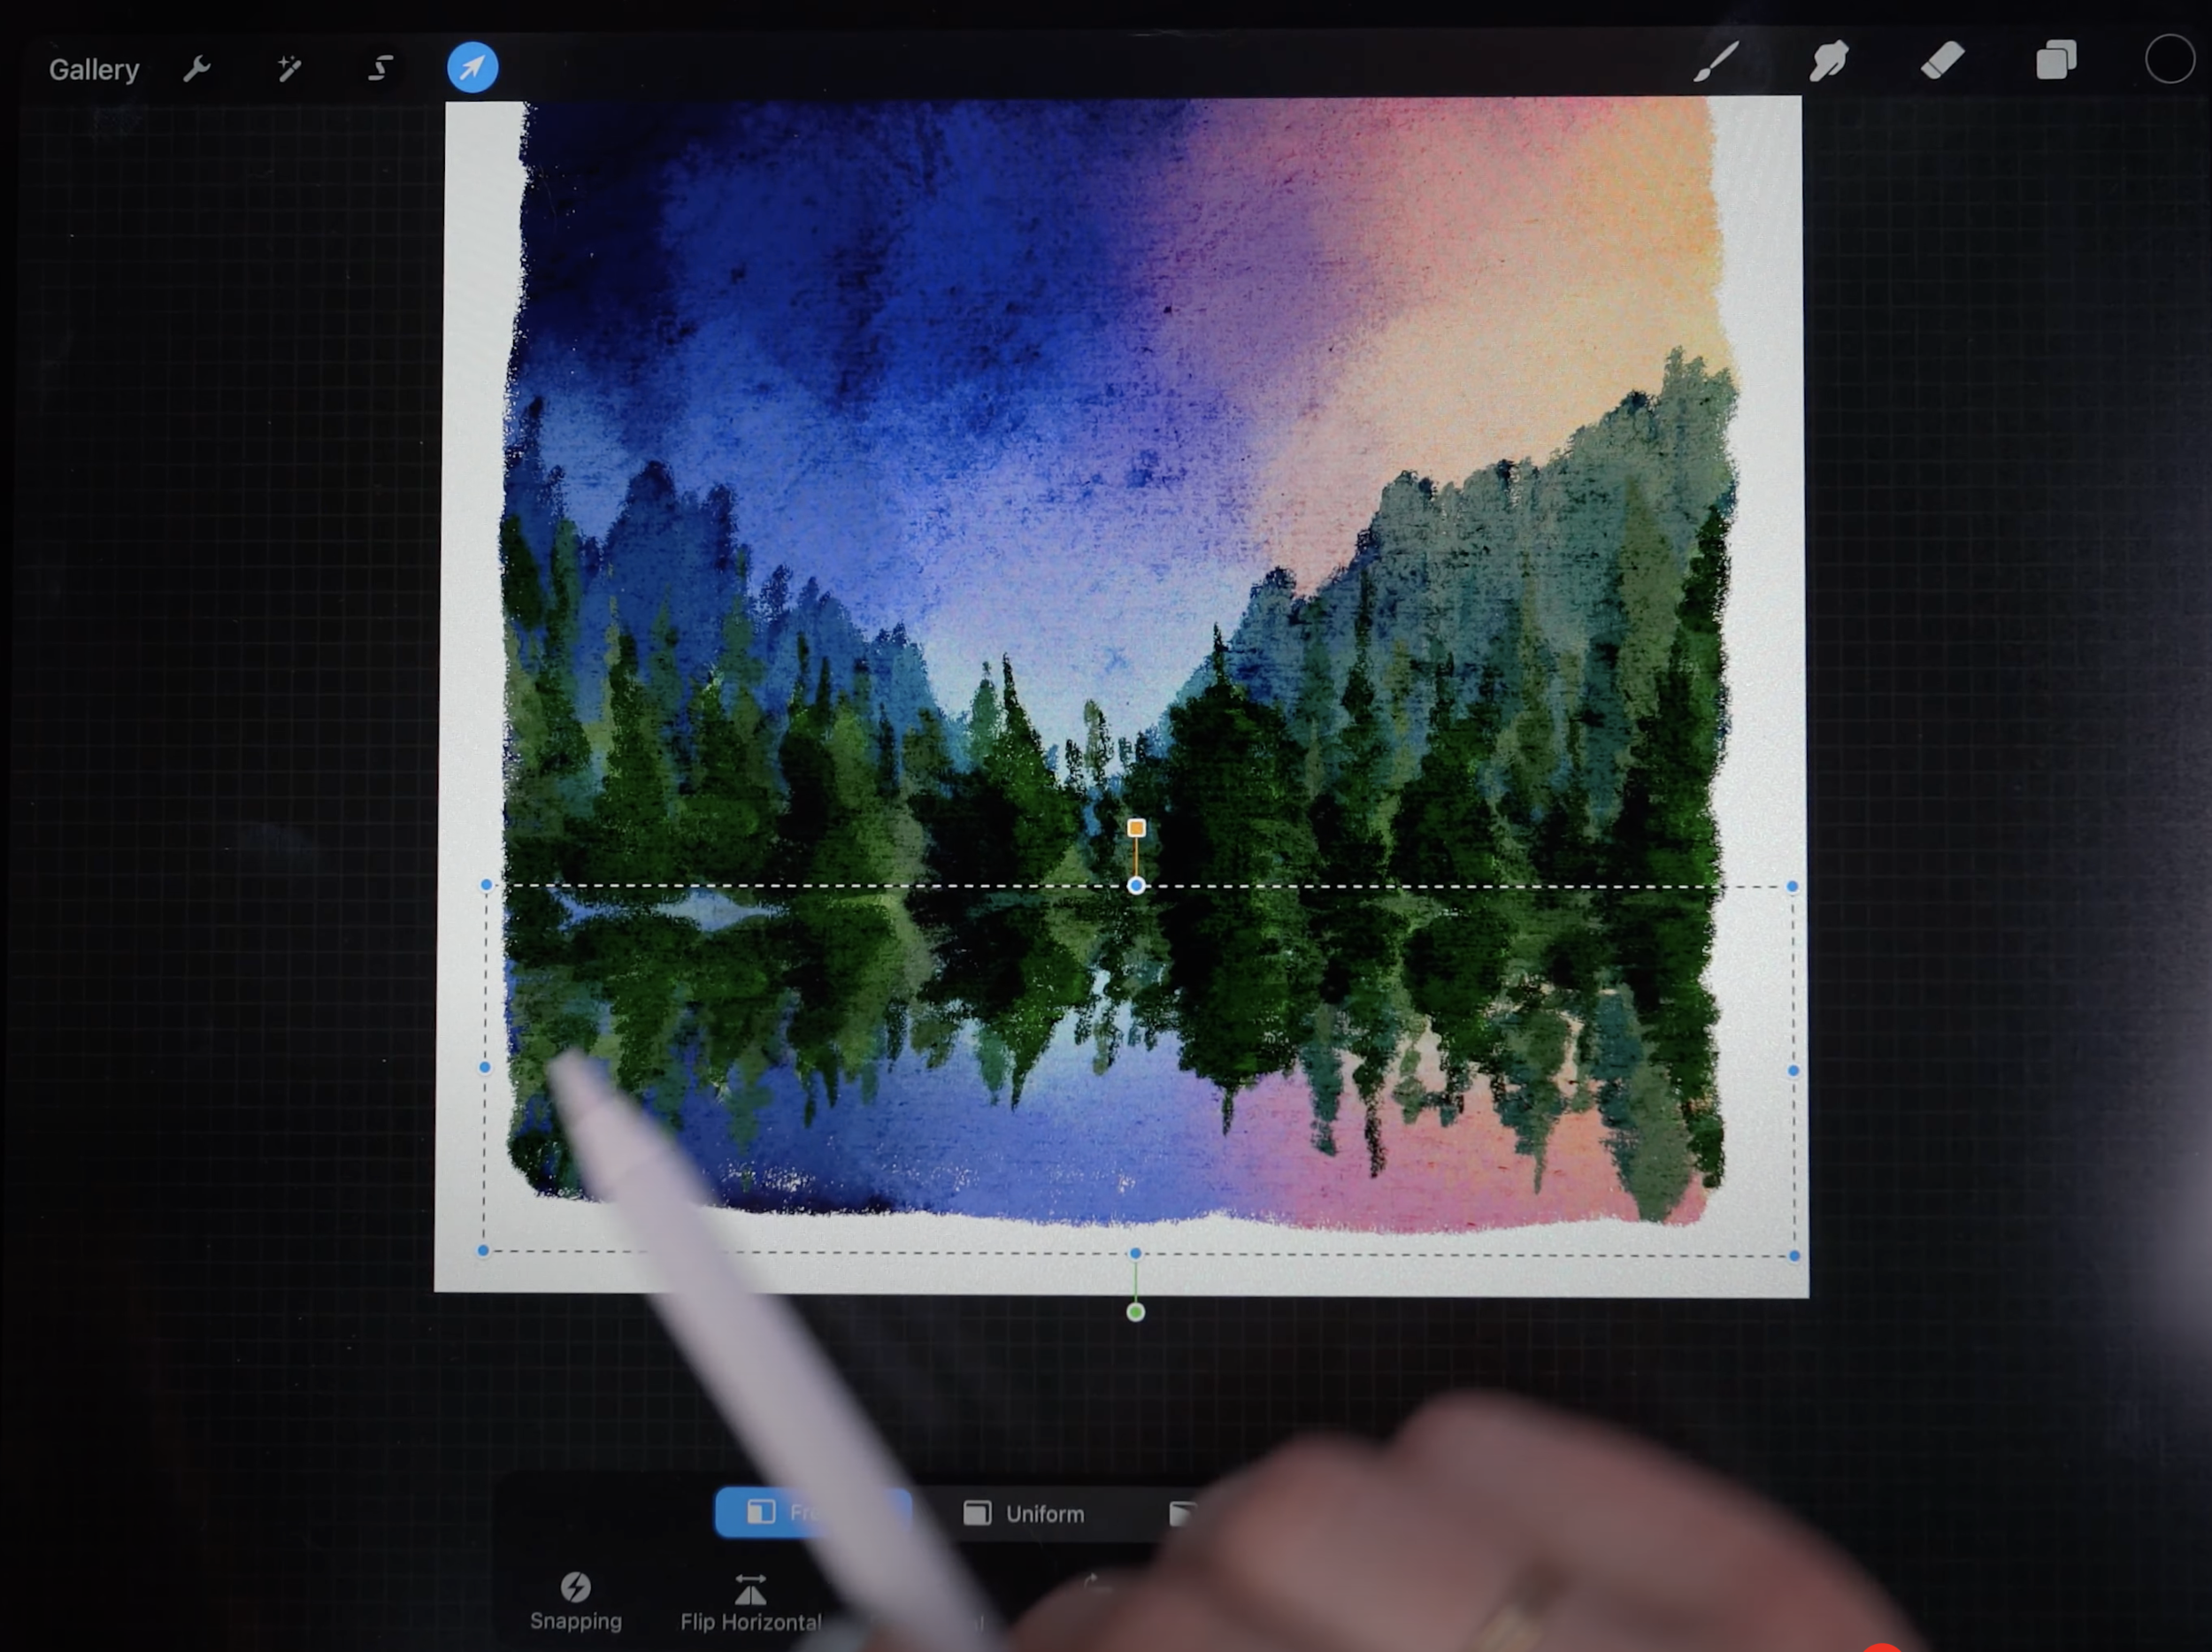

Use the smudge tool to blend the treeline reflection with horizontal brush strokes.
Erase to create more definition of individual trees if needed.
Smudge: Smooth Eraser
Eraser: Dense Color
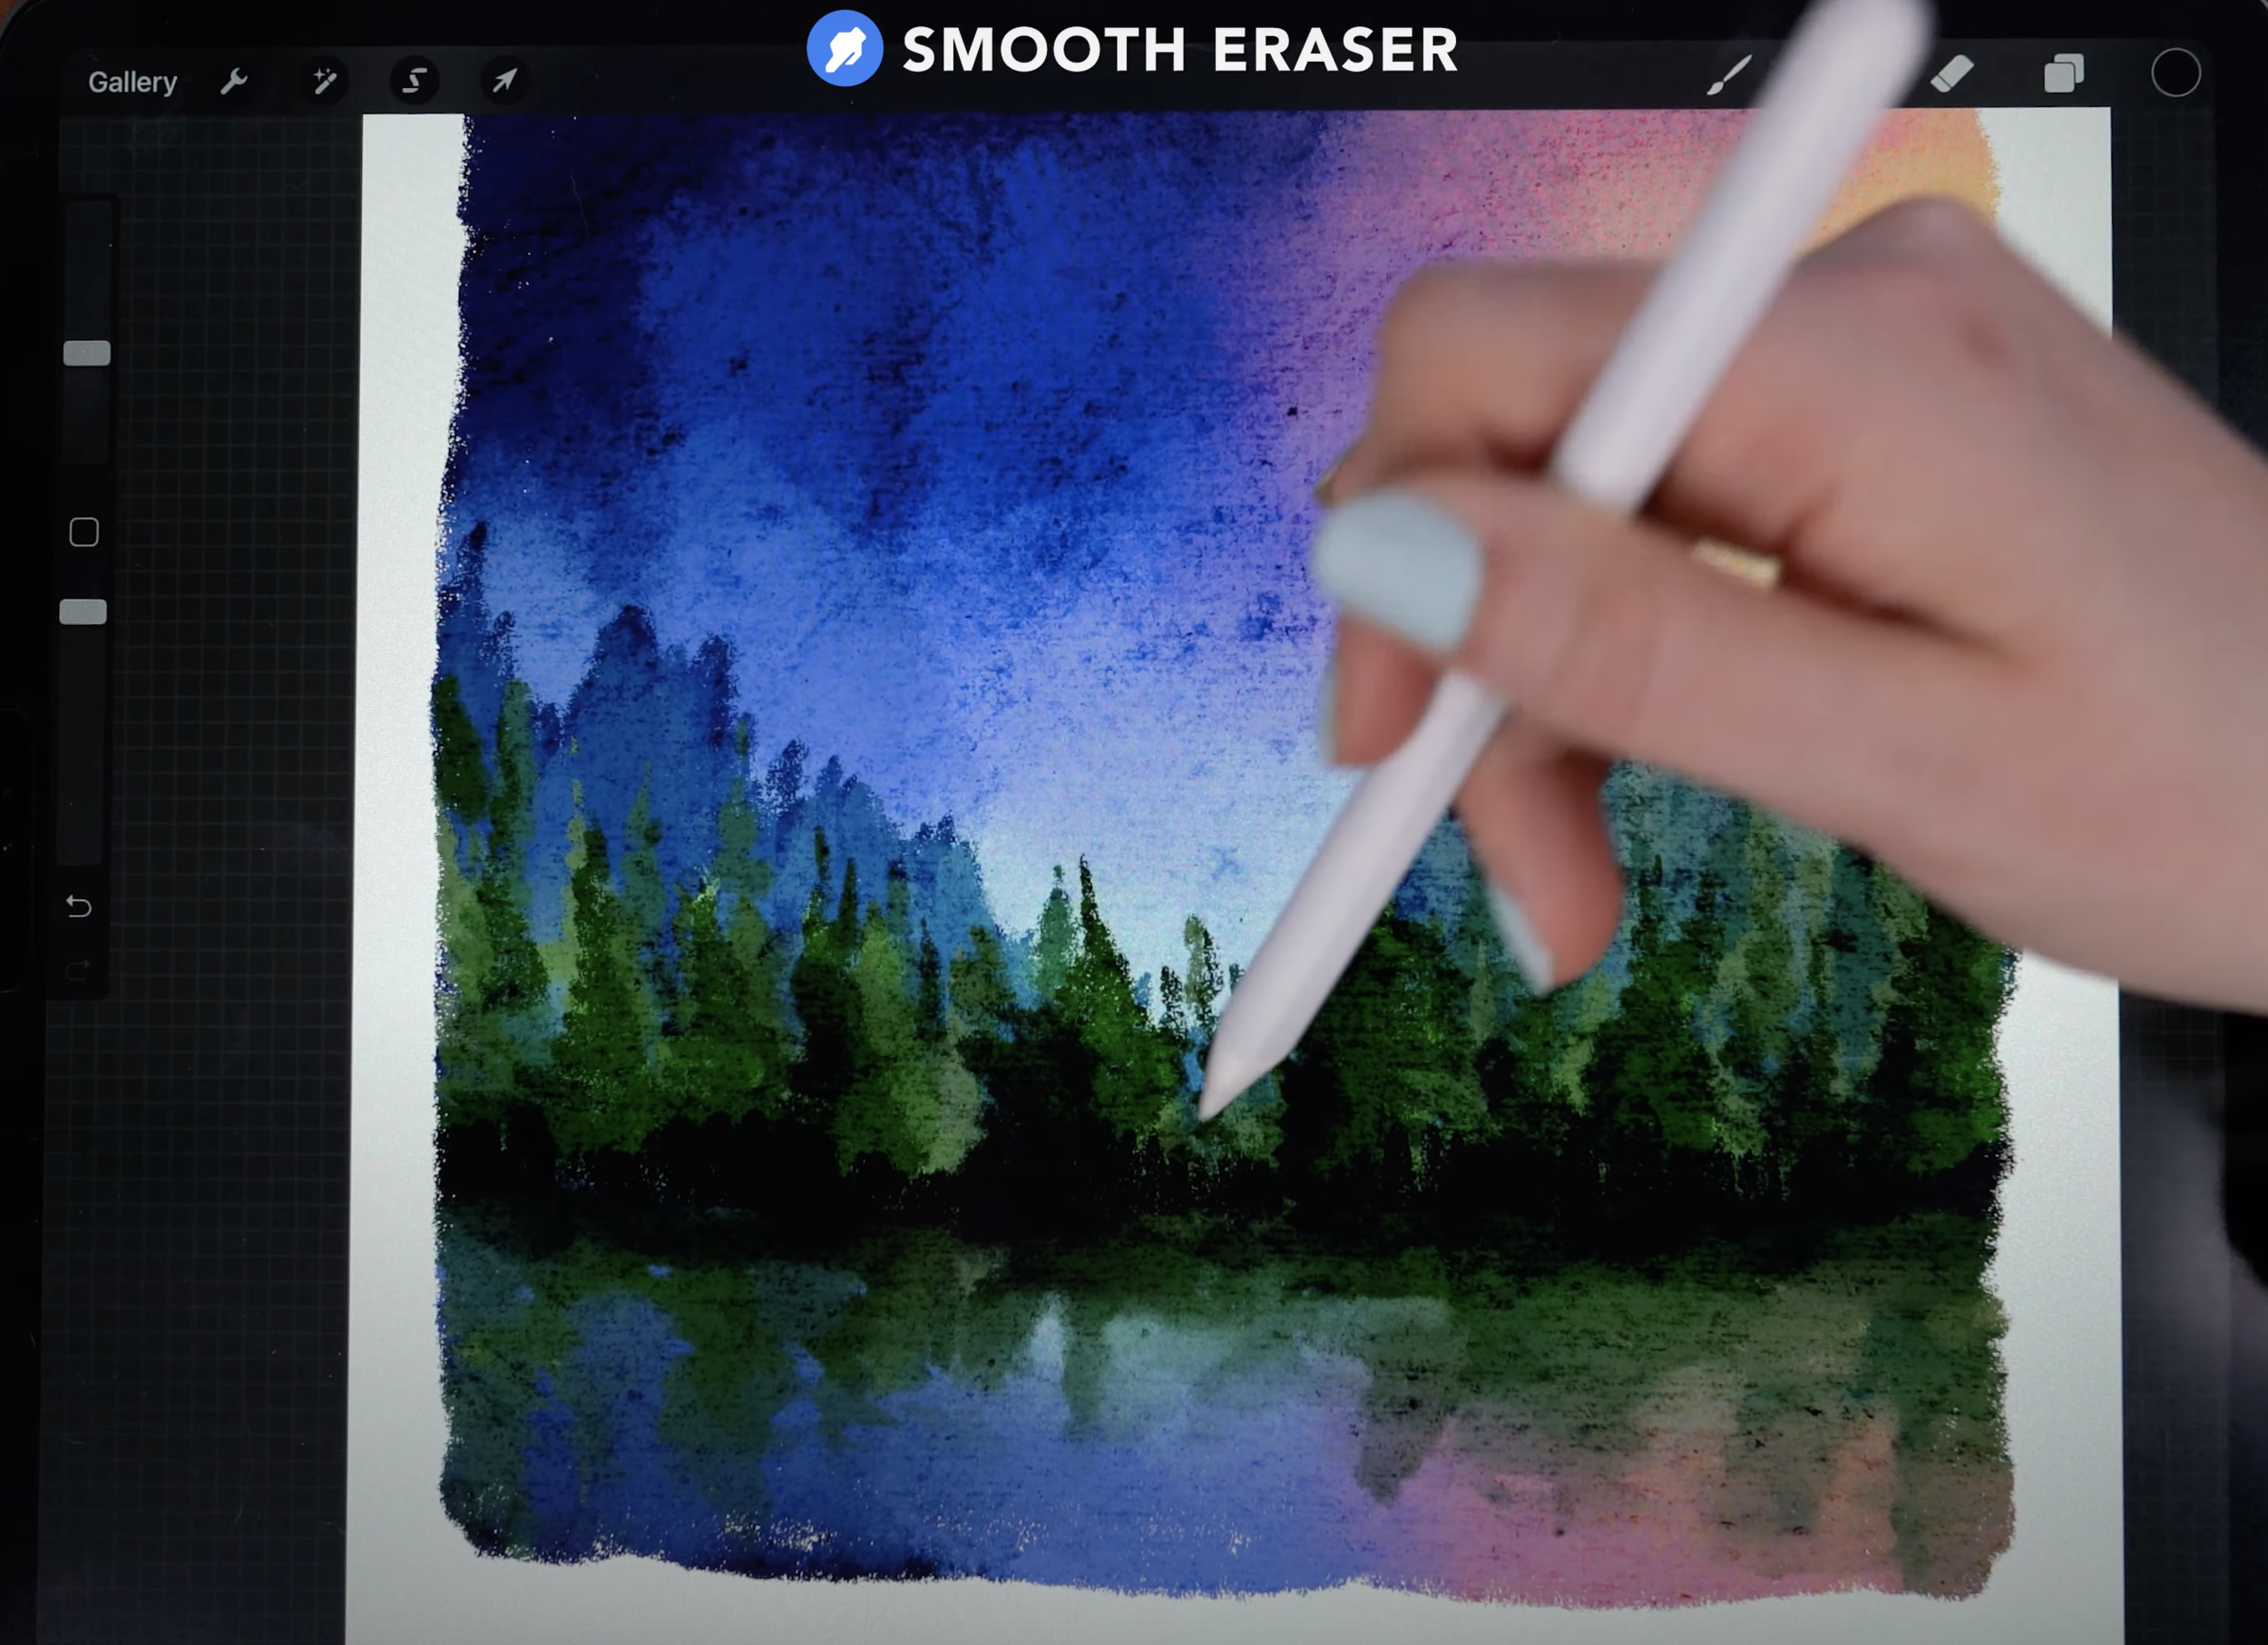
Shoreline
On the next layer up, select dark grey or black
Use small, vertical brush strokes to darken the shoreline, varying the height of the strokes.
Blend the bottom half of this shoreline with the smudge tool, using horizontal strokes
Brush: Dense Color
Smudge: Smooth Eraser
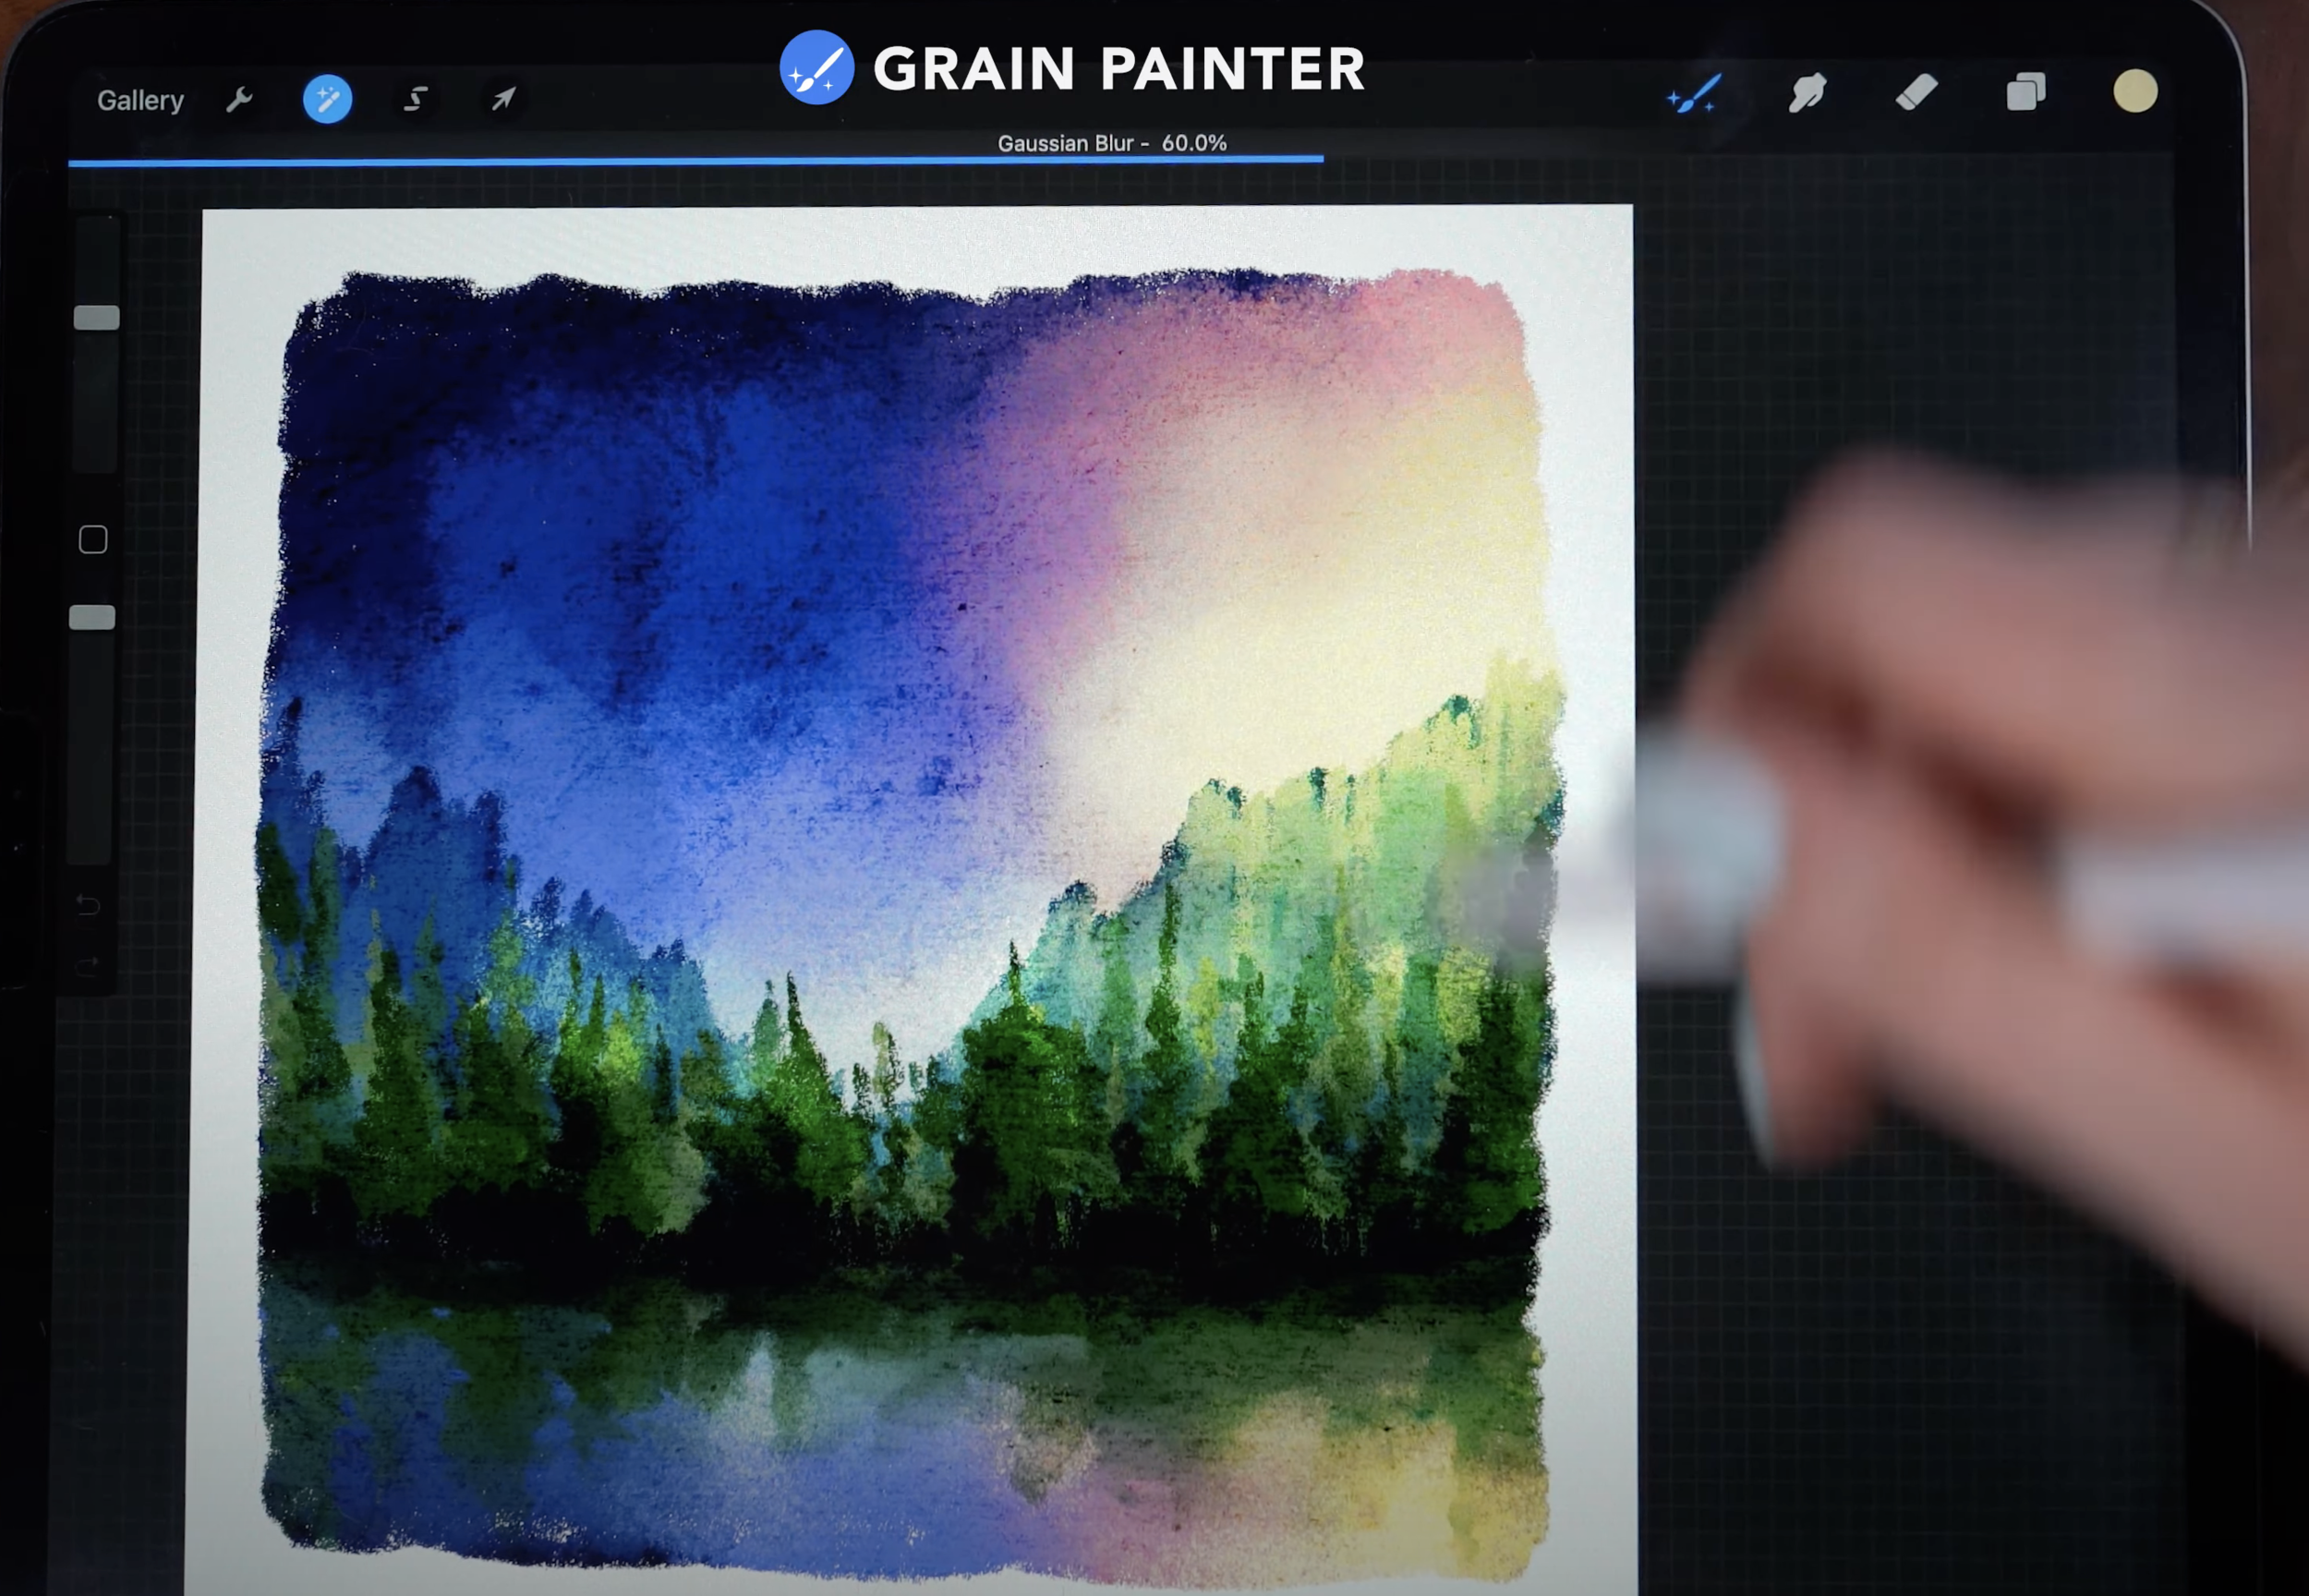
Lighting Effects
Move to the next layer up (blend mode set to Overlay). On the sky area where the warm colors are painted (in this case, the right side of the canvas), use a light yellow to softly paint in a glowing effect over the sky and treetops
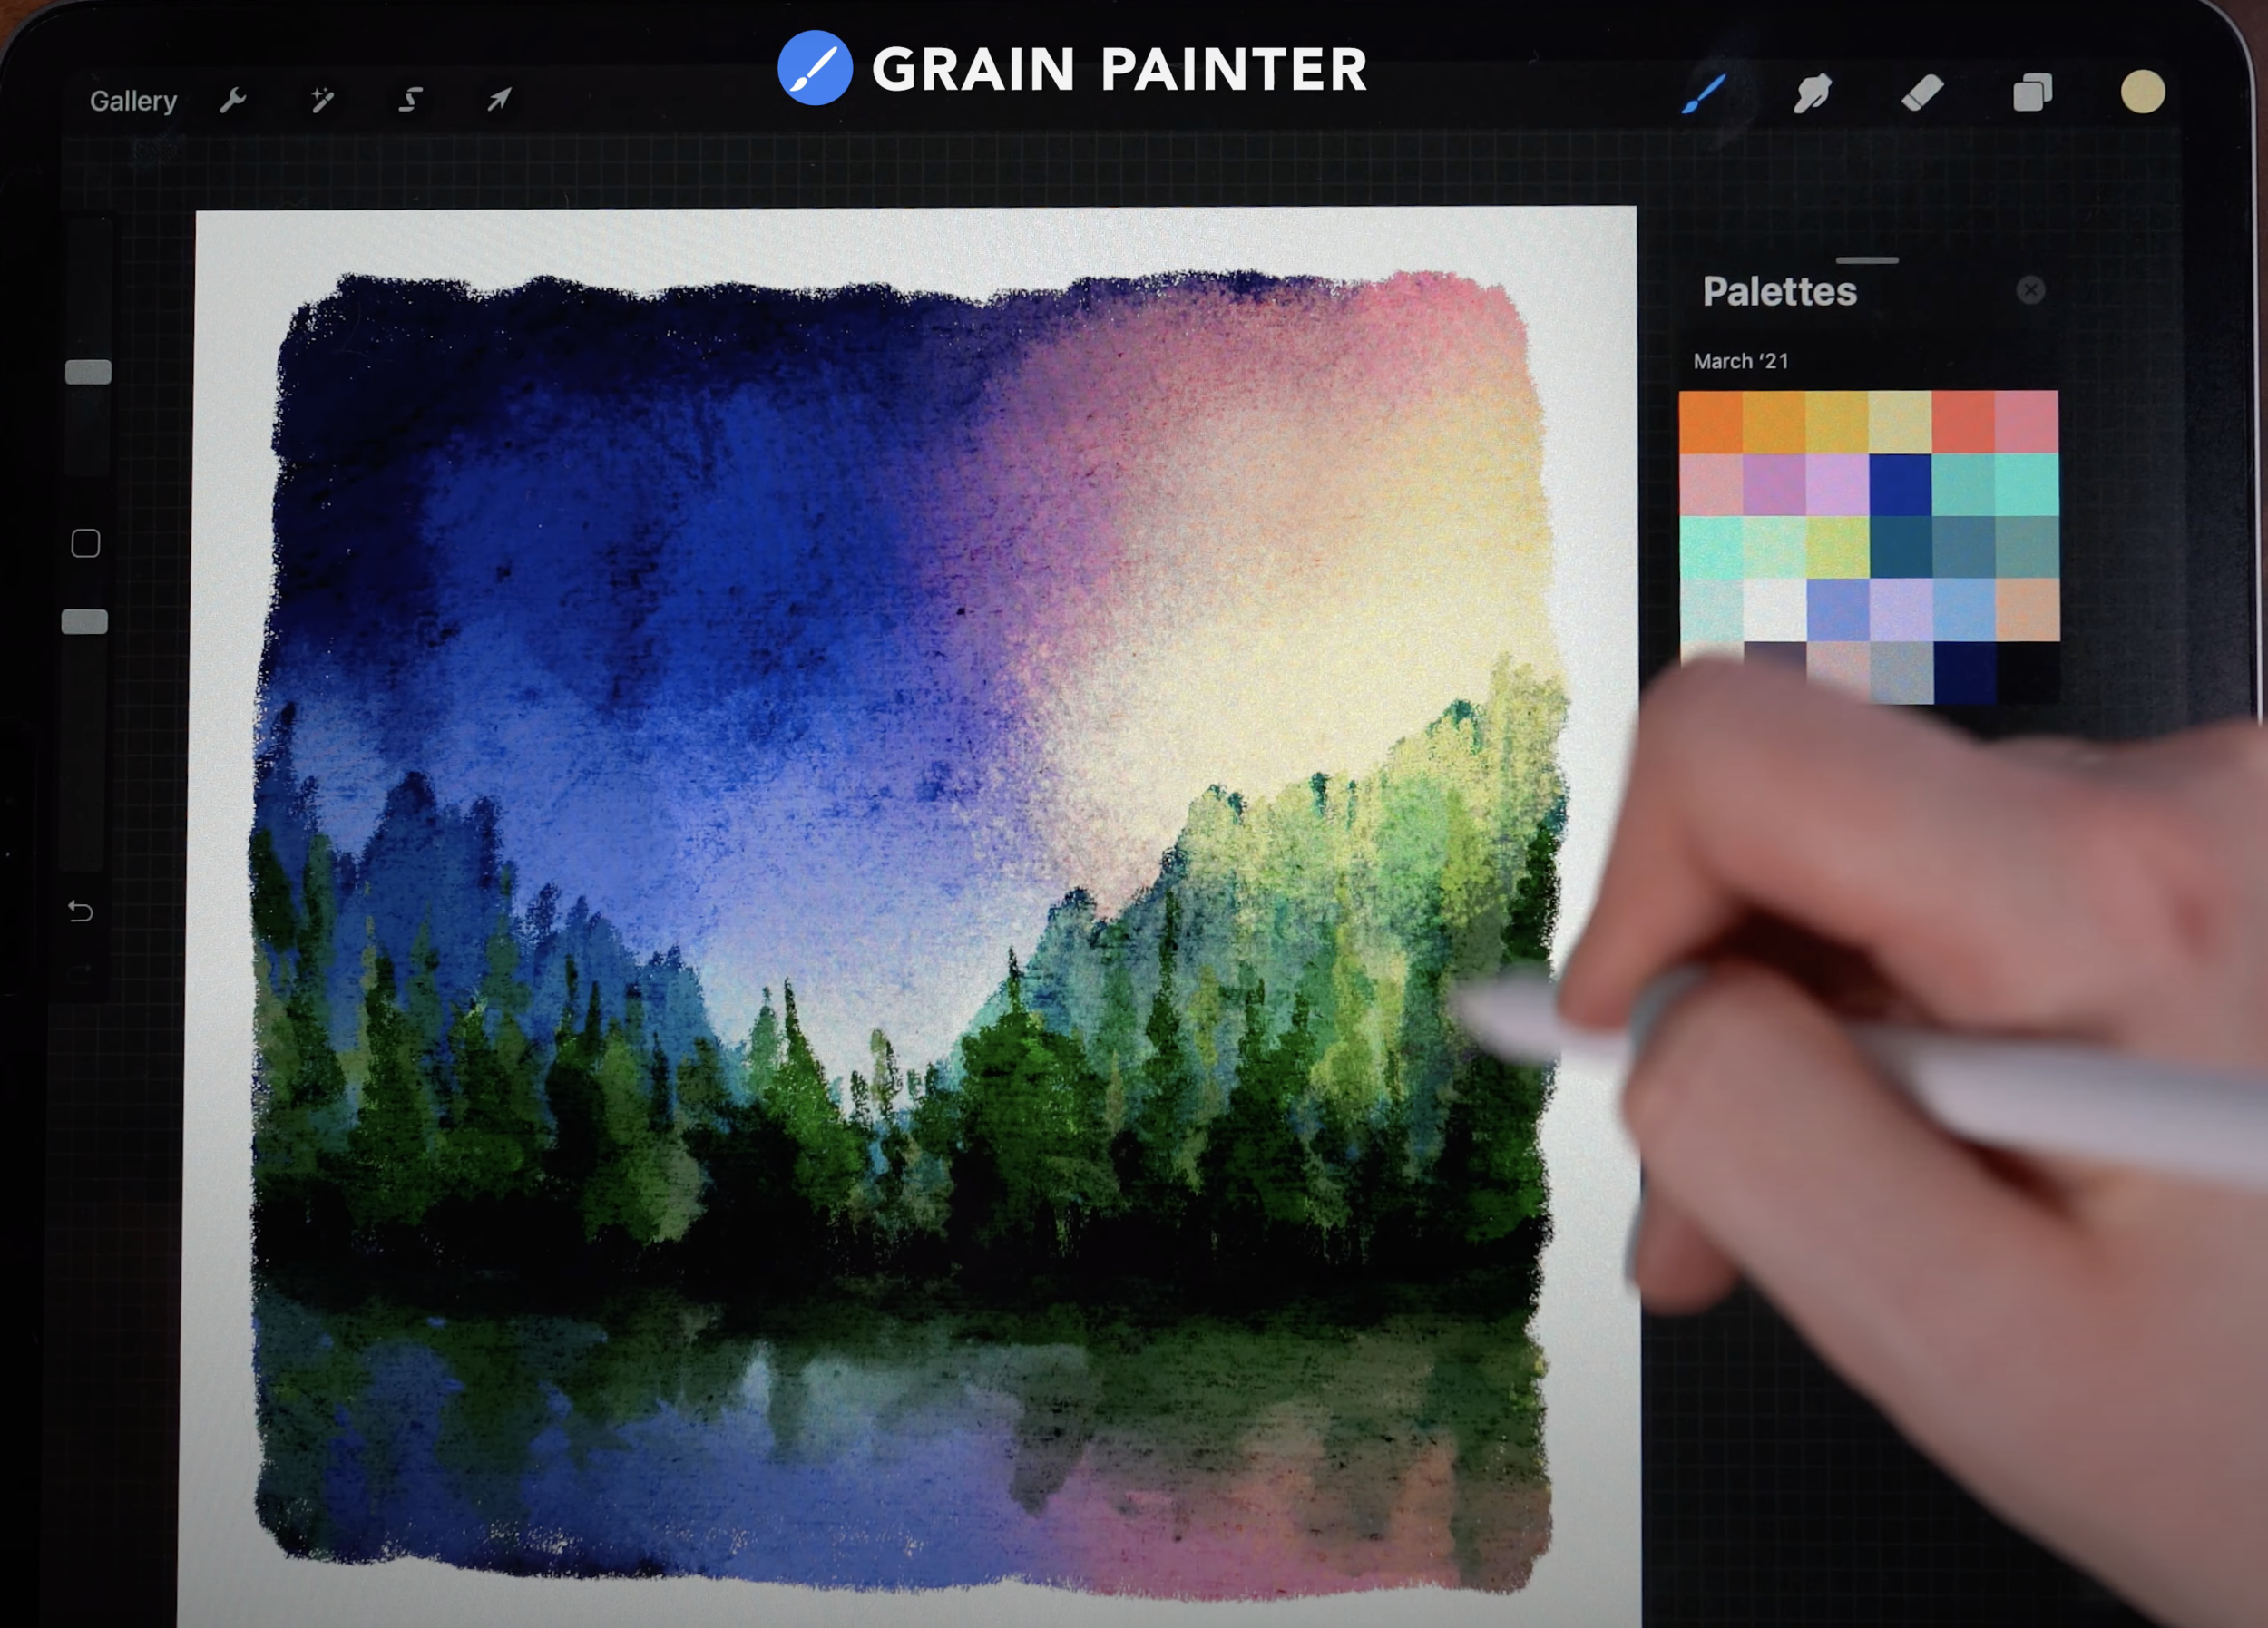
Use a circular motion to create a sun flare effect
Then add some slight highlight to the reflection in the water, and to the trees
Brush: Grain Painter
Next, tap the wand to access the adjustments menu. Select Gaussian Blur, then Pencil (this will only work with Apple Pencil).
Drag a finger from left to right across the screen to set the blur amount to around 80%. Then brush in the effect at the edges of the flare, and along the trees and reflection.
Apply the effect, and then add some extra pink at the outer edges of the sun flare.
Brush: Grain Painter

Stars
Move to the next layer above. Select a light mint color.
Brush: Grain Painter
Tap several times to add stars to the cooler, darker side of the sky. Erase any stars that overlap with the trees or hills
And you’re finished with your lovely new landscape painting!

These pastel brushes are just a fraction of what this toolbox includes! Click through via my affiliate link below to see the full details:
start painting now, or pin this project for later!

Get FREE Procreate Palettes in Your Inbox:

JOIN THE newsletter fam:
When you join, you'll gain access to dozens of Procreate freebies: brushes, paper textures, workbooks, and my entire library of color palettes. I send out updates each week with my best tips and tricks, and you'll be the first to hear when new freebies are released!