Procreate Watercolor Floral Letter
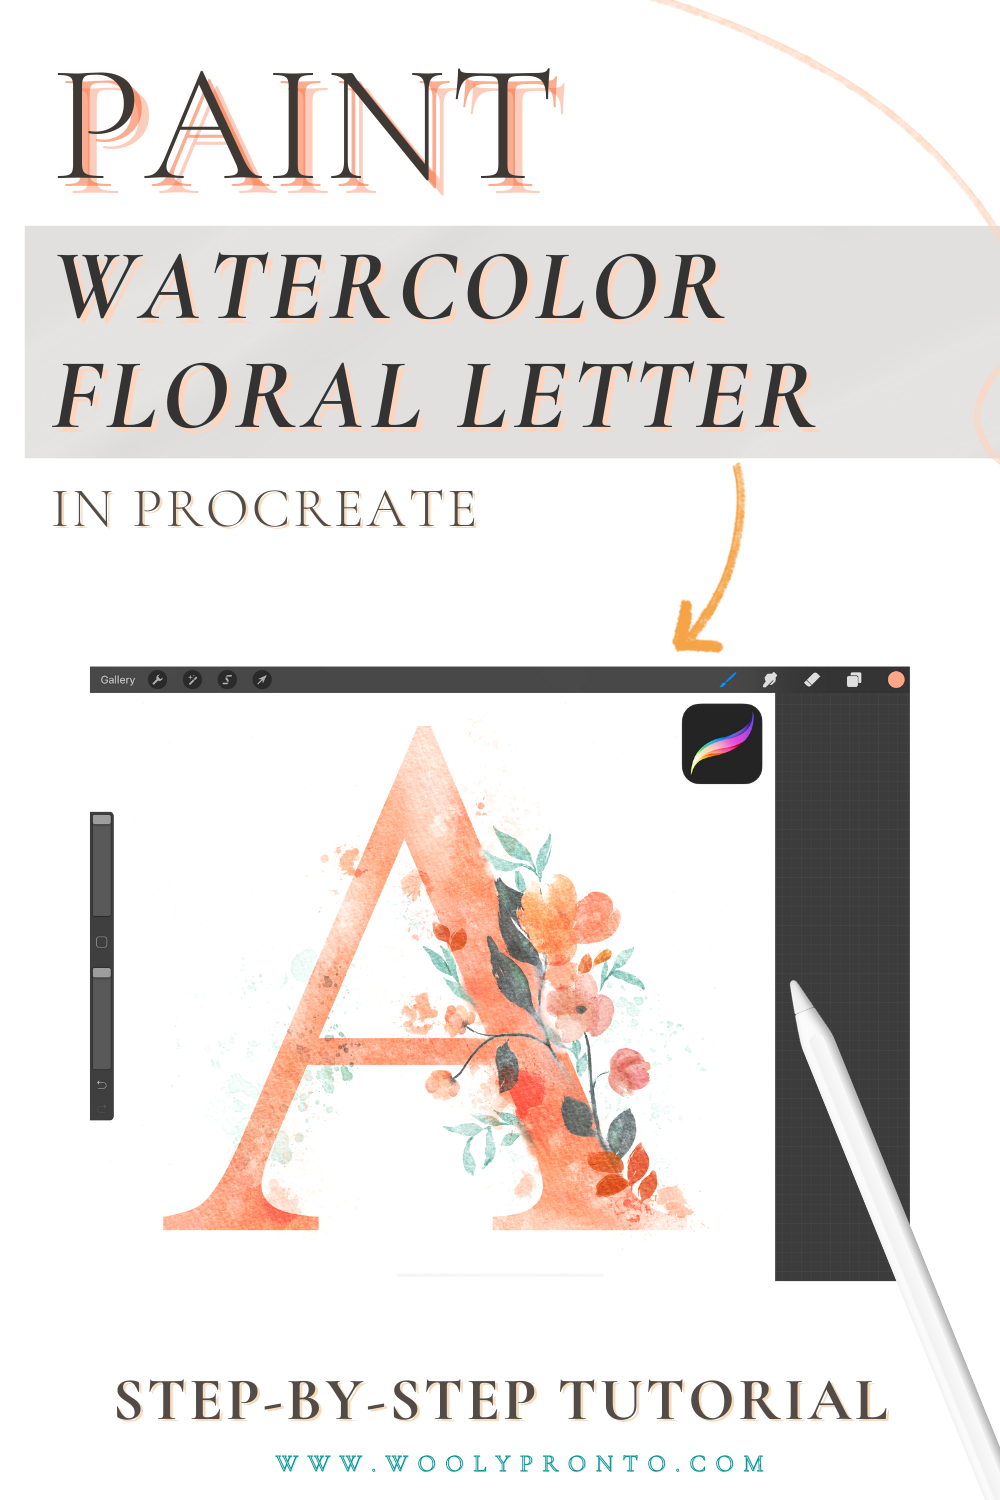
Want to paint some letters with floral designs? Let’s learn to paint Floral Watercolor Monogram in Procreate.
This tutorial is super approachable for beginners, as the florals we’re painting are simplified, and the brushes do a lot of the heavy lifting. It’s also incredibly customizable - use this as a jumping-off point to design your own beautiful floral monograms!
Pro-tip to kickstart: I have been using watercolor brushes from Uproot for as long as I’ve been using Procreate, and they are, undoubtedly, some of my very favorite watercolor brushes on the market. The Everything Watercolor for Procreate pack is my go-to recommendation for anyone that asks where to start with iPad watercolor!
Use my affiliate link and take 10% off with code WOOLY10 at checkout:
Get started
Start by loading in the premade canvas that comes with the brushes.
Delete the info layer.
Go into the Paper Texture Stack to choose which texture to use.
Delete or hide the unused paper textures, leaving only the one you’ll use. In the example, we’re using the Hand Pressed Paper option.
Add a few more painting layers in, set to Linear Burn blend mode, by duplicating the existing ones.
Add a letter
To add text, go into the actions panel by tapping on the wrench, and then add text. This immediately adds a text box to the canvas and brings up the keyboard.
Now type in the letter that you want to create the monogram with.
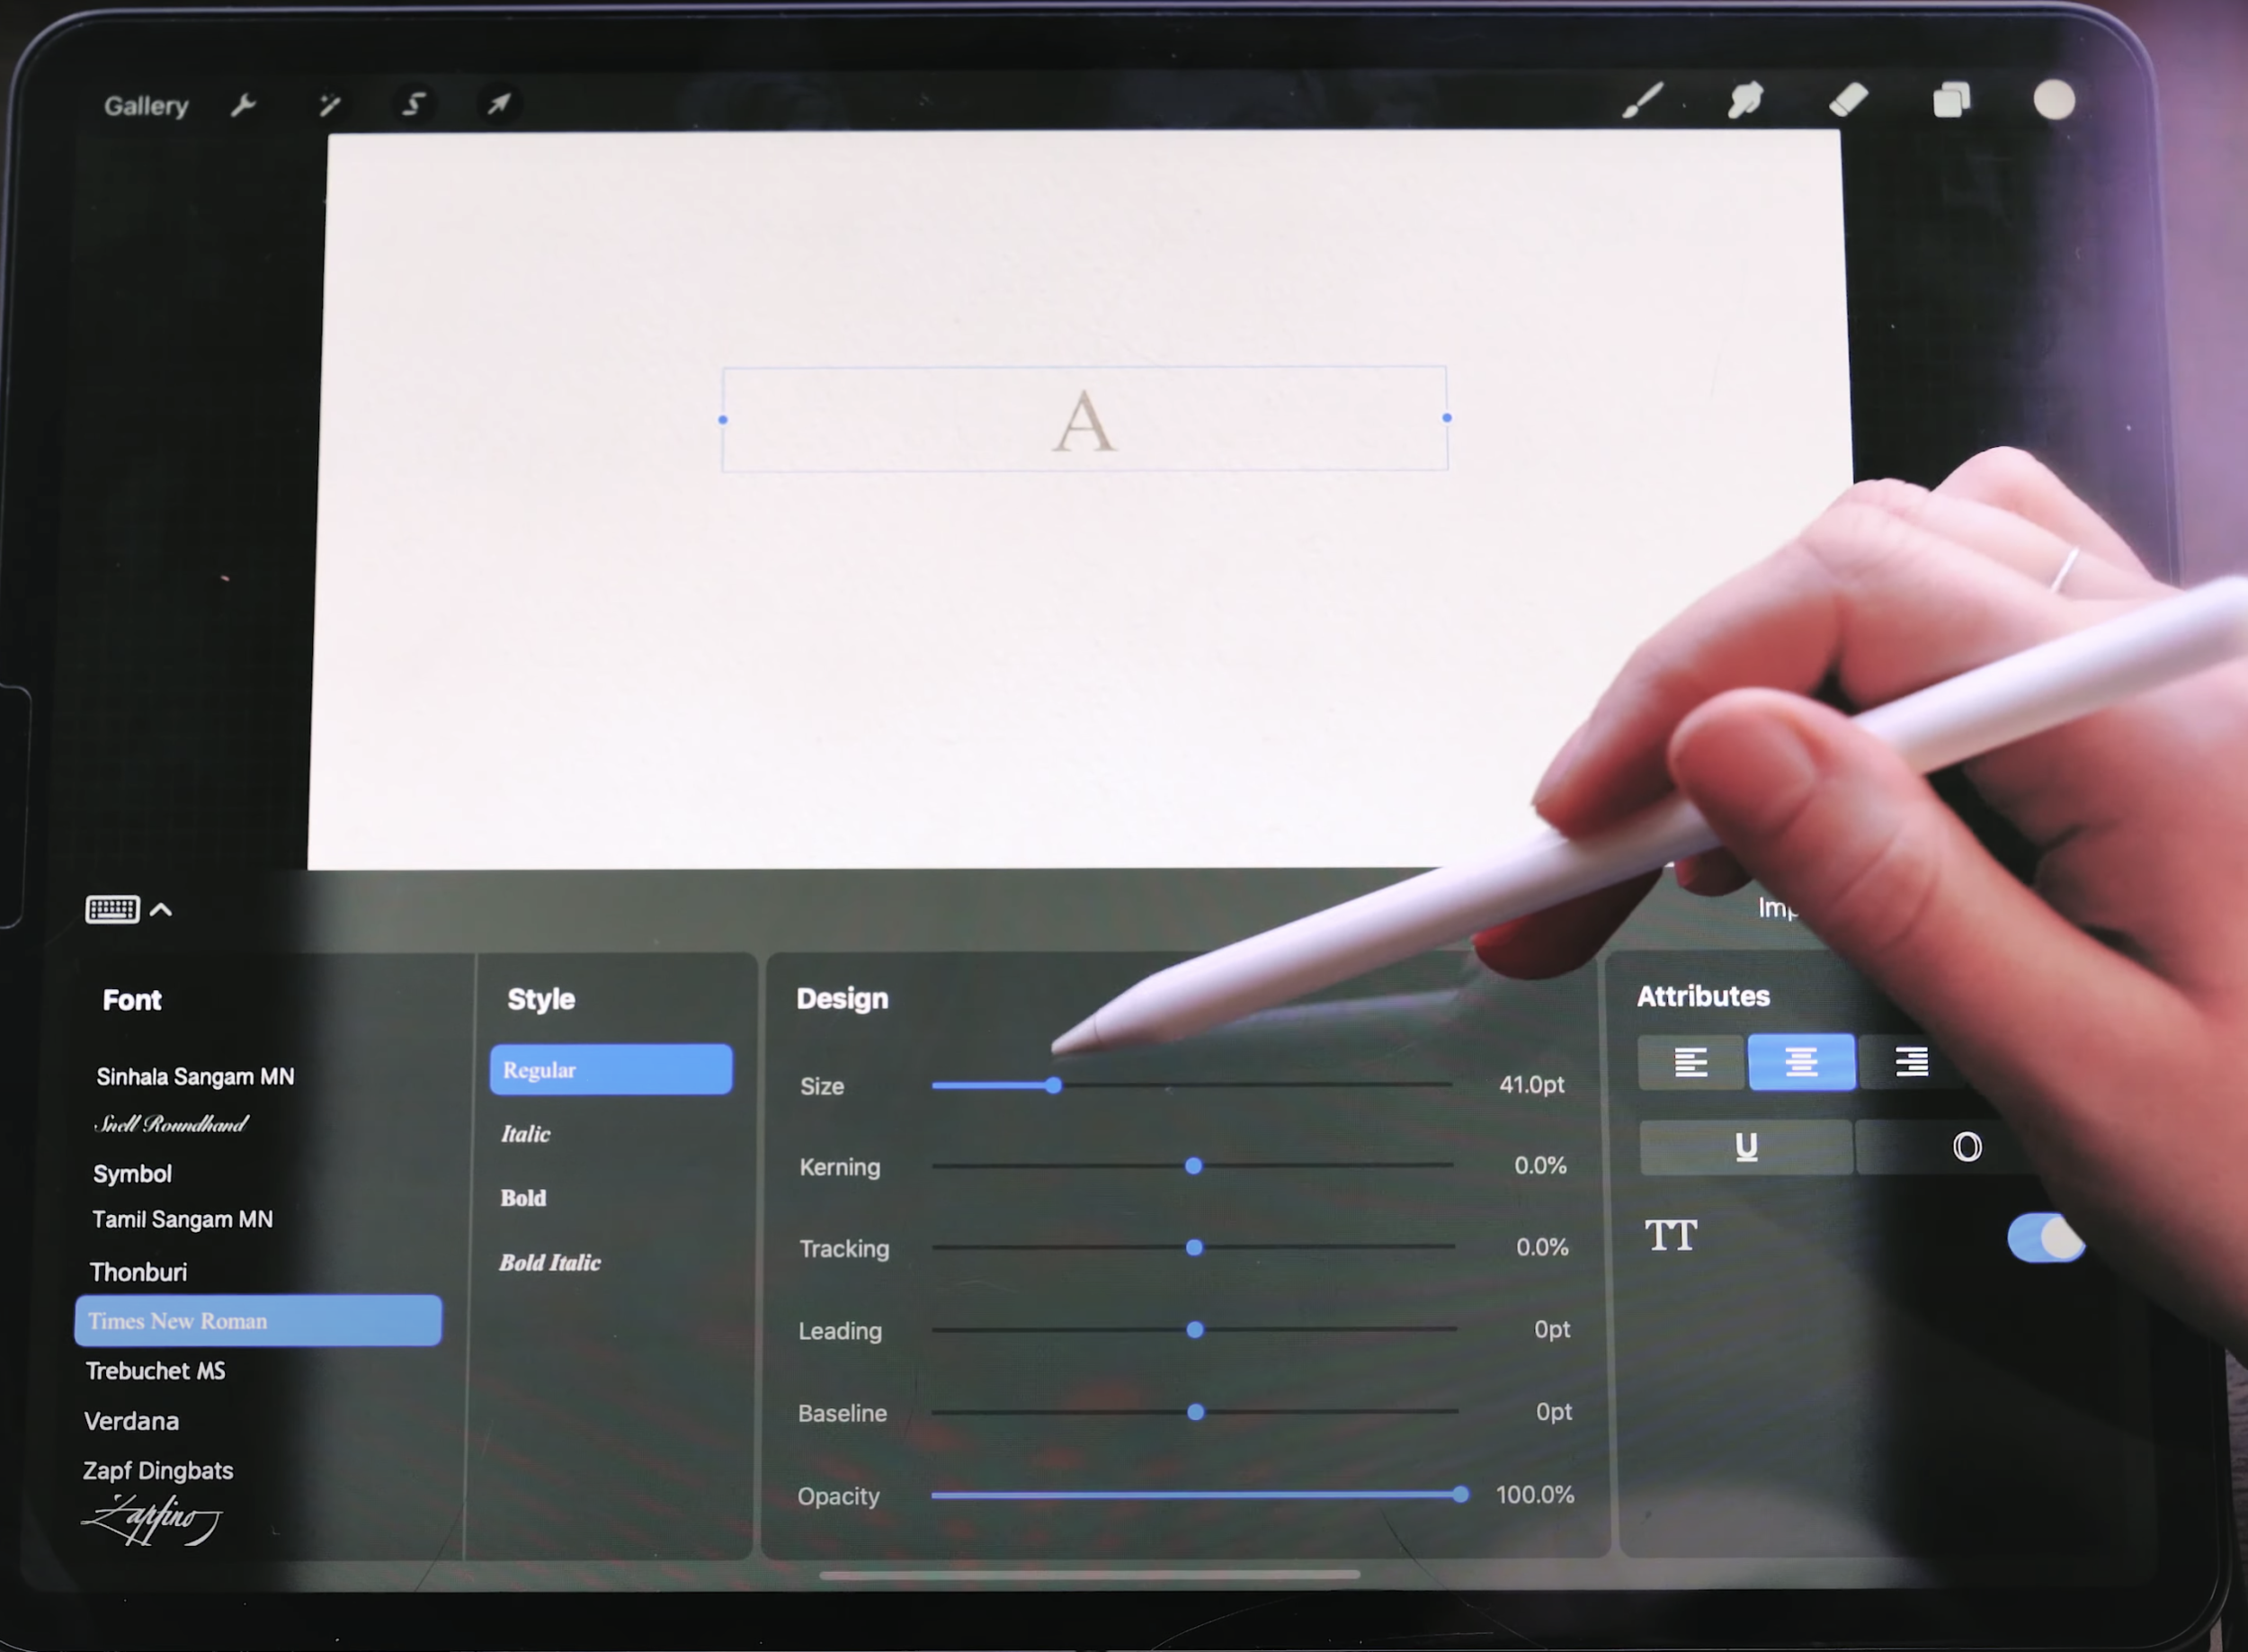
Then tap the edit style button.
On the left side, you can scroll to choose a different font. You could pick Times New Roman, as I am.
Then adjust the size in the panel and also on the canvas while the letter is selected.
Turn down the opacity on the letter layer and select a different layer to paint in.
Fill watercolor in the letter
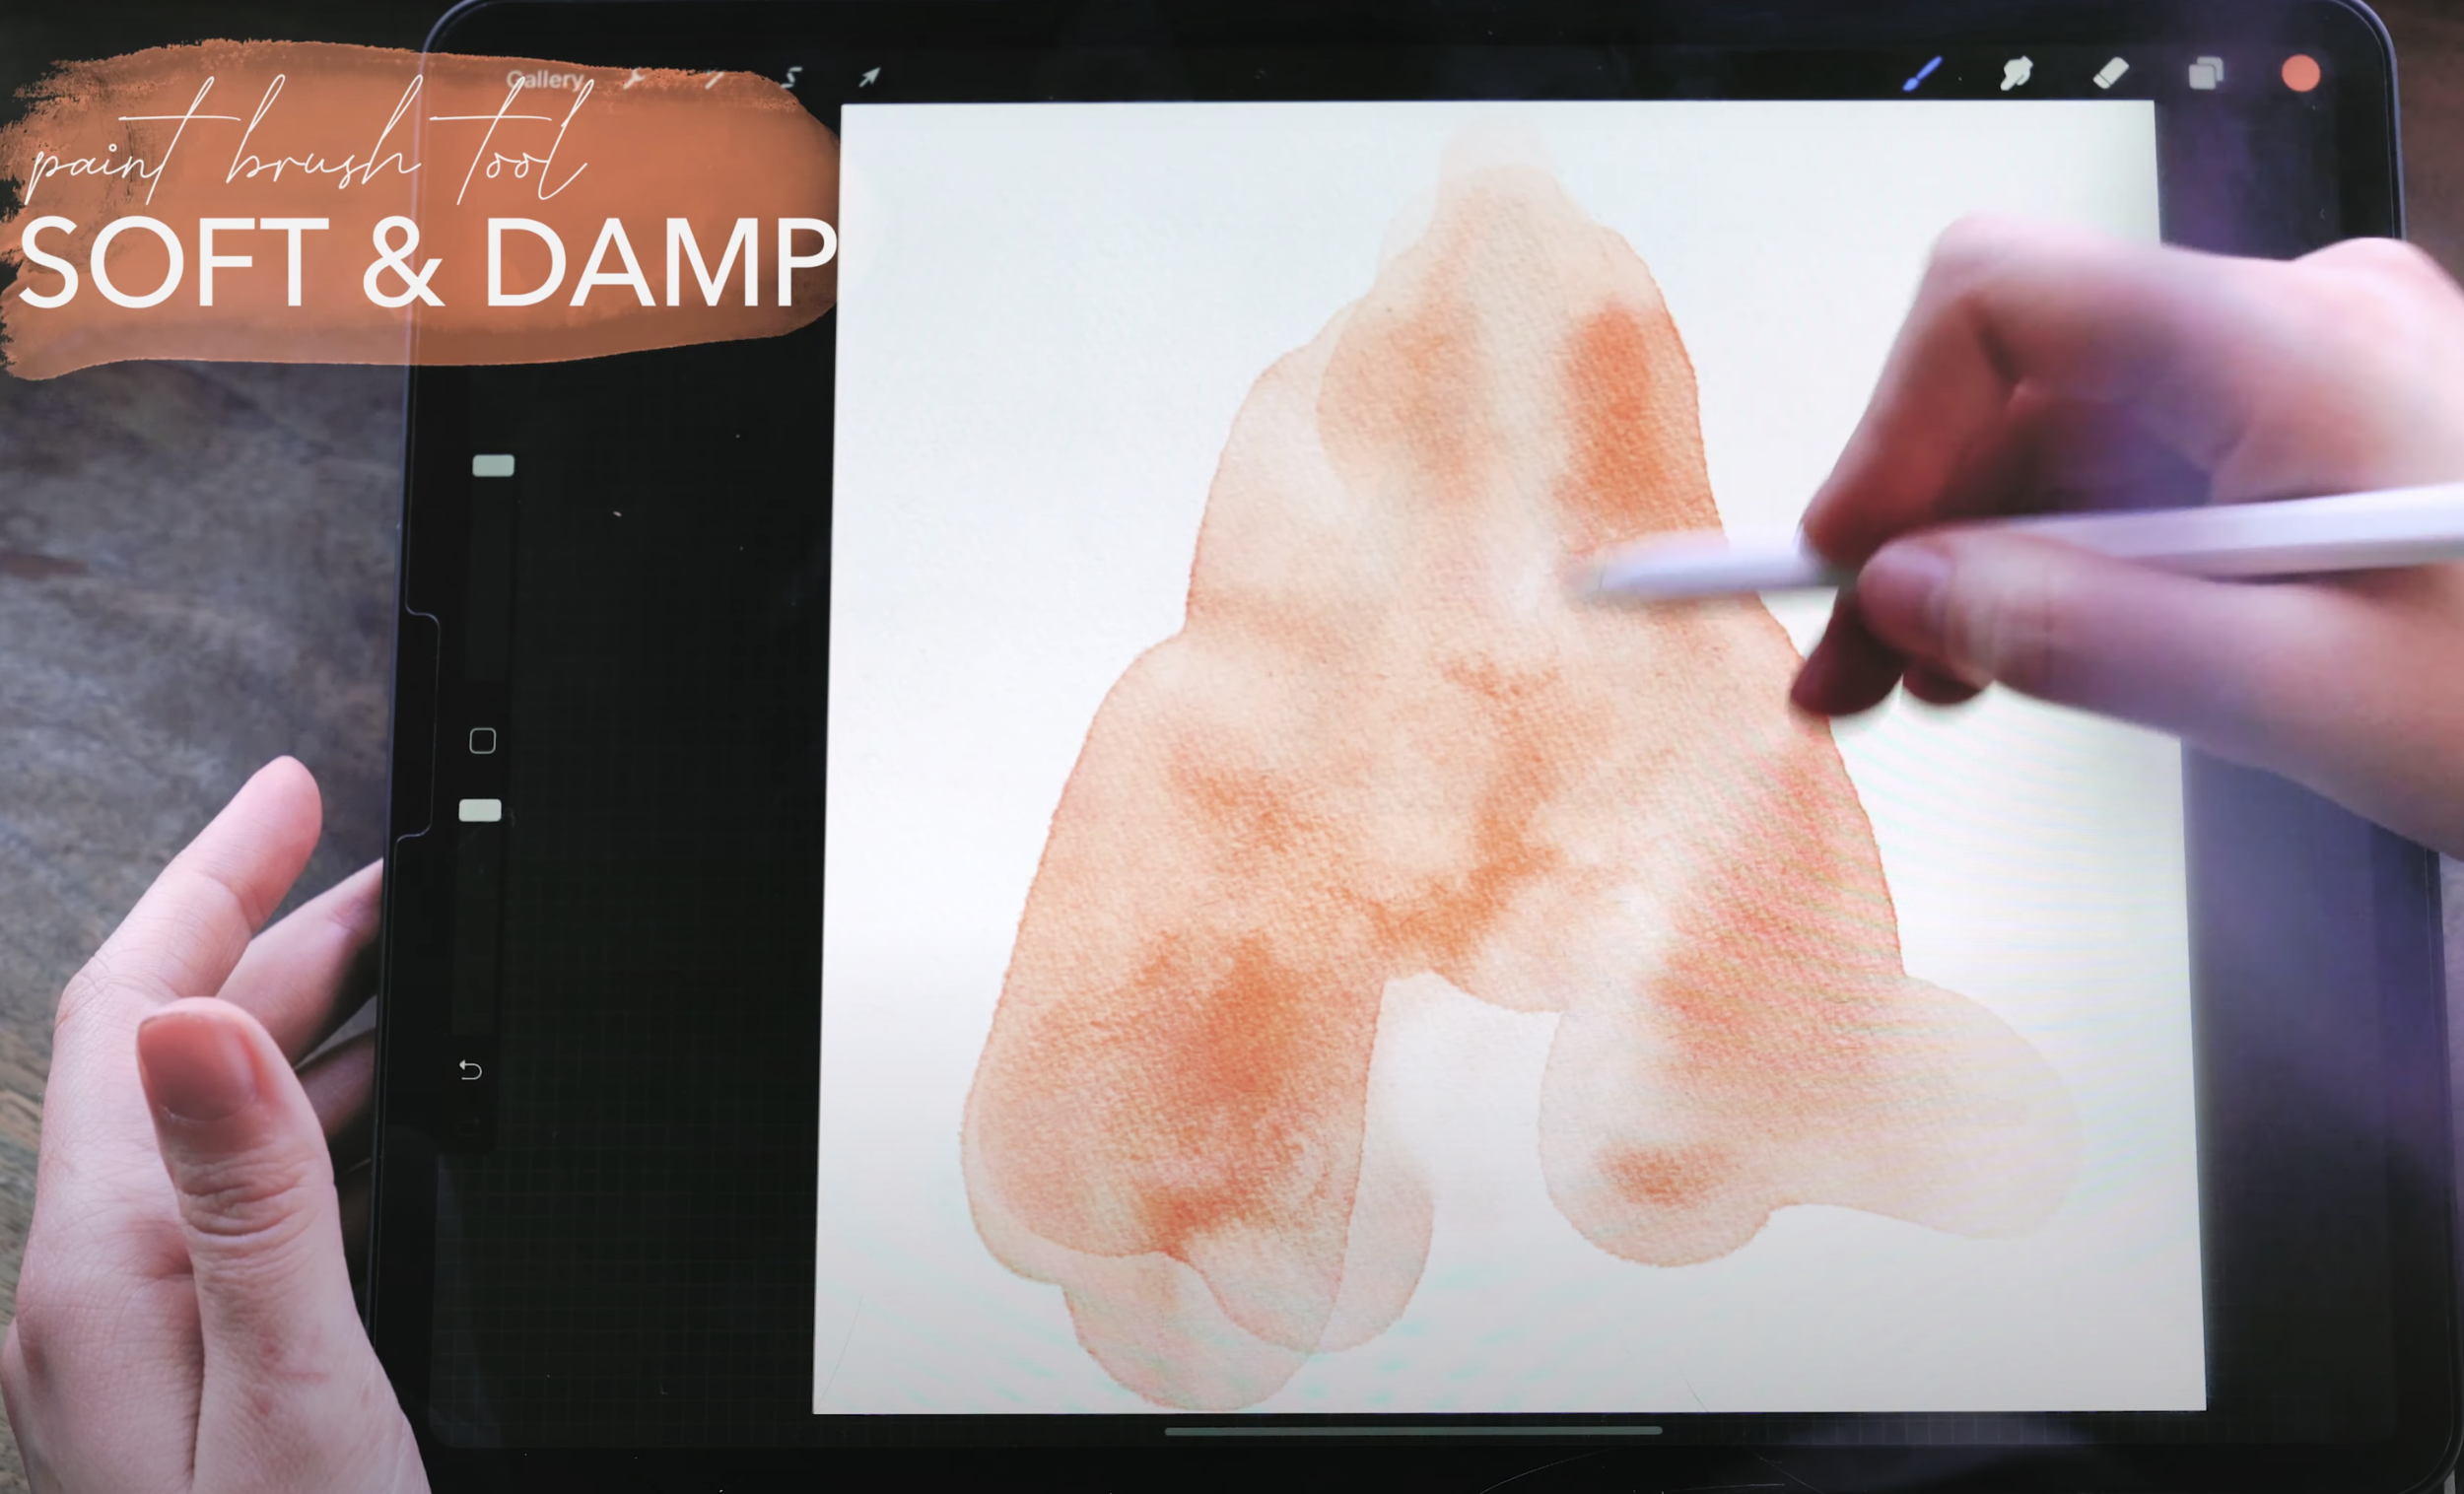
Use the Soft and Damp Brush, which has a really great texture and a darker outer edge.
Paint over the entire shape of the letter, layering in several brush strokes for some variation.
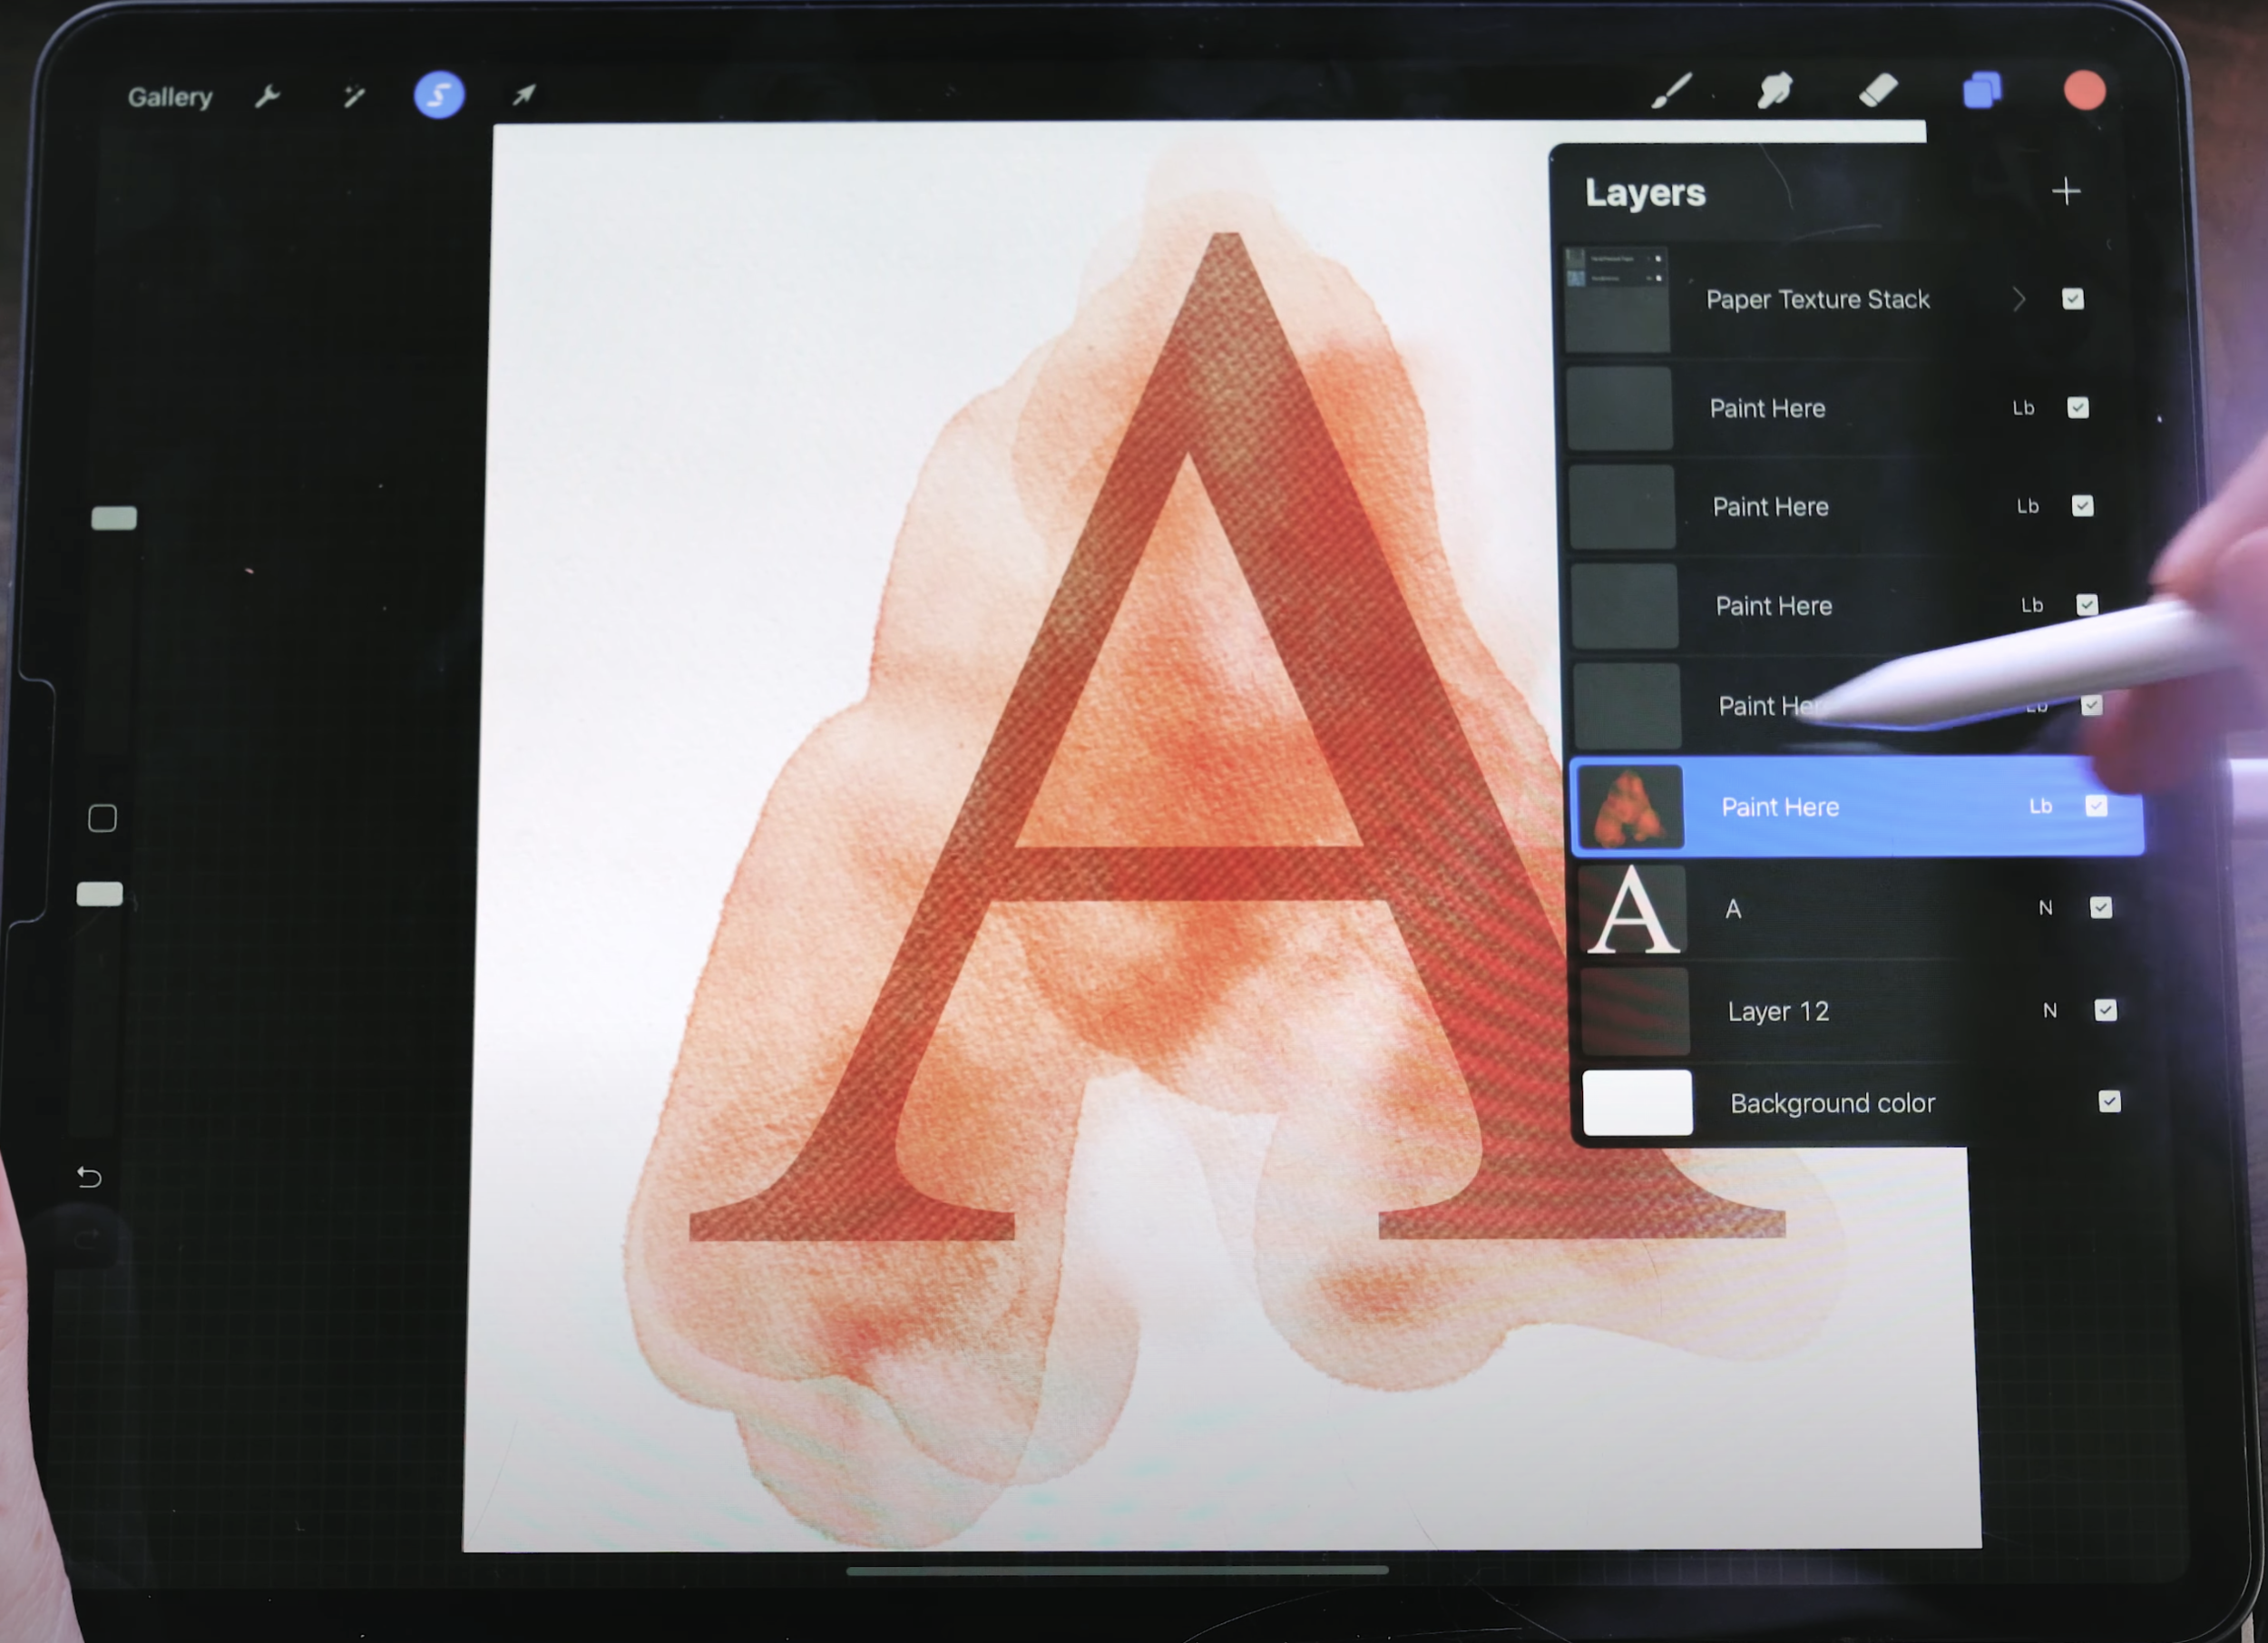
Next, go into the layers panel and choose the text layer. Tap once more in the layered panel to bring up the side menu and hit select to select all the contents of the layer.
On the bottom bar, tap invert which will invert the selection
Go back to the layered panel and select the watercolor layer
Tap the selection arrow drag the selection off of the canvas. This will hide the original text layer and show you the watercolor layer.
Paint the embellishments
Start with a new layer.
Choose the soft orange color.
Select the Japanese Scratch Ink Wet Brush. There are two versions of this brush. But with the wet version, each separate stroke has some slight color variation. This makes it feel like you’re painting with real paint colors that change color with each stroke.
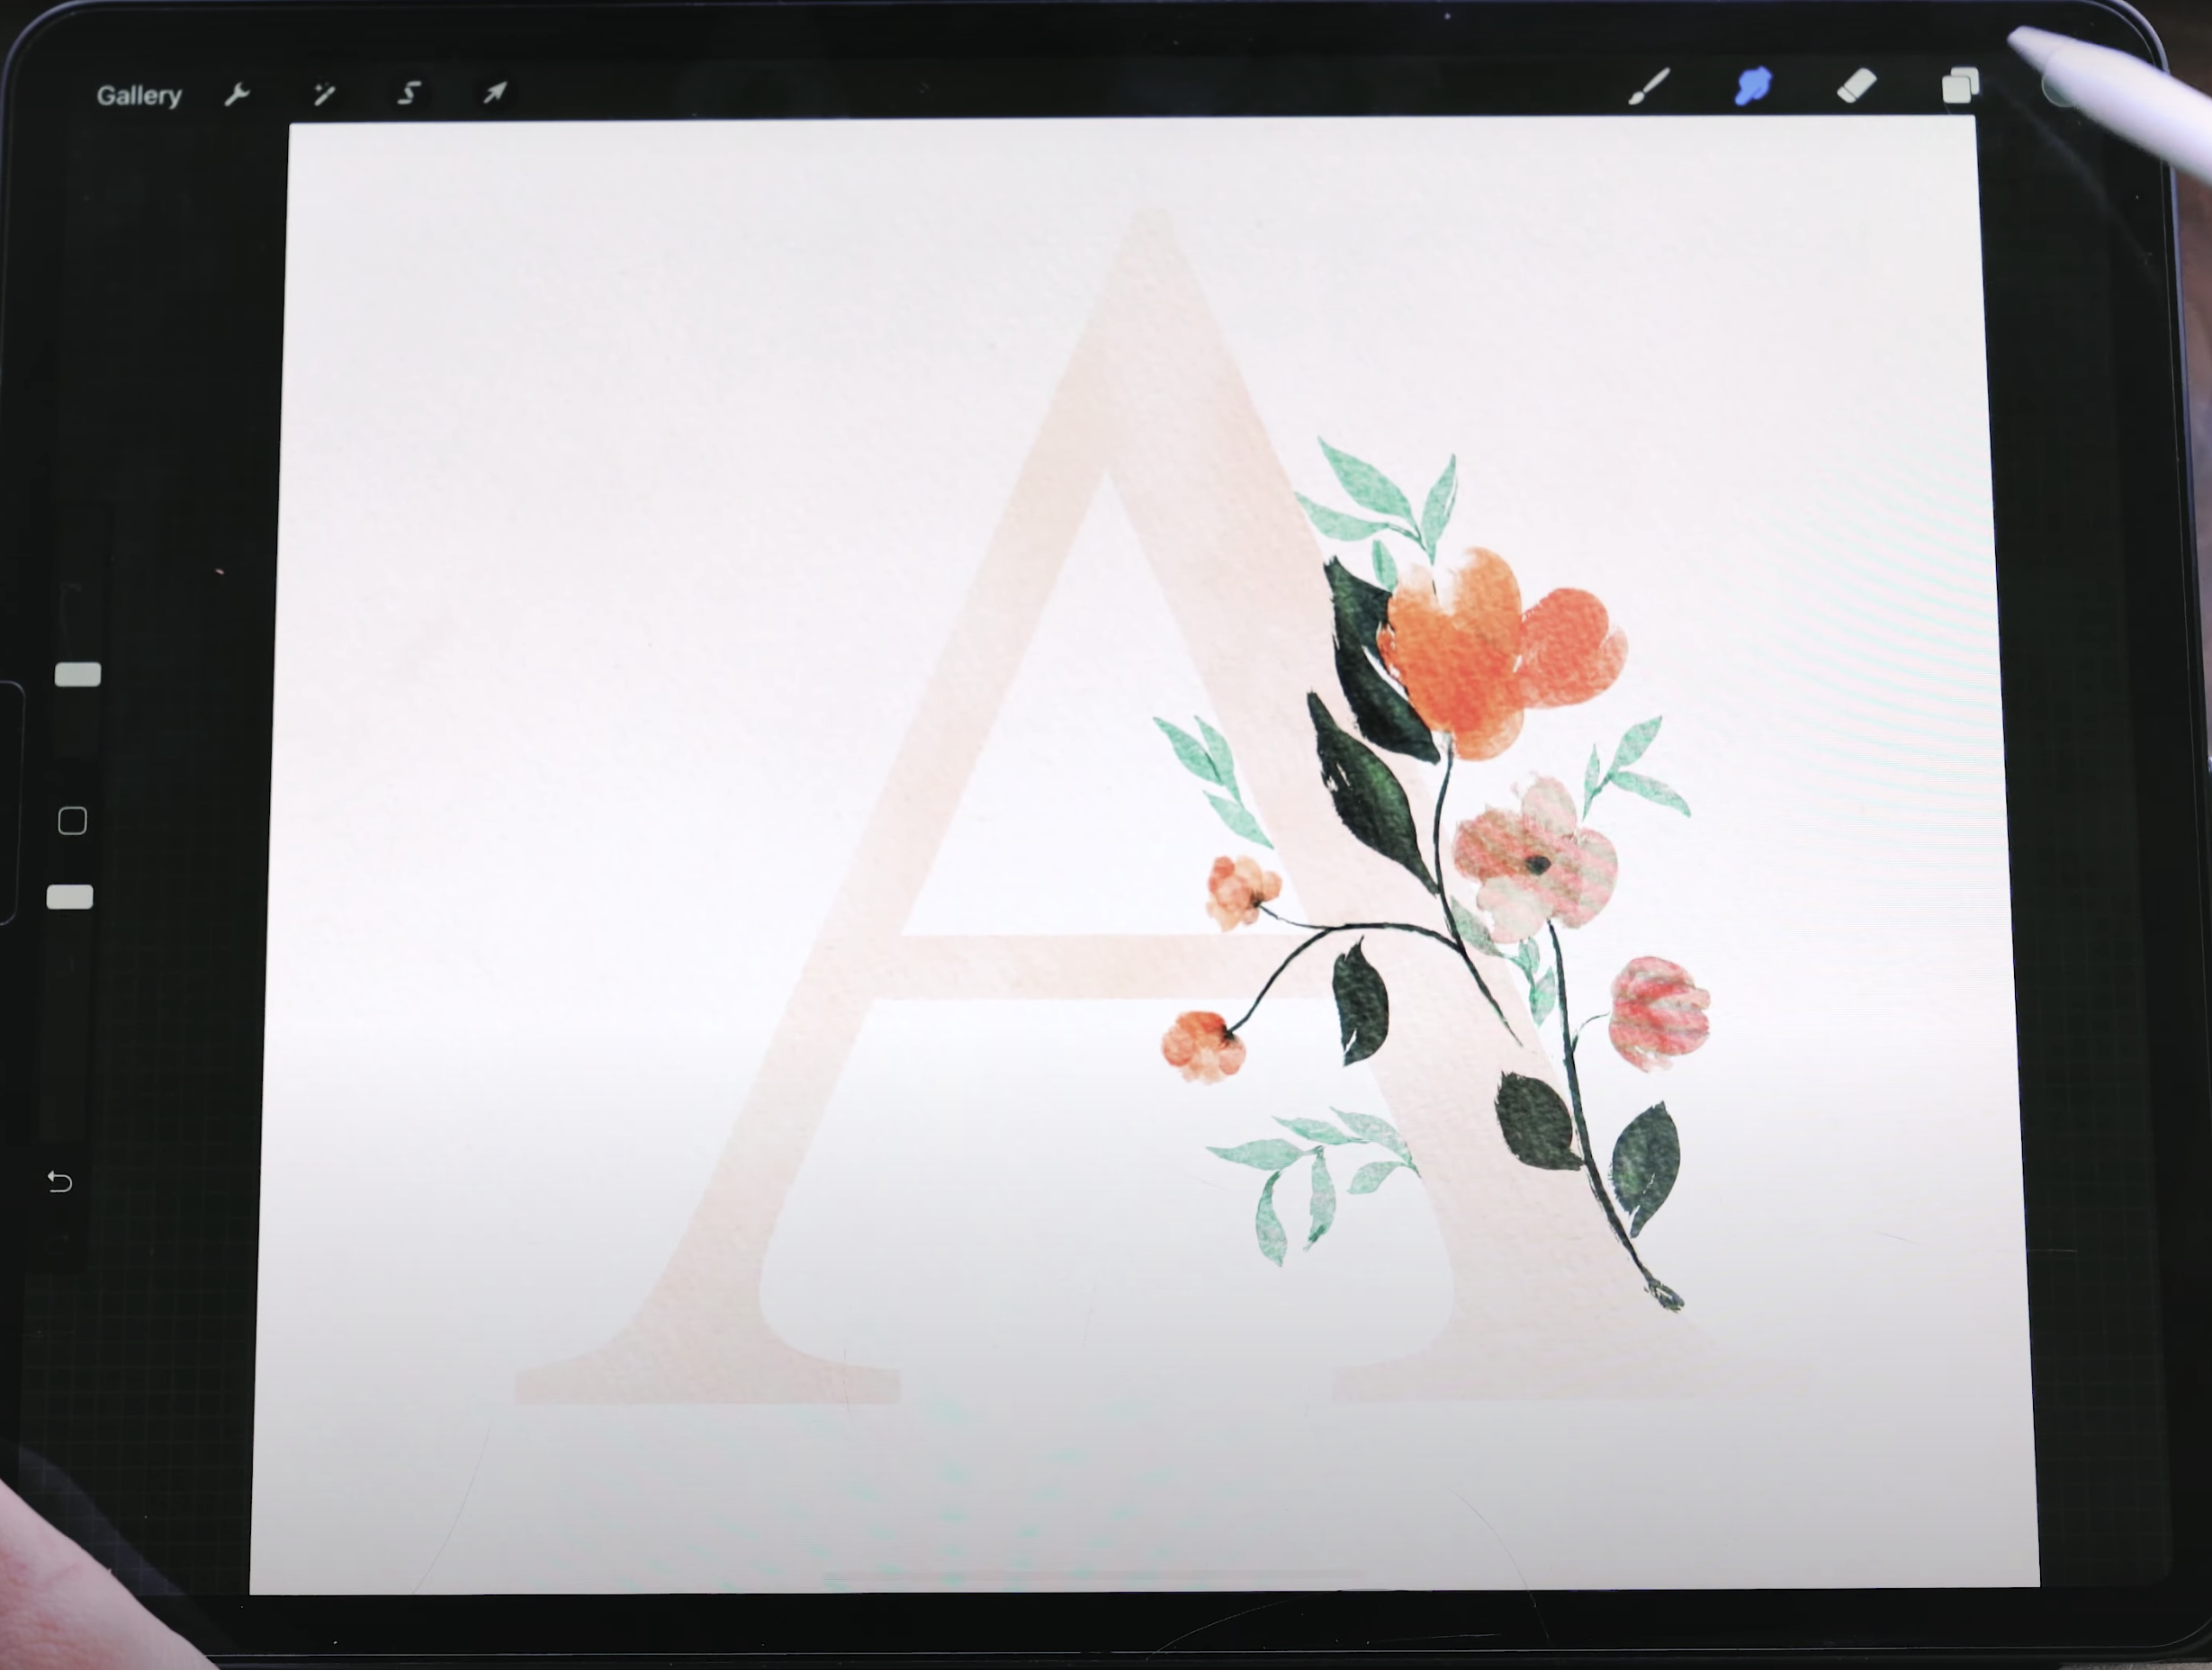
Start by painting some flowers next to the letter, drawing each petal as a separate stroke to get the color difference. Get the structure of the letter to contrast with more abstract florals.
Blend in a little between the different strokes using the Messy Mixer Brush and the smudge tool. The smudge brush has a really nice amount of texture to match the texture of the Japanese Scratching Brush.
Next, tap the selection tool and use the freehand setting to outline the flower.
Drag it and rotate it around placing it wherever you want.
Paint over the letter
Begin with lowering the layer opacity of the letter. (You can change this back to full opacity at the end.)
Work on a new empty layer to paint some greenery.
Use a dark green color and the Japanese Scratch Ink Brush. (This doesn't have the color variation, so it's going to work better for the consistency that is needed with the stems and the leaves.)
Painting bigger leaves is really fun with this particular brush because the shape of the brush itself looks just as though you were painting with a real brush.
For Leaves that overlap the flowers
Use the Eraser Tool with the Messy Mixer Brush to just remove the overlap.
Next, add in a new layer and set the blend mode to “Normal”.
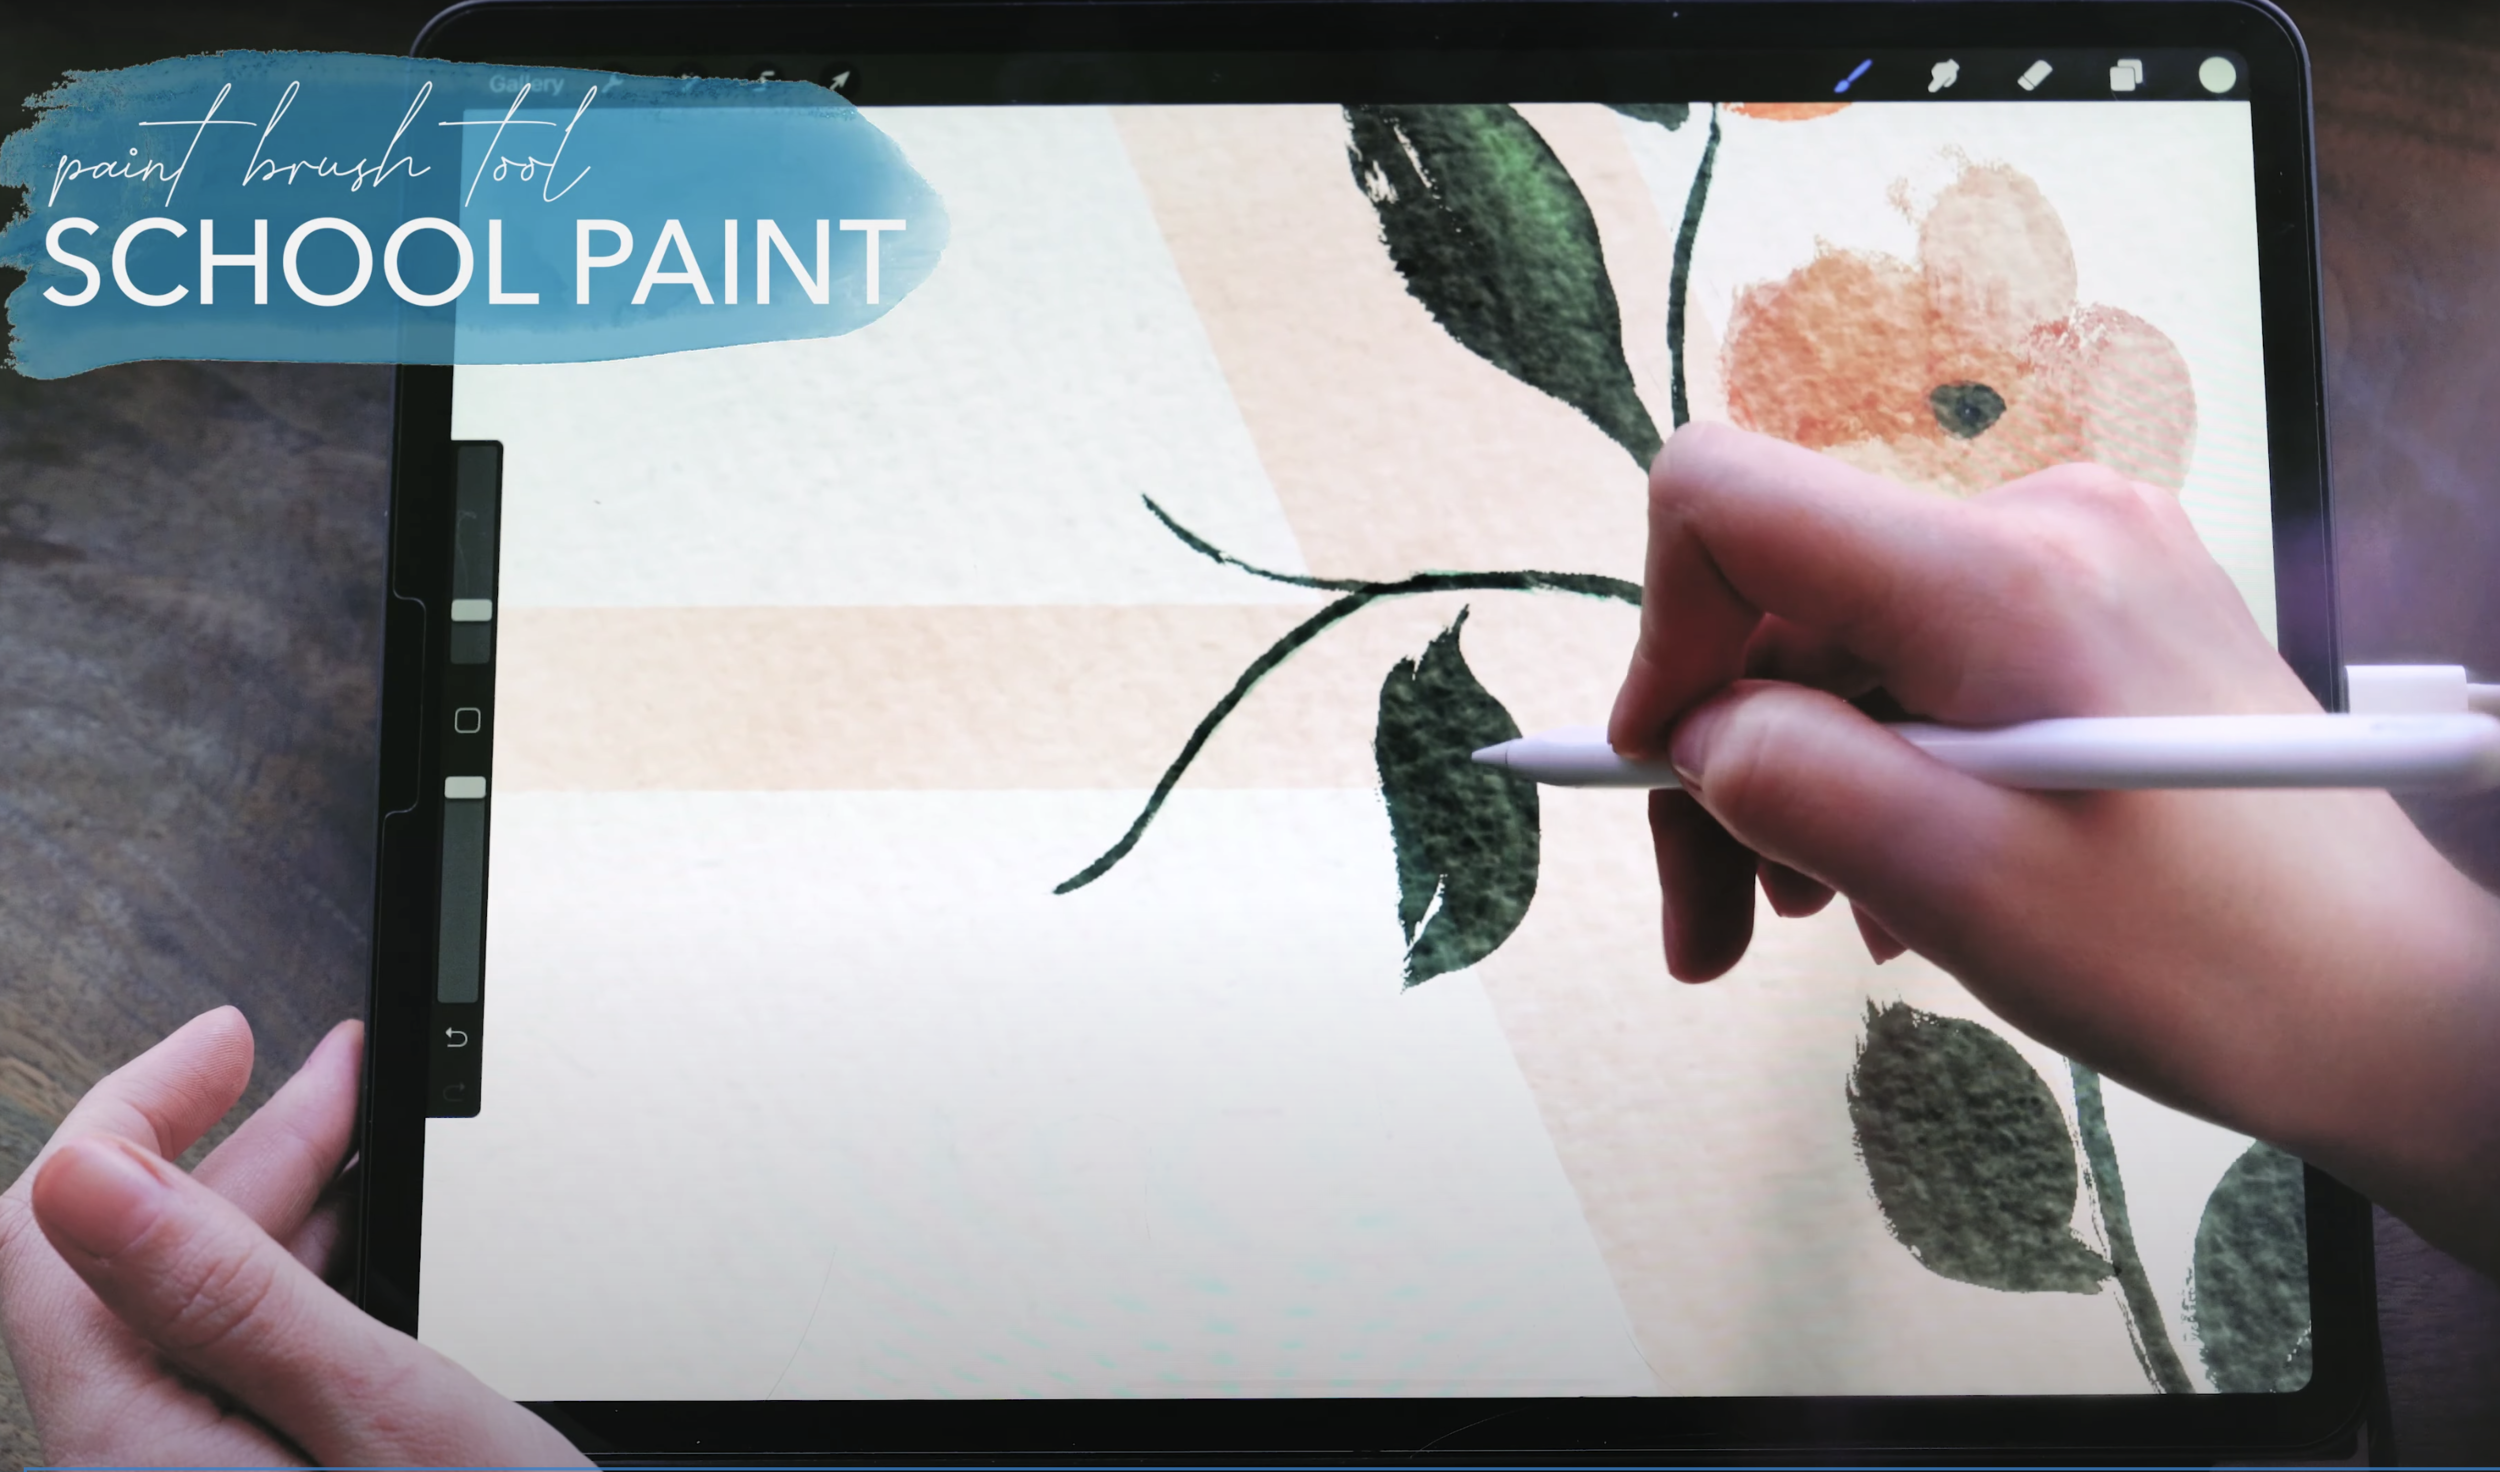
To add some variation and highlight to the leaves use the School Paint Brush. This slowly builds up the color without needing to blend it all in.
Keeping the blend mode set at Normal allows the light color to really stand on its own without the other layers blending and passing through.
Now go back to the greenery layer from before and paint some different leaves this time.
Use the Brushy McBrusherstein Brush for some nice variation. This has a lot of texture, allowing the texture of the lighter green leaves to stand out.
You can also use this opportunity to paint a couple more blossoms on these stems.
Finishing Touches
Bring the layer that has the letter up to full opacity.
Erase any areas where the florals overlap with the letter.
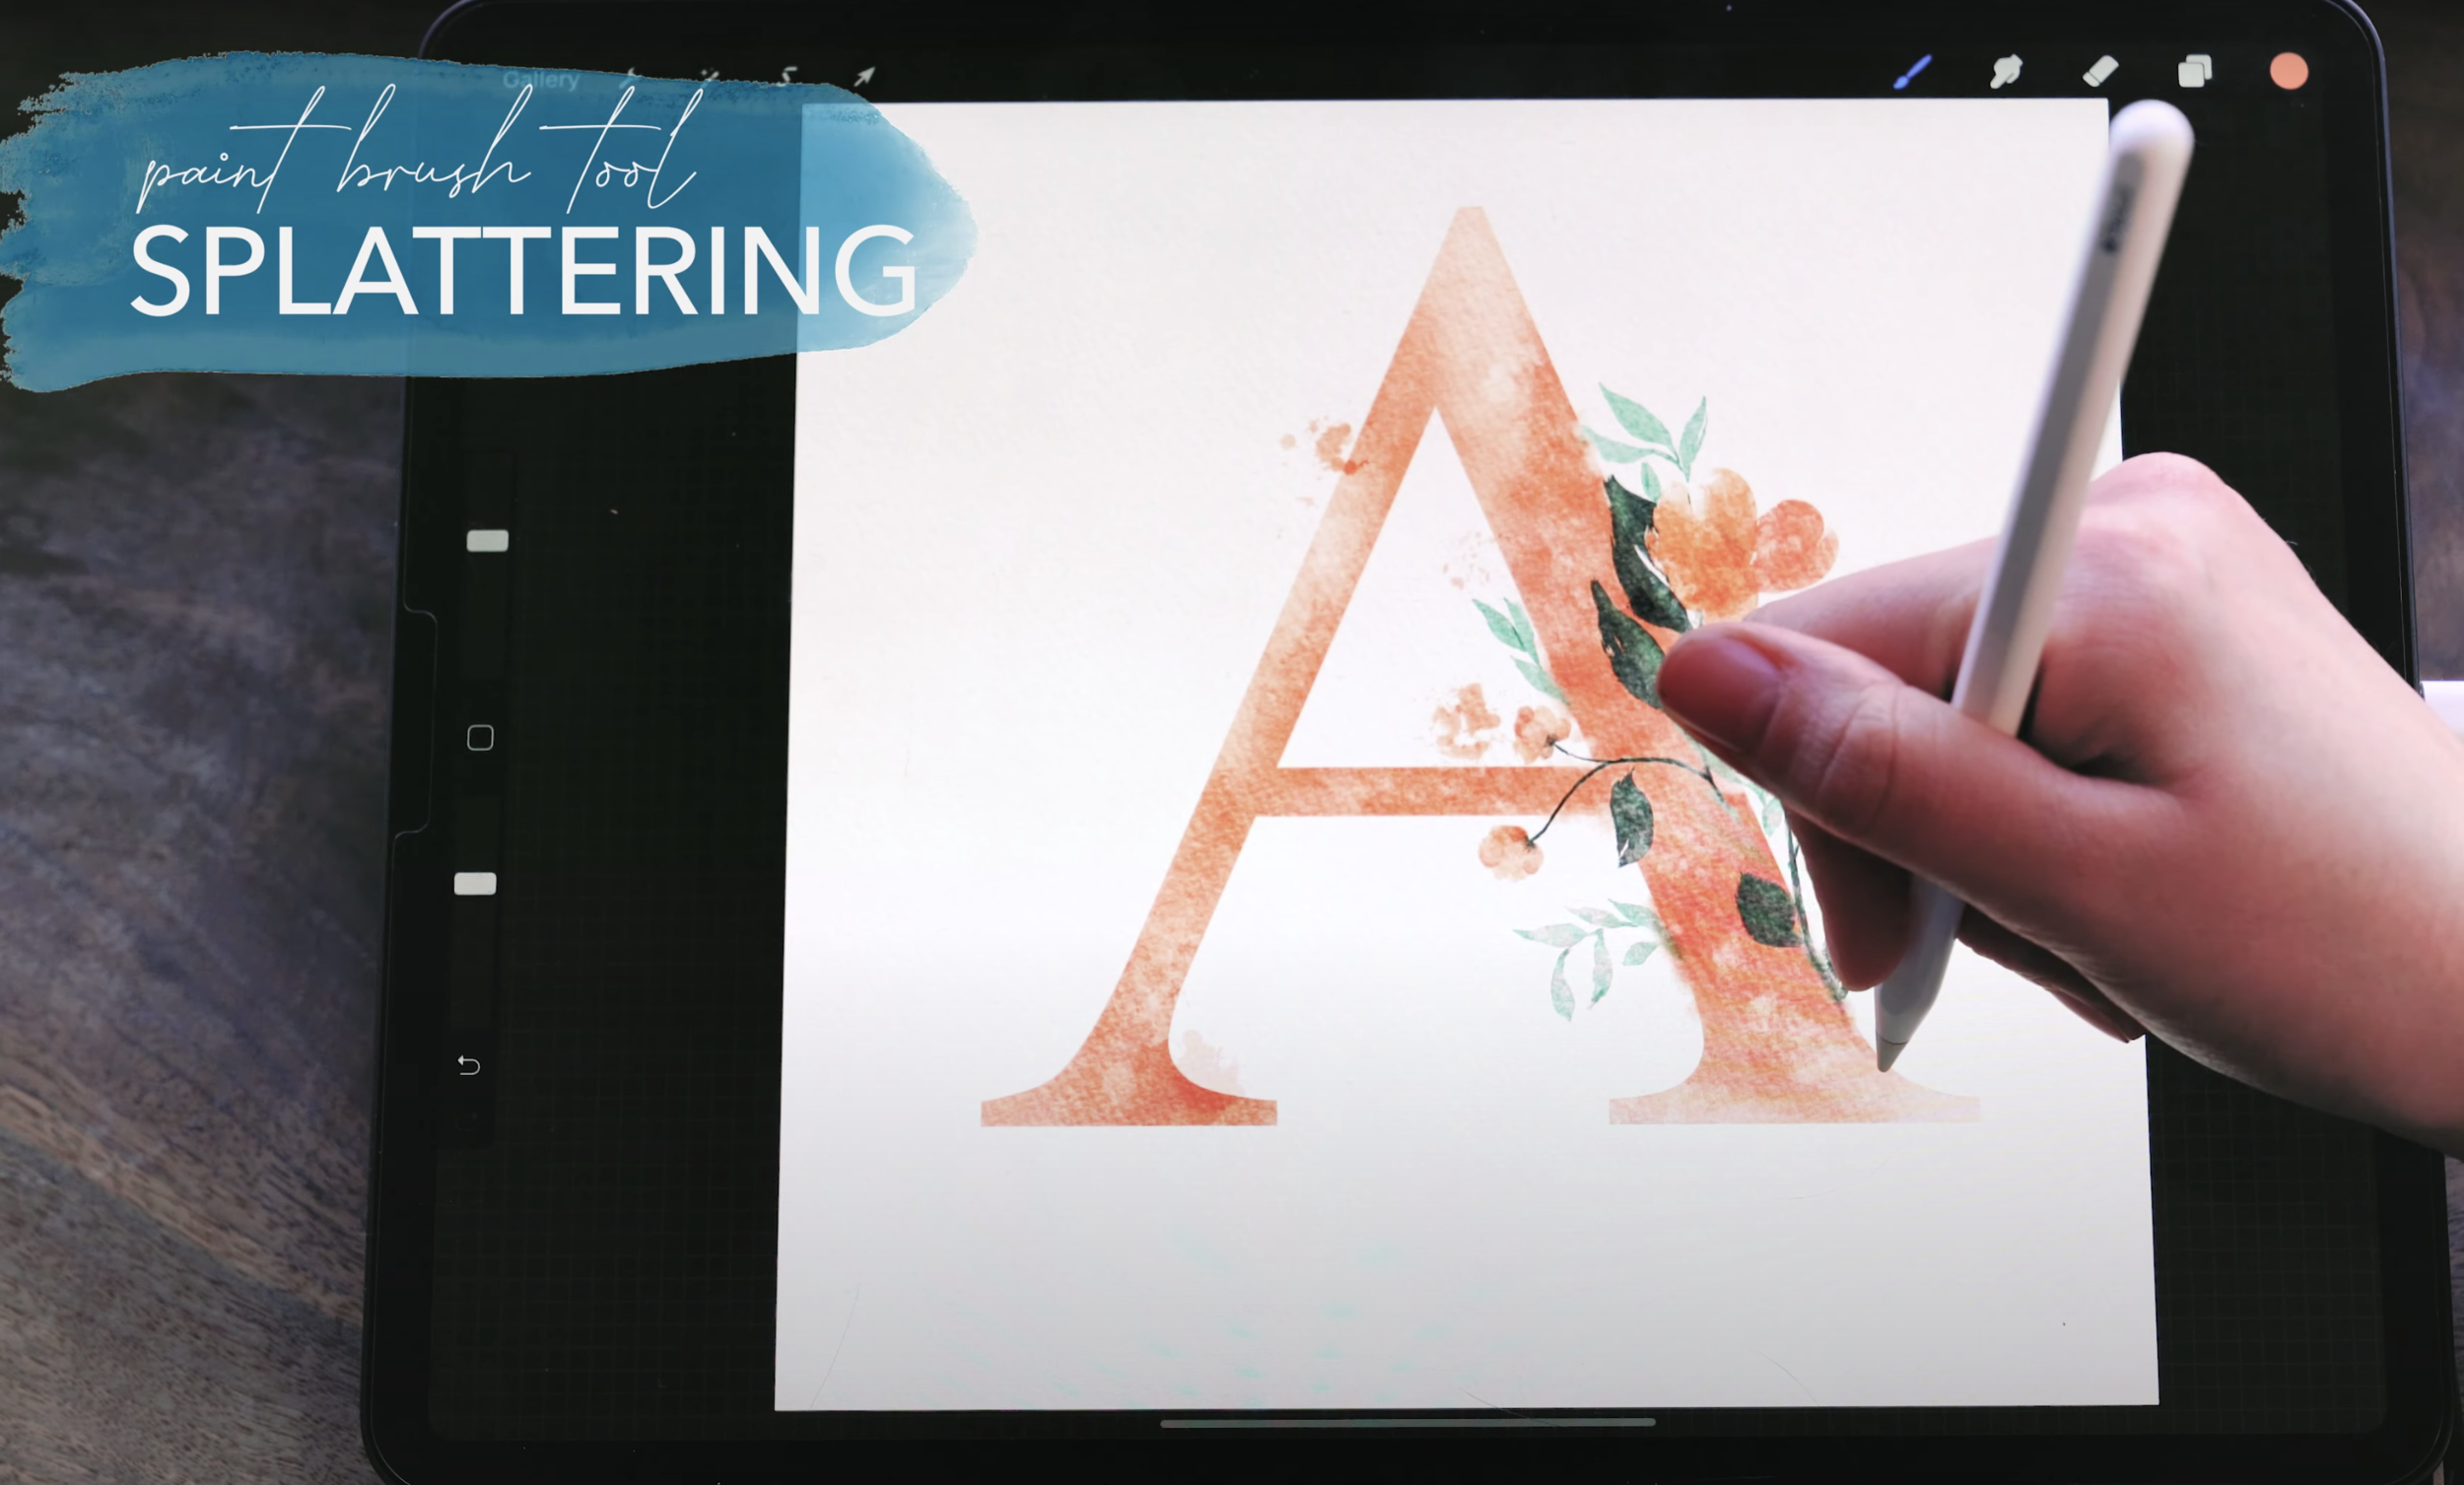
Use the Splash Brushes from the pack to add some splatter and droplets around the art.
Use these with both the Brush Tool and the colors that you used in the painting, as well as the Eraser Tool to add some variance and texture.
And that’s it! Your beautiful Floral Watercolor Monogram is ready.
Get the Everything Watercolor for Procreate Brush Pack here:
This tutorial is super approachable for beginners, as the florals we’re painting are simplified, and the brushes do a lot of the heavy lifting. It’s also incredibly customizable - use this as a jumping off point to design your own beautiful floral monograms! Pin it to save for later!
Get a FREE workbook to use with these brushes!
JOIN THE PRONTO PACK!
When you join, you'll also get dozens of Procreate freebies: brushes, paper textures, and color palettes. I send out weekly updates with my best tips and tricks, & you'll be the first to hear when new freebies are added!
