Instantly Improve Your Art in Procreate
Trying a different technique or learning a new shortcut can totally revolutionize the art-making process, in addition to keeping things fresh. The journey of improving your art takes a lot of practice, but for that in-between-time, this tutorial has some ~instant gratification~ tips that will hopefully help you enhance and elevate your art, no matter where you're at in your journey! Because who doesn't love some immediate gratification?
But I also think that as you see more improvements, it makes you want to continue to make more art, more often. P.S. - if you create stuff, you're an artist.
One of the biggest ways I've been pushing myself out of my comfort zone in Procreate has been to use more texture. It's been fun to juxtapose grungy textures with soft watercolors, and honestly, having different brushes to experiment and play with makes it that much more exciting. I've been mixing it up with the brushes from these packs below, which I also used in the video.
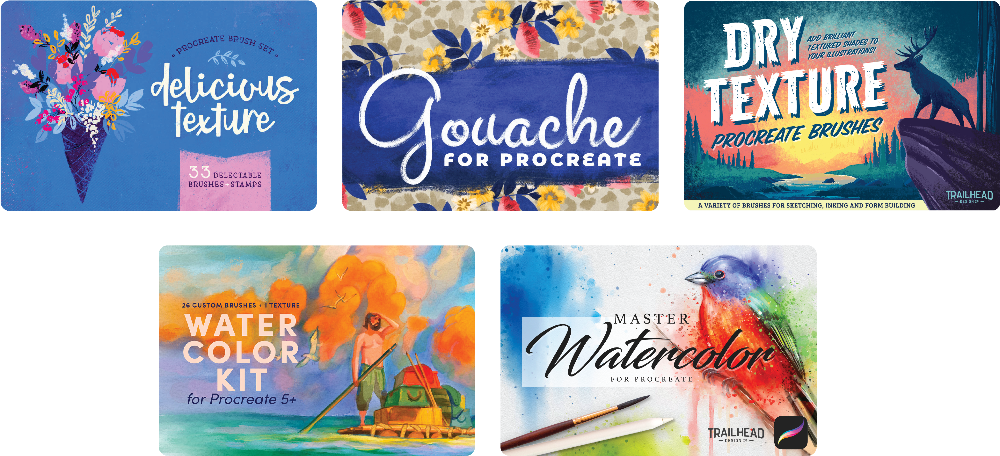
These were originally part of a bundle which is no longer on offer. You can explore most of the brushes here (affiliate link):
In the video, I walk through the process of incorporating these techniques into a bird painting. Read on for the individual tips!
-
Tip 1: Expand your brush assortment
When I first started with Procreate, I immediately found I was most comfortable using watercolor style brushes. Having something I enjoyed and got good results with allowed me to feel brave enough to venture into other types of brushes - most recently I've been loving using lots of texture in my work. By experimenting with different types and combinations of brushes, you can figure out what you like best - and what you're good at - and lean into that.
Tip 2: Streamline
One immediate difference I discovered when I was starting out is that using certain brushes with Streamline turned on helped turn my timid, uncertain lines into smooth, confident brush strokes. You can adjust the amount of Streamline on any brush (pro tip - check out my video on adjusting brushes!), but it can also be helpful to use a brush that was created for this characteristic.
In the Delicious Texture pack, the Butter Knife brush has about 65% streamline turned on, which gives a really nice amount of assistance but still allows for natural character. I really like to use this brush for drawing more finalized shapes, and to go over a sketch for finalized linework.
Tip 3: Liquify
One of my favorite secret weapons, the Liquify tool is an an insanely powerful modification tool that allows you to tweak and perfect the proportions of your work, while still liquidly maintaining the integrity of it. I like to use this tool when I'm in the sketch stage, before I've got a bunch of layers of different colors, but you can really use it at any time in your artwork.
You can access the tool under this wand icon. Liquify will only affect the layer you are on, so make sure you have that selected. Once you are in the panel, there are a lot of different options that you can play with.
The ones I use the most are Push, Expand, and Reconstruct. I use Push to move around and change the scale of areas of the sketch, and I find I use Expand primarily on eyes to make them bigger (and therefore cuter). Reconstruct will allow you to - of course - reconstruct any liquify adjustments you have made, and you can also two-finger tap to undo while you are in the tool. Once you navigate out of the tool, the liquify adjustments will be treated as one single action, so it's nice to have that control while you're in the liquify tool.
Tip 4: Layers & Bend Modes
Using lots of different layers, especially in combination when working with textures, shading, and different colors, has really enhanced my workflow. Layers give a lot of flexibility in making changes to only a part of the artwork, so if you are unsure of changes you are making, working on a separate layer means you don't have to be committed to it, because you can just hide that layer. Using blend modes has enabled me to enhance my work with better shading, highlighting, and texture!
Tip 5: Use texture
Speaking of texture, this is a total game-changer. Whether you’re using a paper texture layer above your art, painting in texture with brushes (I especially love the Dry Texture pack!), or adding in some grunge in the background, this can completely change the aesthetic of your work. Adding texture has absolutely helped me level up my artwork!
Get a FREE workbook to use with these brushes!

JOIN THE PRONTO PACK!
When you join, you'll also get access to dozens of Procreate freebies: brushes, paper textures, and color palettes. I send out weekly updates with my best tips and tricks, and you'll be the first to hear when new freebies are released!